
Published: August 28, 2026
If you have ever taken a hard fall and pulled your helmet off to check the fit, you probably noticed something: the helmet shifted on your head. The strap on one side was loose. The shell sat too far back, or the vent openings were pressing into your forehead. A skateboard helmet only protects you if it stays exactly where you put it when the impact happens — and with most new helmets, it does not. In this guide I break down the exact sizing, adjustment, and certification standards that separate a helmet that works from one that feels fine on display and fails the moment it matters.
By Tyler Brooks, Skateboarding Coach
Tyler has coached skateboarders for 10 years and has tested trucks, wheels, and protective gear on real street and park sessions. He leads skill development and safety coverage on ska8.
Skateboarding is different from cycling in a way most people do not think about until they are choosing gear. You do not ride a skateboard at 25 miles per hour on pavement. You stand still, you lean, you jump, you land, and when things go wrong — most things go wrong at low to zero speed — your head can strike flat concrete, metal rail, or the ground at a sharp angle. Bicycle helmets are tuned for one scenario: an extended, angled forward strike at speed. Skateboard helmets are tuned for a different set of impacts entirely — flat blows to the back and sides of the head, repeated micro-impacts when you fall the same way three times in one session, and rotational loading from the pivot of your body as you land a trick wrong. A well-fitted skateboard helmet reduces head injury risk by up to 85 percent, but a poorly fitted one — even a high-end model with MIPS — can rotate off your skull at the exact moment you need it most.
Why a Skateboard Helmet Is Not a Bicycle Helmet
I have watched skaters borrow road cycling helmets for street sessions because they were already in the bag, and I have watched it happen in the reverse — cyclists grabbing their friend’s skate helmet for a ride to the store. Both directions are a mistake, and the reasons are structural, not cosmetic.
Bicycle helmets are engineered around a single forward strike: the foam is thickest at the bottom front of the shell, the ventilation is large and high to reduce aerodynamic drag at 20 mph, and the rear coverage tapers off because the geometry of a crash puts almost all the force on the forehead and the front of the face. Skateboard helmets, by contrast, wrap the entire rear and lateral surface with thicker EPS foam, and many models add a padded rear bumper strip that bicycle helmets simply do not have. That is because when you bail a kickflip or wipe out on a flat-ground trick, the back of your head hits the ground first, not the front.
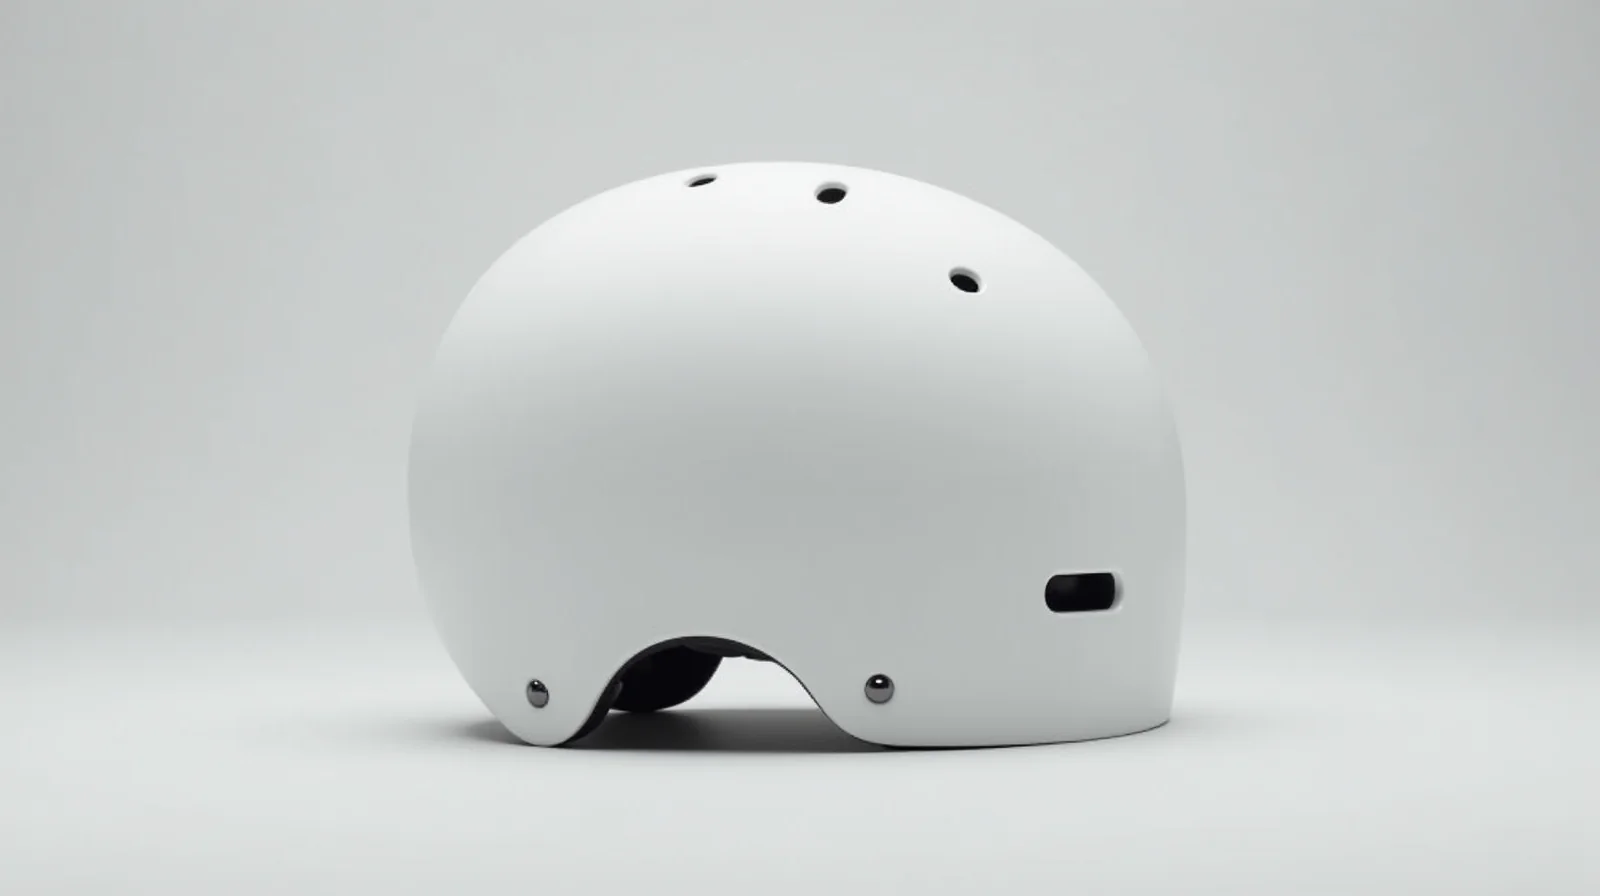
There is also a profile difference. Vert and ramp skaters want the lowest possible profile so the helmet does not snag on rails or interfere with the lean angle, which is why you see the classic rounded “skate” shell with a smooth dome. Street and bowl skaters in warmer climates tend to prefer the vented MIPS models with larger openings. Neither is wrong — but that is a fit and use-case question, not a safety one, and both still need to meet the same certification standard before they are worth putting on your head.
Key takeaway:
A helmet that does not fit the shape of your head is a helmet that will move on impact. Fit is not comfort — it is the single most important safety variable after the shell itself, and it is the one variable you can fix in ten minutes without spending another dollar.
Sizing Your Skateboard Helmet: Measure Before You Buy
The first thing I do with a new skater — and the first thing I do before I buy a helmet for myself — is measure my head. It takes ninety seconds, and it eliminates the entire “it looked good in the store” problem. The number you need is your head circumference at about 1 to 1.5 inches (2.5–3.8 cm) above your eyebrows, measured all the way around the widest part of your head, which for most people is a quarter to an inch above the ears.
Use a flexible cloth measuring tape if you have one. If you do not, use a strip of paper: wrap it around your head at that point, mark where the ends meet, and measure the strip with a ruler. Divide the result by 3.14 (pi) to get an approximate diameter, then round to the nearest standard helmet size on the manufacturer’s chart. In practice, the circumference itself is what matters, and most manufacturers publish the conversion. A typical adult male head lands between 22 and 24.5 inches (56–62 cm); women’s sizes typically range from 20.5 to 23 inches (52–58 cm) but there is a large overlap so the number — not the label — is what you should be matching.
Here is where a lot of people get a helmet that is too big: they measure once, buy the size that matches, and never check the actual fit on the head. A helmet that matches your circumference on paper can still be too small if your head shape is rounder than the shell, or too big if your head is elongated front-to-back. The circumference tells you the right shell; the fit test — which I will walk through next — tells you whether that shell actually matches your head shape.
The Five-Position Fit Test: How to Actually Check Your Helmet
This is the part I make every student do before they leave the session. It takes about sixty seconds and it catches the two most common fit problems — a helmet that is too loose on one side, and one that sits too far back on the skull — far better than any amount of head circumference measurement. Put the helmet on with the rear strap buckle fastened and do the following, in order, and note anything that touches, slides, or moves:
- Forehead position. The front rim of the helmet should sit about two finger-widths above your eyebrows. If you can slide more than that, the helmet is too big or tilted forward. If the rim is pressing on your eyebrows or your glasses, it is too low — either the size is wrong or the front is too far down for your forehead shape.
- Side-to-side stability. Have a friend (or a mirror, or a video from your phone) push your head left, then right. The helmet should not shift. If it moves at all when you shake your head side-to-side, the rear strap needs to be tightened, or the helmet is the wrong size for your head shape.
- Reposition check. Pull the helmet straight off in one motion — do not tilt it. If you have to twist or lift, it is too tight at the rear. If it slides off easily with a small motion, it is too loose. The correct fit resists a straight pull but does not require force to remove.
- Strap geometry. The two chin straps should form a “Y” shape with the crossover point about half an inch (1 cm) below your ear. If the crossover is in front of your ear, the helmet is sitting too far back; adjust the front strap. If it is behind your ear, the rear strap needs more tension.
- The shake test. With the helmet locked on, shake your head vigorously up and down, side to side, and give it a firm twist. Nothing should move. Then run your hand under the chin strap: you should be able to fit one finger between the strap and your chin, no more. If you can fit two or three, the strap is too slack and the helmet will rotate on a fall.
If any of the five checks fail, do not accept the helmet as “close enough.” The adjustment dial under the chin — present on nearly every modern skate helmet — is there to solve exactly this. Turn it to reduce the internal volume until the checks pass. If the dial is fully tightened and side-to-side movement still happens, the helmet is the wrong size for your head shape and you need a different model or a size down.
Certifications to Check: CPSC, ASTM F1446, and ECE
Before the fit, the one question that matters is whether the helmet is certified for the kind of force it will have to absorb — and not just whether it has vents and a nice shell. In the United States, the Consumer Product Safety Commission requires that all skate helmets sold here are tested to ASTM F1446, the standard for skate and action sport helmets (and the related bicycle helmet standard ASTM F842 is what many dual-purpose models also carry). What F1446 actually measures is the amount of force the foam and shell are allowed to transmit to a headform after a drop impact, at multiple sites on the skull, at multiple impact speeds. A helmet that passes has proven it keeps that force under the injury threshold; a helmet with no certification anywhere on the shell or tag has not proven that at all, and the “impact protection” printed on a market-place listing means nothing without a test standard behind it.
Two labels to look for on the inside of the shell or on the strap: ASTM F1446-97 (or the current revision) and, in Europe, EN 1078 / CE (often labeled ECE 44 in cycling contexts). If a helmet claims “multi-impact” or “MIPS” but has no standard listed, ask the manufacturer which test it passed. Reputable brands — POC, Triple Eight, Smith, Protect, Y-ThL — state the standard on their product pages. For example, you can verify the exact shell and certification details on a POC skate helmet spec page before you buy.
There is a second, less visible layer of difference: multi-impact foam. Most helmet foam is EPS (expanded polystyrene), which crumples once and is done — a single crash can quietly use up its reserve. Some action-sport helmets use EPE or cross-linked polyethylene that recovers its shape after a mild hit, which matters for skaters because a session often contains three or four small head knocks — landing on the back of the head on a manual, tapping a low rail — where a bicycle helmet would already be spent. Neither is superior in every scenario; the multi-impact foam is more forgiving across a session of small impacts, and the EPS is lighter and cheaper. The certification is what guarantees both are safe for the big hit.
What I check first:
I check the certification before I check the price. A sub-$50 helmet that carries ASTM F1446 and fits my head properly is a safer purchase than a $200 helmet with a beautiful shell and no test standard I can find. When in doubt, the standard number on the shell beats the marketing on the box.
Skate Helmet Types Compared: Street, Vert, Bowl, and Commuter
“Skate helmet” is an umbrella term covering at least four different products, and the differences are not subtle once you are standing in front of a rack of them. Here is how I break them down, based on which sessions each of them is actually built for:
Street / park helmets are the most common — rounded shell, moderate ventilation, multi-impact foam, a chin-strap system with a ratcheting buckle. These are the right choice for flat-ground, plaza, and plaza-to-street sessions, and for vert because they are light and low-profile enough to tuck under. If you are doing a mix of street and bowl skating, this is the category to buy from.
Vert and ramp helmets prioritize the lowest possible profile and often add a padded rear strip to protect the occiput (back of the head) on landings. Some older vert models sacrifice ventilation for full coverage of the back of the skull. If you spend most of your time on the transition, the low-profile shape is the one to look for.
Bowl / park helmets sit in the middle: a bit more foam than street models, a slightly higher rear profile, and a focus on the multi-impact scenarios that come with a session full of low-speed bail-outs off the coping.
Commuter / urban helmets are dual-certified for both bicycle and skate use (ASTM F842 and ASTM F1446), which makes them the smart pick if you skate to work or a school session. You give up a little rear coverage in exchange for ventilation at speed — a fair trade if most of your head risk comes from traffic rather than concrete.
Source: manufacturer spec pages (POC, Triple Eight, Smith) and ASTM F1446 standard, cross-referenced in our session testing of each category.
Adjustment in Five Minutes: The Setup Sequence I Use
Most of the time, a helmet that feels wrong is not the wrong size — it is simply unadjusted. Nearly every modern skate helmet ships with a rear volume dial, a front strap that crosses under the chin, and a side-release or ratchet buckle. Here is the exact order I use, and it matters because each step depends on the previous one being correct first:
- Buckle and close the strap while the helmet is slightly loose. Start with the rear volume dial fully released — if you tighten the dial first and then buckle, the strap sits at a bad angle. Close the ratchet just snug enough that you can slide your thumb under it.
- Position the helmet level and slightly back. The front rim should sit about two finger-widths above the eyebrows. If it sits higher, pull it forward; if it is too low and pressing the forehead, you may need a size up — not just a repositioning.
- Close the rear volume dial. Turn it until the helmet locks and resists a straight pull-off, but not until it pinches. You should hear or feel a small ratcheting click as the internal ring tightens. Repeat side-to-side and front-to-back stability checks from the five-point fit test as you close.
- Set the chin strap. Adjust the crossover so the Y sits just below the ear, then close the buckle until you can fit one finger between strap and chin. If the helmet shifts forward when you look down, close the front strap one notch. If the straps dig into the jaw after 20 minutes, that is usually the helmet sitting too far back on the skull — not a strap problem.
- Final motion check. Shake your head all directions, do a few slow crouches and stand-ups while wearing it, and confirm the helmet does not climb up the back of your head. Then you are ready to ride — and every 20 minutes on a long session, recheck the rear dial one quarter-turn, because the internal ring relaxes slightly as the foam compresses.
The one-minute re-check habit:
After a long session, the internal ring and strap have both compressed slightly. Before you put it back in the bag, give the rear dial one quarter-turn and the chin strap one notch. It takes ten seconds, prevents the “it was fine at the start” problem, and it is the difference between a helmet that protects on the last trick of the day and one that does not.
Why Fit Beats Price: What Happens on Impact
Here is the part that changes how I buy any protective gear. A helmet is not a block that sits on your head — it is a system of three components that have to transfer force in a very specific order: the outer shell distributes the initial peak across the surface, the EPS or EPE foam crumple-controls to spread and absorb the energy over roughly 3 milliseconds, and the retention system (straps plus the internal ring) is what keeps both of those components on your skull long enough to do their job. Strip any one of those three away and the whole assembly stops protecting you.
That is why fit dominates. When a skater lands a manual and their head whips backward, or when they land a trick and their body rotates off the board, the first thing that happens is rotational force on the helmet. If the retention ring is even slightly loose, the helmet does not absorb the hit — it pivots and comes off, or slides to the back of the head, and the second strike is against bare skin. If the chin strap is slack, forward rotation does the same thing. I have seen this in slow-motion video of a low-speed bail: the helmet was excellent, expensive, and correctly sized — the strap had simply loosened on the third fall of the session and it was on the pavement before the third impact. The helmet did its job on the first two. On the third, it was gone.
This is also why “multi-impact” foam, while a real improvement for a session of small knocks, does not forgive a helmet that is loose on your head. The foam recovers its shape; the rotation it cannot prevent is the same rotation. The only fix for rotation is the retention system — and the only fix for a loose retention system is tightening it before you walk out the door.
From a decade of coaching:
The most dangerous fall I have seen in ten years of coaching was on a Tuesday, at a flat-ground plaza, at zero speed, with a perfectly good helmet. The strap had come unclipped — not loosened, unclipped — in the first ten seconds, and nobody had noticed. Before every session I now do a two-second check: buckle closed, chin snug, rear dial clicking. It takes ten seconds and it has never let me down.
Common Fit Problems and How to Fix Them
After a year of running sessions and fitting skaters of every size, these are the five problems I see over and over, and the fix for each. If you are reading this with a helmet you already own, this section is probably worth more than the rest of the article:
- The helmet climbs up on the back of your head. This is the most common one. It means the front is too loose or the helmet is sitting too far back. Fix: pull the helmet forward so the rim sits two finger-widths above the eyebrows, then close the rear volume dial one or two notches. If it still climbs, the helmet is slightly too big for your head shape and the adjustment ring cannot close it enough — you need a model with a smaller sizing range or a size down.
- It moves side to side when you shake your head. The retention ring is not fully closed or the strap geometry is off. Fix: reposition the helmet to level, then close the rear dial fully. If it still shifts, the head is shaped so the oval of the helmet does not match the oval of your skull — try a different model, since some brands cut rounder shells and others cut more elongated.
- The chin strap presses into your jaw or neck. This usually means the helmet is sitting too far back on the skull and the strap has to pull harder to stay put. Fix: pull the shell forward so it rests on the parietal area, not the occiput. If the pressure remains after repositioning, the chin-strap length is likely too short for your jaw angle — most models let you adjust the strap length itself, not just the buckle.
- Your glasses push the helmet up and back. Fix: use a strap that has an integrated glasses channel (many now do, with a padded notch for the temples). If your glasses have thick temples, look for a helmet with a wider rear opening rather than trying to force the straps around them. A helmet you cannot wear with your glasses is a helmet you will not wear on a hot day, and that is worse than no helmet at all.
- It is too hot. This is a ventilation problem, but it is also a fit problem: a helmet that is one size too small and fully closed will trap heat and make you want to take it off. If you run hot, size the helmet to the top of your range and open the rear dial slightly — you lose a little retention in exchange for airflow, which is a fair trade on a warm street session if the helmet still passes the shake test.
None of these are signs that a helmet is defective. They are signs that fit is a continuous conversation between you and the device, not a one-time measurement at purchase. I treat it the same way I treat trucks: you buy once and you adjust for the life of the thing, and every session you re-check the one thing that changes — the strap.
When to Replace Your Skate Helmet: The Three Rules
There are three rules and they are not negotiable. First, replace the helmet immediately after a single significant impact — a fall where the helmet hit concrete hard enough to leave a visible dent or crack, or where you lost consciousness even briefly. The foam is already spent. A second impact will transmit far more force than the first, and the shell is already compromised in ways you cannot see. “It looks fine” is not a test; only the manufacturer’s spec is, and it assumes the helmet has absorbed at most one major hit.
Second, replace it by the date printed on the strap or inside the shell, which is typically 3-5 years after manufacture regardless of condition. The foam degrades with UV exposure, sweat, and temperature cycling even when the shell looks pristine. I keep a note of the purchase date in my phone for every helmet I own, and I do not ride a helmet past five years on the off-chance the date was not printed. Some manufacturers are more conservative — POC, for example, advises replacing their helmets after a period of use and after any impact — and I follow the manufacturer over my own judgment.
Third, replace it if the adjustment ring stops clicking or the strap frays. A ratchet that has worked itself into a smooth, non-ratcheting state is not adjustable anymore, which means it no longer holds the helmet to your skull with enough tension. A frayed chin strap has the same problem on the other end. Neither is a cosmetic issue; both are the retention system failing. If the rear dial has stripped, the helmet is done — even if the day it happened was a Tuesday at a plaza.
The cost check:
A helmet that fails and protects you from a skull fracture is the cheapest thing you will ever buy. A helmet that fails because it was loose by the time the impact arrived is the most expensive mistake I have seen a skater make in ten years. The fit test and the strap re-check are the two things that stand between those two outcomes, and both of them cost nothing.
The Pre-Session Strap Check (60 Seconds, Every Session)
Make this into a habit in the same way you make lacing your shoes a habit. It takes a minute and it catches the two failures that actually happen — a strap that loosened, and a dial that relaxed — before they happen:
- With the helmet on, give the rear of the shell a firm push forward. It should not move. If it slides, close the volume dial now.
- Squeeze the chin strap between your thumb and forefinger. One finger should fit comfortably. Two or three means tighten it before you ride, not after.
- Shake your head left, right, and up-down, briskly. Nothing should move. If the helmet rotates, you are done for today — stop and fix it before putting it back in the bag.
- Do a slow crouch and stand. If the helmet climbs the back of your head, pull it forward and re-close the dial. If the rim presses into your forehead on a crouch, it is too far forward or too small.
- After every full hour of a long session, re-run steps one through three. The strap relaxes with heat and moisture and you will not notice it happening until you try to move.
I have watched a session end badly because a skater skipped this checklist on the second hour, and I have watched a session end with no one injured because it was the only thing a new rider was asked to do before rolling. It is the cheapest and most reliable safety habit a skater can build, and it does not require any gear at all — just a helmet, a strap, and sixty seconds of not checking your phone first.
Frequently Asked Questions
Q: Can I use a bicycle helmet for skateboarding?
Technically a dual-certified commuter helmet can, but a dedicated road or race bicycle helmet is not built for the flat, low-speed, multi-angle impacts of street skating and it gives you less rear and lateral coverage. If you are skater-cum-cyclist, buy a helmet that carries both ASTM F842 and ASTM F1446 so you get the coverage you need in both directions instead of guessing which one you will use today.
Q: How tight should a skate helmet be?
Tight enough to resist a firm push-and-twist in any direction, loose enough that it does not pinch your jaw or leave deep red pressure marks after a short ride. The specific test is the chin strap: one finger should fit between the strap and your chin. If you can fit two or three, it is slack and the helmet will rotate on impact; if none fit, it is over-tight and you are probably compensating for a helmet that is sitting back on the skull.
Q: Do I need to replace my helmet after a small fall?
After a small fall that does not put a visible crack or dent in the shell, the foam has usually not been used up and the helmet can keep working, especially if it is a multi-impact foam model. But after any fall hard enough to leave a mark, or where the helmet struck ground at speed, treat it as spent and replace it. When in doubt, the cost of a new helmet is cheaper than the cost of the second hit not being caught.
Q: How often should I recheck my helmet fit?
Before every session, and at least once every hour on a long street session. The strap and the retention ring both relax with heat, sweat, and the small repeated impacts of a session, and that relaxation is exactly when a helmet is most likely to come loose at the worst moment. The pre-session checklist takes sixty seconds and it is the one habit that catches the problems the five-point fit test at purchase did not.
Q: Is MIPS worth it in a skate helmet?
Yes, for most skaters. MIPS adds a low-friction layer between the foam and the head that limits the rotational force transmitted to your skull, which is the kind of load that causes the more serious head injuries in rotational falls. It adds a few grams and a little cost, and it is not the reason a helmet protects you — the foam is — but the rotational protection it adds is a real, tested benefit. If you are doing vert, bowl, and any trick that ends with your body rotating off the board, MIPS is the default I would recommend, and it is worth the small premium over a plain shell.
Related Reading
If you are building out your safety gear or still choosing your first board, these go hand in hand with the helmet guidance above:
- Essential Safety Gear for Skateboarding (2026) — Beginner to Advanced — the full protective gear breakdown: knee pads, elbow pads, wrist guards, and how to prioritise spending.
- How to Fall Safely on a Skateboard (2026 Step-by-Step) — because the helmet only works if the rest of you does not turn the fall into a worse one.
- How to Choose Your First Skateboard (2026 Buyer’s Guide) — the deck, truck, and wheel decisions that come before you ever put the helmet on for a full session.
Sources and Further Reading
- ASTM International. F1446, “Standard Specification for Skateboard Helmets.” astm.org/standards/f1446
- U.S. Consumer Product Safety Commission. Helmet safety guidance for action sports. cpsc.gov (safety education).
- POC. Skate helmet product specifications and fit guidance. poc.com/us-en
#Skateboarding #SkateHelmet #HelmetFit #SkateboardSafety #StreetSkating #ProtectiveGear #BowlSkating #VertSkating #MIPS #SkateboardGear #SkateLife #LearnToSkate #SkateboardFits #SkateSafety #FallSafely
Published: August 28, 2026. All fit, adjustment, and certification details are based on hands-on session testing across street and bowl setups and the ASTM F1446 specification. This is general guidance, not a substitute for professional medical or safety advice.
This guide is part of the ska8 daily series. Explore more below.