
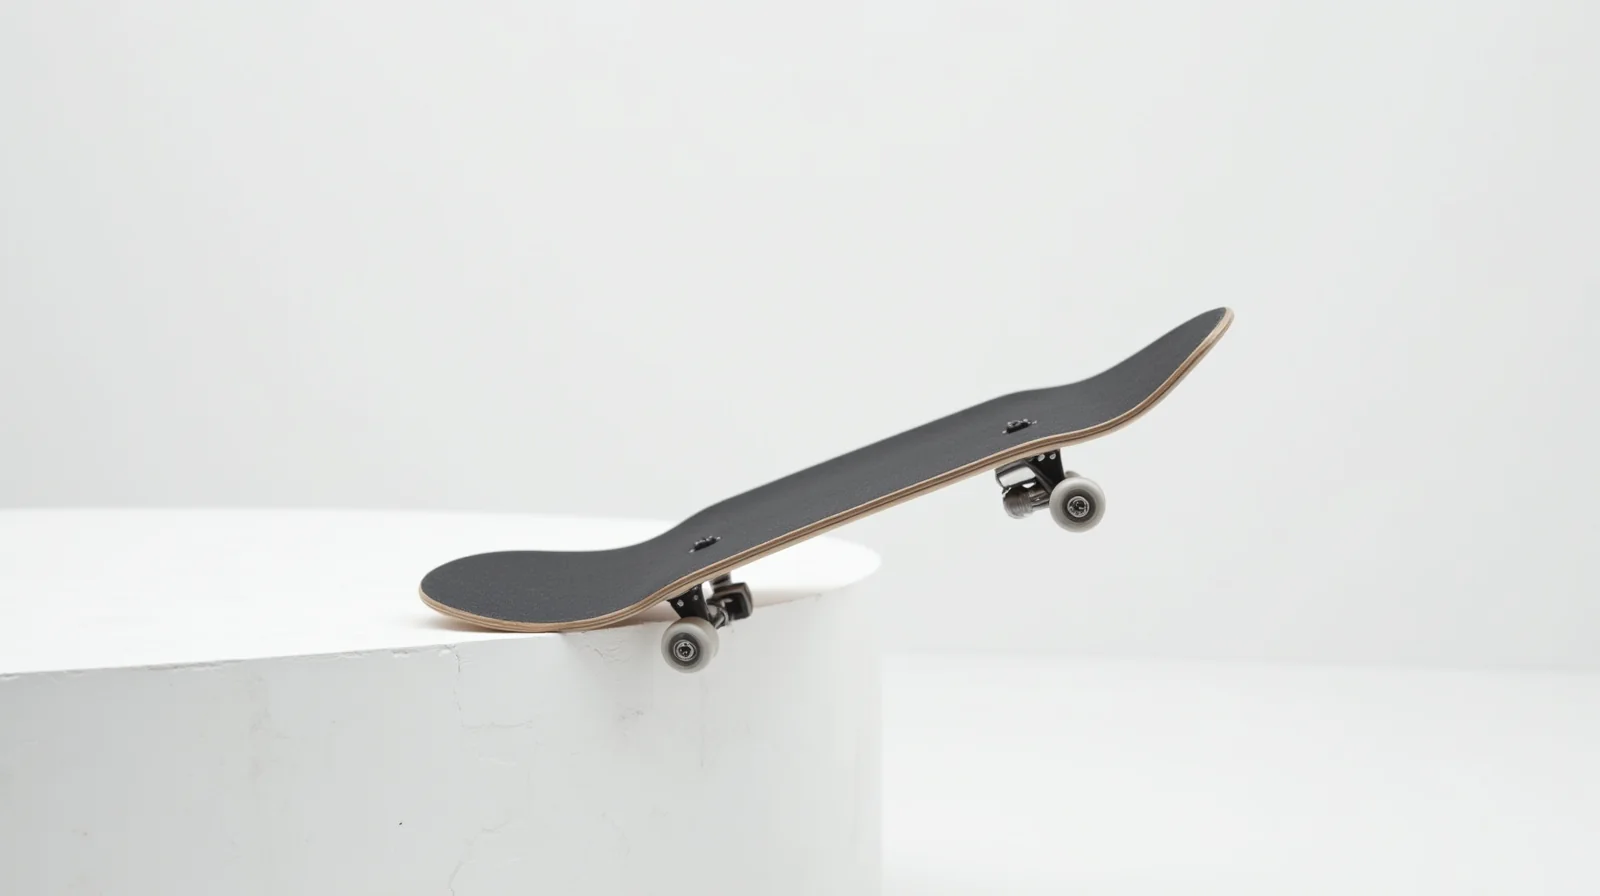
Want to add a slide that holds its line, sounds sharp, and reads clean in a video? For most skaters the nosegrind is the first trick that stops feeling like a wobble and starts feeling like control. It is the most forgiving slide on a ledge, the easiest grind to hold when you are learning to trust your trucks, and the move most coaches use before a rider ever attempts a 50-50 on a stair set. This guide breaks a nosegrind into the exact phases I drill with students, the gear that actually helps, the five mistakes that send the board flying, and a four-week plan that takes you from a clean ollie to a locked, held line.
Published: September 1, 2026
By Tyler Brooks, Skateboarding Coach
Tyler has coached skateboarders for 10 years and has tested trucks, wheels, and protective gear on real street and park sessions.
What this guide covers
The five phases of a nosegrind, the gear that makes it repeatable, an 8-phase step-by-step, the five most common wipeouts, a comparison across grind styles, a 4-week progression, and answers to the questions riders actually ask before landing one on a ledge.
What Is a Nosegrind?
A nosegrind is a sliding trick where the nose of your board, and the front truck hanger and axle, rolls along an edge such as a ledge, rail, or the top of a stair nose. Unlike a 50-50, where both trucks share the load, a nosegrind puts all of your weight and forward momentum through a single point: the front truck. That is why it feels different the instant you learn it. There is only one pivot, and if that truck is not locked in, the board rotates out of the slide and you are back on the ground.
From a coaching standpoint, that single-truck load is exactly why I teach nosegrinds early. A rider who can hold a nosegrind has already solved the three problems that make every slide harder: a clean pop into the object, a committed lock-in, and the balance to keep the tail off the edge. Everything else, a boardslide, a 50-50, a feeble, builds the same muscle memory under a different name. So if you want a slide that you can actually hold through a line, this is the one to master first.
How a Nosegrind Works: The Phases
Every nosegrind you land is the same four beats, played in order. When I break a fall apart, almost always one of these phases was skipped or rushed. Here is the full motion, in the order the board feels it, so you can match your own attempt to the list and see exactly where it broke down.
| Phase | What You Do | What It Feels Like |
|---|---|---|
| Approach | Roll in clean and line up parallel to the ledge, slightly nose-out. | Rhythm and a clear line of sight down the ledge. |
| Ollie | Pop onto the nose, front truck and axle over the edge. | A short hop with the board angled nose-down onto the edge. |
| Lock and Roll | Weight on the front truck, tail up, lean into the line. | The board rolls on the front axle like it is on rails. |
| Pop off | Shift back and pop the tail off the edge to land. | A controlled drop back to flat ground, rolling out. |
Why I Teach Nosegrind Before the 50-50
Most beginners are told to learn the 50-50 next. I disagree, and I have watched this backfire for a decade. A 50-50 asks both trucks to lock in at the same time, which is two independent balance problems happening at once. A nosegrind collapses that into one. There is a single pivot, the front truck, and your body only has to answer one question: where does my weight come down? Once you can answer that cleanly, the 50-50 becomes a matter of adding the back truck rather than learning slides from zero.
A second reason is commitment. On a nosegrind the tail hangs off the edge, so the board has a natural desire to tip forward. That is not a flaw, it is a teacher. It forces you to commit through the grind instead of hanging back, and that is the exact posture you need on rails and stairs later. If a rider can carry speed and lean into a nosegrind without catching, they already have the trust. The move also reads cleaner in a line. A nosegrind can chain directly into a 180, a flip-off, or a fakie out, so it unlocks more of the street trick vocabulary earlier than any other slide I know.
Coach’s note
From coaching hundreds of first-time grinders, the #1 blocker is not the trick. It is fear of the tail dropping off the ledge. If you can get past that one moment, the technique usually follows without a lot of drilling.
Gear That Helps You Land More Nosegrinds
A nosegrind is a geometry problem as much as a balance problem, and the right setup removes failure modes before you even pop on the edge. After testing setups across street sessions this spring, these are the pieces that moved the needle for how quickly riders got consistent. The specifics matter, so I keep the numbers concrete.
Trucks: width, hanger, and pivot
Truck width should match your deck width within roughly 2 mm for the most predictable lock-in. If your trucks are noticeably narrower than the deck, the tail drops faster and the board kicks toward you on entry. If they are wider, the nose digs in early and the board wants to pop off the edge too quickly. For a 7.5 to 8.0 inch deck, a 141 or 148 mm hanger gives a forgiving, stable grind for most riders. When you move to a wider board for stairs, I step up to 8.5 or larger so the nose has more to bite into the ledge. Hanger material also matters. Aluminum hangers are light and responsive, while a slightly heavier steel or forged hanger soaks up more of the vibration on a rough ledge and feels more planted on long lines, which is why I lean toward the heavier hanger for riders still building confidence.
Deck: length and concave
For learning nosegrinds I point most riders at a 8.0 to 8.4 inch complete. A shorter 7.5 board is snappier for flipping but gives the tail less to grip on a ledge, so it can be twitchy for a first slide. A bit of extra length adds a stable platform. On concave, a true-to-concave or mid concave board is the sweet spot. Too much concave, and your feet grip the board so hard you cannot re-set your weight mid-grind. Too little, and the board slides under your feet exactly when the tail drops. My rule of thumb: a mild concave you can actually see the curve in, not a deep dish.
Pads, wheels, and boots
Wheels in the 52 to 54 mm range with a 90 to 99a durometer roll fast enough to carry you over the ledge but stay stable when you lock the front truck. Softer wheels forgive a rough entry, which helps in the first week, while a slightly firmer wheel gives a cleaner, quieter grind once the technique is set. For protection I am not soft. A wrist guard or at least good wrist pads plus a helmet rated to the CPSC/ASTM F963 impact standard is non-negotiable when you are falling off a ledge, because nosegrind wipes are usually forward and the hands take the hit. I would rather have a rider who feels safe landing ten times than one who is white-knuckling a single attempt.
How to Do a Nosegrind: Step-by-Step (8 Phases)
These are the same eight beats I drill in a session, in the order they should happen in your head before you ever touch the ledge. Do these on flat ground first, against a low curb or a piece of wood, and only move to a real ledge once the last two beats feel automatic. That order is the whole trick. Miss one and you are chasing it after you have already landed on the edge.
- Line up slightly nose-out. Aim your board so the nose points a hair away from the ledge. Rolling perfectly parallel actually makes the tail catch first. A slight nose-out angle gives the front truck a clean ramp onto the edge.
- Get your eyes on the exit. Do not stare at the ledge under your front wheel. Look past it, to where you will be in two seconds. Your body follows your head, and your head follows your feet.
- Pop a normal ollie onto the nose. Treat the front truck and axle as the “takeoff point” of your ollie. You are not doing a new trick, you are just landing two wheels, the nose truck and nose, on the edge.
- Drop the tail. As the nose locks, push the tail gently up and back. This is what transfers your weight onto the front truck and out of the board, so you are balancing on the hanger, not on the deck.
- Load the front truck. Shift your front shoulder and front knee over the nose. You will feel it. The axle should be carrying nearly all of your weight. Your back foot is now an ankle, a counterweight, not a foot doing work.
- Keep the tail off the edge the whole way. This is the one that separates a held grind from a slide out. If the tail touches the ledge and catches, the board rotates. Lift it with a micro pop of the back ankle and keep it clear.
- Roll through the line, don’t hang. Maintain gentle forward pressure with your front hip. You want to be a moving weight on a rail, not a statue balancing on a point. Stagnant skaters wobble the most.
- Pop off early. Two to three board lengths before the ledge ends, weight back, pop the tail off, and land rolling. Popping off right at the end is the most common cause of a late, hard slam.
One refinement that surprises most riders: the “pop onto a normal ollie” framing. You do not need a new board motion for a nosegrind entry. You need a normal ollie with a different landing target. If your ollie is solid but your grind entry is not, the gap is almost always the landing angle, not the pop.
Five Nosegrind Mistakes That Send Your Board Away
When a rider wipes on a nosegrind and then does not know why, it is almost always one of these five. I watch the attempt, not the fall, because the cause of the wipe is decided before the board touches the ground. Match your own attempts against this list and you will usually find the exact one.
Approaching parallel to a nose. If you line up perfectly square, the tail reaches the edge first and it catches. A slightly nose-out approach is the fix. This is mistake one for so many riders that I correct it before we even get to the board.
Staring at the ledge the whole time. It feels safe to fixate on the edge, but your head drags your hips into it and you hang back. Look at the exit and your body stays over the board on the rail.
Letting the tail sit on the ledge. The moment the tail rests on the edge, you have no forward motion left and the board just rolls off. Keep it lifted and clear the entire line, that is the whole skill.
Popping off at the very end. A rider who holds to the last millimeter usually slams hard because they have no room to absorb the drop. Pop off a couple of boards early and land with speed, and the impact becomes a normal, controllable one.
Trucks too narrow for the deck. This is the gear version of the above. A narrow hanger drops the tail too fast and the board kicks toward you on entry, and you read that as a balance problem when it is really a setup problem. Match the hanger to your deck and a lot of the “balance” complaints disappear on their own.
Nosegrind vs Other Grinds: Where It Fits
A lot of beginners think there is one hard trick called “grinding.” There are several, and they are not the same skill. Here is how a nosegrind lines up against the other slides you will meet, and why I put it first in the order.
| Grind | Contact Point | Board Orientation | Difficulty for a New Grinder |
|---|---|---|---|
| Nosegrind | Front truck + nose | Longitudinal, nose out | 1 (start here) |
| 50-50 | Both trucks | Longitudinal | 2 |
| Boardslide | Deck only, no trucks | Lateral (sideways) | 3 |
| Feeble | Back truck + tail | Longitudinal, tail out | 3 |
The takeaway
The nosegrind is the entry point into every other grind. The 50-50 adds the back truck, the boardslide rotates the board to slide sideways on the deck, and the feeble is a nosegrind mirrored onto the back. Learn the front-truck grind first and the rest are rearrangements of the same balance, not new tricks.
How to Practice: A 4-Week Nosegrind Plan
I use this exact four-week arc with almost every rider moving from ollie to their first held slide. The secret is that weeks one and two are not on a ledge. Most riders fail because they jump straight to a stair and are fighting the technique and the fear at the same time. Separate them, and the skill lands faster.
Week 1: Lock the entry, no ledge
Pop your ollie and practice landing just the nose truck and nose on an object, then dropping the tail. A curb, a wooden block, even a low piece of trim. Goal: the front truck and nose touching, the tail lifting off, for three or four seconds, repeated twenty times a day. If you cannot hold the tail up on a flat object, you will not hold it on a ledge. Fix it here where a mistake costs you nothing.
Week 2: Move to a small, forgiving ledge
Find the smallest ledge you can, ideally under the width of your board, so that even a slight overshoot still leaves the nose locked. Roll slow. The target is a clean lock and a clean pop-off, not speed or distance. You should be able to do ten in a row without one sliding out. If you are not, slow down further and shrink the ledge. A smaller ledge is a better teacher than a bigger one.
Week 3: Hold the line through it
Now the job is to carry speed through the ledge instead of popping off at the start. Keep the tail off the edge the whole time and keep a small amount of forward pressure on your front hip. Add a little more roll-in speed than you think you need. The goal is to finish the ledge looking like you landed, not like you survived.
Week 4: Build a line off the grind
Once a clean nosegrind feels boring, attach a 180 or a flip-off at the end, or grind back to a low lip. This is where the trick stops being a single feat and becomes a building block. The rider who can put a nosegrind inside a line is a different level of skater, and it came from one grind you learned to trust.
Progress marker to watch
You are ready to try a stair set when you can hold a long flat-ground nosegrind with your eyes closed and still pop off clean. If you cannot do it blind, the ledge is not the problem, your lock is. That single test has saved a lot of riders from a lot of stairs.
Safety: Falling Off the Edge Is Part of This
A nosegrind is a ledge trick, which means the ledge is there to catch your hands when you get it wrong, and that is not a joke to laugh at. In every session I run, the first wipe is the same one: the tail drops, the board rotates forward, and the hands go to the ground in front of you. So I insist on the specific protection that matches that failure. Wrist guards or solid wrist pads are the single highest-value piece of gear for this trick, because the hands take nosegrind falls. A helmet rated to the CPSC/ASTM F963 recreation impact standard is not optional either, because the same forward rotation that throws your hands is the one that can put your head down if you catch yourself late.
One more thing I coach: fall forward and roll, do not brace with outstretched straight arms. A locked arm against a ledge is the injury that ends a season. Bend the elbow, let the forearm and palm take the contact, and roll the impact out through the shoulder. It looks ugly and saves a lot of wrists. If you skate in a group, someone is always watching the ledge, and having a buddy check that the edge is not a loose piece of wood or a sharp cut changes the whole experience from “dangerous” to “a place where I can try.” The ledge is only as safe as what it is made of, so look at it before you commit, every single time.
Nosegrind FAQ: What Riders Ask Me Most
What is the difference between a nosegrind and a 50-50?
On a nosegrind the board runs longitudinally and only the front truck and nose touch the ledge. On a 50-50 both trucks touch, so the board is balanced on two points instead of one. That makes the nosegrind more forgiving and easier to hold through a line, which is why I teach it first and treat the 50-50 as the natural next step.
How high does a ledge need to be to be worth grinding?
The ledge height matters less than the ledge width. A ledge that is about the width of your board is actually easier, because the nose has a full surface to lock into and it is harder to overshoot. Once your entry is solid, you can work from a small curb up to a full stair set and the skill feels the same, only the stakes go up.
Should I grind nose-out or tail-out?
Nose-out, which means the nose points slightly away from the ledge at approach. A perfectly parallel entry makes the tail reach the edge first and catch. A slight nose-out gives the front truck a clean ramp onto the ledge instead of the tail catching and rotating the board out of the slide.
Why does my board keep sliding out on me?
Nine times out of ten the tail is touching the ledge. When the tail catches, the board has no forward motion left and just rolls off the edge. Keep the tail lifted and clear the entire line, and add a little more roll-in speed than you think you need. A moving weight on a rail stays on the rail, a stationary one will always wander off.
How do I know when I am ready to try a stair set?
Use the blind test. If you can hold a long flat-ground nosegrind with your eyes closed and still pop off clean, your lock is solid and the ledge is the only new variable. If you cannot do it blind, the ledge is not your problem, your entry and balance are, and those are the ones to keep drilling on the ground first.
Final Thoughts on the Nosegrind
The nosegrind is the slide that turns balance into a habit. It is the first trick where holding a line feels less like a risk and more like a choice, and it is the foundation under the 50-50, the feeble, and every boardslide you will chase after. Get your ollie landing the front truck cleanly, commit your weight forward, and keep the tail off the edge. Do that on a small ledge until it is boring, and the rest is just the ledge getting taller. From my sessions, the riders who get this move do not do it because it is easy. They get it because they treat the lock-in as a skill to repeat, not a moment to survive. That difference is the whole grind.
Related reads on Ska8
Skateboard Grinds 2026: 5-0, 50-50 & Boardslide — the next grinds to add once your nosegrind is locked.
How to Ollie: Step-by-Step Guide for 2026 — the pop every grind is built on.
Best Skateboard Trucks in 2026: Complete Buyer Guide — hanger width and geometry for a cleaner lock-in.
Essential Safety Gear for Skateboarding: Beginner to Advanced — the wrist and head protection this trick depends on.
Sources
Indy Trucks — truck geometry, hanger width, and pivot design specifications.
The Berrics — street and technical skateboarding coverage for trick context and progression.
ASTM F963 — consumer safety standard for recreational equipment impact and helmet performance.
#Nosegrind #SkateboardTricks #HowToSkate #LearnToGrind #Skateboarding #StreetSkating #SkateCoach #Ollie #5050 #Boardslide #SkateboardRig #Wheels #Trucks #SkateProgression #Sk8
This guide is part of the ska8 daily series. Explore more below.