
Published: September 7, 2026
By Tyler Brooks, Skateboarding Coach
Tyler has coached skateboarders for 10 years and has tested trucks, wheels, and protective gear on real street and park sessions.
A tailslide is one of the most satisfying slides you will ever land. You catch the tail of your board on a ledge, let it run out along the edge, and roll away clean. It reads as fast, technical, and confident. From coaching hundreds of skaters work up to their first slide, I can tell you the tailslide is the best entry point into the slide family. It is forgiving, it teaches you how to commit to an edge, and once you have it, every other slide gets easier.
This guide breaks down exactly how to land your first tailslide in 2026, step by step. You will learn the body position, the approach angle, the timing of the pop, and the specific mistakes that keep beginners stuck. I will also cover the gear that makes the trick cleaner, the variations that grow out of it, and a short FAQ that answers the questions I get most often on the session line.
If you are brand new to skating, start with our how to ollie guide and our first skateboard buyer’s guide before you start working on slides. You need a solid ollie and a comfortable board before an edge slide makes sense.
What Is a Tailslide?
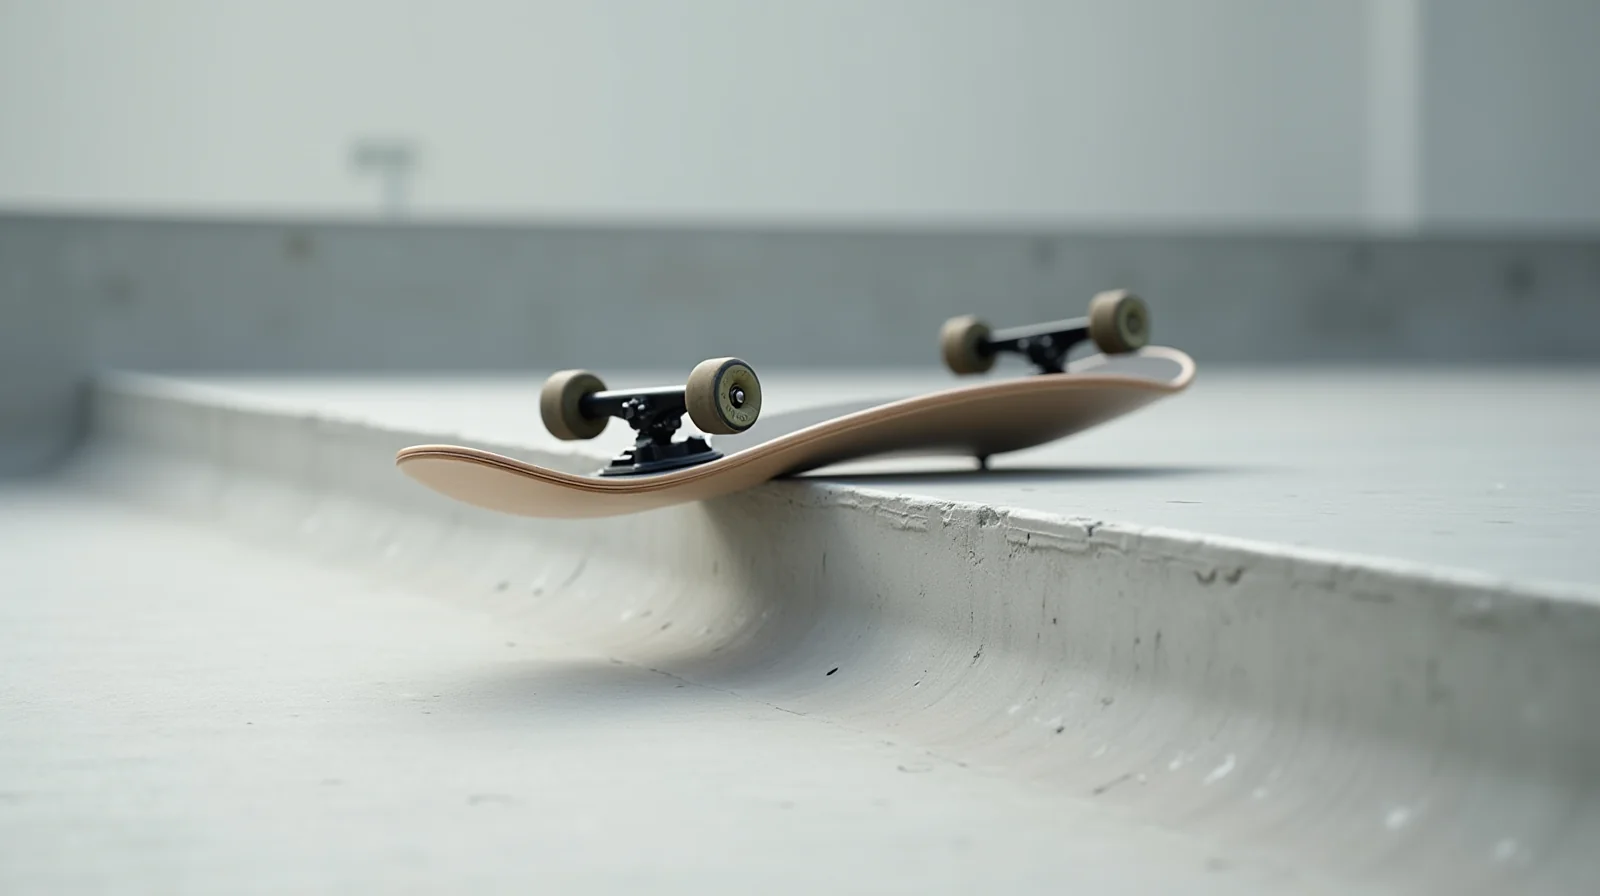
A tailslide happens when you approach a ledge or rail, pop up onto it, and catch the tail of your board so it slides along the top surface of the obstacle. Your body travels in the same direction you were rolling, your back is to the direction of travel on the board, and your feet stay on the board for the whole line. When you reach the end, you pop off and roll away.
The defining detail is which part of the board catches. On a tailslide, it is the tail. On a 5-0 or boardslide, it is the trucks or the flat middle of the board. This single difference is what makes the tailslide feel so different from a grind: the board is angled up and under you, and you are balancing on the tail contact point the entire way.
Here is the anatomy of a clean tailslide:
- Approach — you roll in on the side of the ledge where your tail will be the lowest point.
- Pop — you ollie up and onto the ledge, rotating the board slightly so the tail meets the edge.
- Slide — your weight is centered, your board is balanced on the tail, and you let it run out.
- Exit — you shift your weight forward and pop off the end as the tail leaves the ledge.
Tailslide vs Other Slides: A Comparison
Sliders and grinders get mixed up in conversation, so here is a clear reference table. The key columns are contact point (what touches the obstacle) and board angle, because those two facts determine how the trick feels and how you set up for it.
| Trick | Contact Point | Board Angle | Difficulty |
|---|---|---|---|
| Tailslide | Tail rail | Nose up, tail down | Beginner slide |
| 50-50 Grind | Both trucks | Flat | Beginner grind |
| 5-0 Grind | Rear truck only | Flat | Intermediate |
| Boardslide | Flat deck | Sideways, flat | Intermediate |
| Lipslide | Flat deck | Sideways, 180 rotated | Advanced |
Source: Compiled from Indy Trucks setup guides and The Berrics technical breakdowns.
Notice the pattern: slides keep the board angled, grinds keep it flat. The tailslide is the simplest angled contact, which is why it is the natural first slide. If you already have a nosegrind or a 5-0, the tailslide will click even faster because you already understand committing to a single point of contact.
How to Do a Tailslide: Step-by-Step
This is the progression I use when I coach. Do not skip steps. Each one builds a muscle memory that the next one depends on.
- Master the approach. Pick a low ledge, knee height or below. Roll in on the correct side so that when you jump, your tail naturally dips toward the edge. Your body should be slightly angled, not square to the ledge.
- Pop onto the ledge without sliding. For your first attempts, just ollie up and land on top of the ledge, then ride off. You are teaching your eyes and feet the height and the landing spot. Do this until it feels boring.
- Get the board angle right. As you pop, flick your tail down and your nose up slightly. You want the tail to meet the ledge first and the nose to clear it. If the nose hits, you will stall out.
- Catch and balance. Once the tail is on the ledge, drop your hips down and center your weight over the board. Look forward, not down at your feet. The tailslide balances on a small contact area, so a low center of gravity is everything.
- Run it out and pop off. Let the board slide to the end, then shift your weight forward and pop off with your front foot as the tail leaves the ledge. Land rolling forward in the same direction.
Coaching Tip
The single biggest reason beginners fail a tailslide is standing up in the slide. The moment your hips rise, your balance point moves off the tail and the board slides out from under you. Stay low, keep your knees bent, and let the ledge do the work.
Common Mistakes and How to Fix Them
After watching hundreds of first attempts, I see the same five errors over and over. If you are stuck, check this list first.
| Mistake | What It Looks Like | The Fix |
|---|---|---|
| Nose hits the ledge | Board stalls, you catch your edge | Pop more and flick the nose up earlier in the approach |
| Standing up mid-slide | Board slides out, you bail | Keep hips low and knees bent the whole line |
| Wrong approach side | Tail never reaches the edge | Line up so the tail is the low point on the jump |
| Looking down at feet | Balance wobbles, exit is messy | Look where you are going, not at your board |
| Weak pop | Tail barely touches, no slide | Practice the ollie height before adding the ledge |
Most of these are approach problems, not balance problems. If you fix your line and your pop, the balance part usually solves itself. That is the good news about the tailslide: the hard part is the setup, and the setup is something you can drill without a ledge by just practicing the board angle in the air.
Tailslide Variations to Grow Into
Once your regular tailslide is clean and repeatable, you have a platform to build on. These are the natural next steps, in the order I would work on them:
- Fakie tailslide — the same trick going backward. This is the logical next move because it reuses your regular body position in reverse.
- Nose-side tailslide — you approach on the opposite side so the nose leads and the tail still catches. It changes your angle and forces a cleaner pop.
- Lipslide — a full 180 rotation in the air onto a flat-deck slide. This is the advanced cousin and a big step up in commitment.
- Feet-out tailslide — you slide with your feet off the board for style. This is a finishing trick, not a learning step, so leave it for last.
I would get at least ten clean regular tailslides in a row before I would touch a fakie. Consistency first, variations second. If you jump to a variation too early, you will build bad habits that are harder to undo than they are to prevent.
Best Obstacles for Learning the Tailslide
Not every ledge is a good first ledge. Here is what to look for when you scout a spot to practice:
- Height — knee height or a little under is ideal. A ledge that is too high makes the landing scary and the commit bigger than you need it to be.
- Material — smooth concrete or painted concrete is best. Rough or chipped edges grab the tail and kill the slide, which is frustrating for a learner.
- Length — a longer ledge is more forgiving because you have more room to find your balance. A short ledge punishes any hesitation.
- Clear exit — make sure there is open space past the ledge so you can roll away cleanly without hitting a wall or a gap.
If you are practicing in a park, look for the small mellow ledges near the bowl or the flatground area. Those are usually the least crowded and the safest for drilling. Our skate park guide walks through how to read a park layout and find the right features for your level.
Gear That Makes the Tailslide Cleaner
The tailslide is less about special gear and more about having gear that is not working against you. Here is what I look for when I set up a board for slides:
- Trucks — a medium to slightly loose setup lets you flick the board angle easier. If your trucks are too tight, the pop to get the tail down feels stiff. See our skateboard trucks buyer’s guide for how to dial in hanger width and bushings.
- Wheels — smaller, harder wheels (around 50mm at 99a) give a snappier pop and cleaner edge contact. Big soft wheels are great for cruising but they make the board feel heavy in the air. Our wheels guide covers the full durometer and size breakdown.
- Protective pads — you will catch yourself on this one, so wear pads. A tailslide that goes sideways lands on your hands and shins. Our essential safety gear guide covers the minimum setup that is actually worth wearing.
You do not need expensive gear to learn a tailslide. You need gear that is the right size for your feet and your style, and gear that is not so loose or so stiff that it fights your pop.
Safety: How to Fall Off a Tailslide
Every slide trick has a bad version, and knowing how to bail is part of learning it. Here is how I teach skaters to protect themselves when a tailslide is about to go wrong:
- Roll with the fall. If the board slides out, let your body follow it instead of bracing rigid. A roll absorbs the impact across your whole body.
- Keep your head up. The instinct is to look down and flail. That is how you get a chin or a wrist. Look forward and tuck your chin.
- Protect your hands. If you can, land on your forearms rather than your palms. If you are wearing pads, use them on purpose.
- Do not grab the ledge. Reaching for the edge on a failed slide usually twists your wrist or your shoulder. Let the fall be a fall and roll out.
Our how to fall safely guide goes deep on the rolling technique. Practicing falls on the ground before you even touch a ledge is one of the best things you can do for your confidence and your body.
How to Read a Ledge Before You Commit
Before you ever pop onto a ledge, you should be able to read it. This is the skill that separates skaters who land their first tailslide in a day from skaters who bail for a week. When I scout a new ledge with a student, I check four things in order.
- The edge profile. A crisp, square edge is the easiest to catch. A beveled or rounded edge rolls the tail off before you can balance on it. If the edge is worn smooth, the ledge is telling you it is not a good slide ledge.
- The takeoff side. Look at where you will be standing a second before you jump. If the ground is clean and flat, you can build a consistent approach. If there is a crack, a lip, or a lip of paint that changes your line, you will land differently every attempt.
- The landing side. Check what is past the ledge. You want a clean runout in the same direction you are rolling. If the ledge ends into a gap or a wall, the exit becomes the harder part of the trick and will hold your progress back.
- The width. A ledge that is at least as wide as your board is the most forgiving. You have room to find your balance point. A ledge narrower than your board means the tail is already overhanging before you even start, and any wobble sends the nose down.
Here is the habit I want you to build: do a full walk-around of any ledge before your first attempt. Spend thirty seconds looking at the edge, the takeoff, the landing, and the width. That thirty seconds is the difference between a productive session and a frustrating one, because it tells you whether the ledge is worth your time or whether you should find a better one.
One more reading habit that pays off: watch the ledge for a minute if other skaters are around. If nobody can land it, the ledge probably has a hidden flaw you have not found yet. If a lot of people are landing it, you are in the right place. The park is full of ledges that look similar but behave very differently, and learning to tell them apart is one of the fastest ways to improve your overall skating.
Tailslide FAQ
These are the questions I get most often when skaters are working on their first tailslide.
What is the difference between a tailslide and a lipslide?
A tailslide catches the tail with the board angled nose-up and you travel in the same direction. A lipslide is a 180-degree rotation in the air onto the flat deck, with your body facing the opposite way. The lipslide is the advanced version and a much bigger commitment.
How long does it take to learn a tailslide?
With a solid ollie and daily practice, most skaters land their first clean tailslide within one to two weeks of focused work. The exact time depends on your balance and how much you have already committed to other slides. If you have a 5-0 or a nosegrind, it will come faster.
Do I need to ollie high to do a tailslide?
No. You need enough pop to clear the ledge, which on a knee-height ledge is only a few inches more than a normal jump. A controlled, well-timed pop beats a big messy one. Focus on getting the tail to the ledge, not on height.
Which side of the ledge do I approach from?
You approach from the side where your tail is naturally the low point of your body. For a regular stance skater, that is usually the right side of the ledge. Set up, take one test jump, and check that your tail is dipping toward the edge before you commit to the slide.
Can I learn a tailslide on a rail?
Yes, but start on a ledge first. A ledge is wider and more forgiving, so it is a better place to learn the balance. Once your tailslide is clean on a ledge, moving to a thin rail is a small step. If you jump straight to a rail, the thin contact point will be a lot harder to catch.
The Bottom Line
The tailslide is the gateway slide. Get your approach angle and your pop right, stay low through the slide, and pop off the end with your front foot. Drill it on a low, smooth ledge until it is boring, then move to the fakie. That is the whole path, and it is a path that pays off for every slide you learn after it.
See Also
- Skateboard Grinds 2026: 5-0, 50-50 & Boardslide — learn the flat-board grinds that pair naturally with slides.
- Nosegrind 2026: How-To Guide, Setup & Step-by-Step — single-point contact tricks that sharpen your edge control.
- Best Skateboard Trucks in 2026 — dial in hanger width and bushings for a cleaner slide pop.
Sources
- Indy Trucks — Setup and geometry guides
- The Berrics — Technical trick breakdowns
- Skateboarder — Park and street technique features
#Tailslide #Skateboarding #SkateboardTricks #SlideTricks #SkateboardGuide #LearnToSkate #Skateboard2026 #SkateTricks #BeginnerSkater #SkateboardTips #StreetSkating #SkateboardingTricks #SkateLife #SkateboardTutorial #SkatePark
This guide is part of the ska8 daily series. Explore more below.