Have you ever cruised down the street only to hear that dreadful crack beneath your feet? Let’s talk about how you can fix a broken skateboard deck! Whether you’re performing tricks in a skatepark or simply enjoying a casual ride, your skateboard is your trusted companion. Yet, like all good things, it can face its share of wear and tear, particularly the deck. Luckily, fixing a broken skateboard deck is not as daunting as it may seem.
Understanding the Structure of a Skateboard Deck
Before diving into the repair process, it’s crucial to have a basic understanding of what you’re working with. A skateboard deck is typically made from multiple layers of wood (often maple), glued and pressed together for strength and flexibility. These layers can sometimes separate or crack due to heavy impact or prolonged use.
Layers of a Skateboard Deck
Most decks consist of 7-9 layers of thin wood veneers glued together. This is known as plywood. The outermost layers play a vital role in the deck’s flexibility and strength. Over time, water damage, impacts, and usage can affect these layers, leading to cracks or breaks.
Identifying the Type of Damage
Pinpointing the exact area and type of damage on your skateboard deck is the first step to fixing it efficiently. Is the crack on the nose, tail, or the center? Is it a minor surface crack, or has it broken entirely through the deck? Here’s a quick guide to help you assess:
Surface Cracks
Surface cracks are typically the least concerning and can often be repaired easily. They generally appear as small, thin lines on the surface of the deck.
Delamination
Delamination occurs when the layers of wood start to separate, often due to moisture. This can be a bit trickier to fix, but it’s certainly manageable with the right tools and techniques.
Full Break
A deck that is fully broken may have snapped into two separate pieces or is hanging on by the last few layers of wood. This type of damage might require more intensive repair or replacement.

Tools and Materials Needed
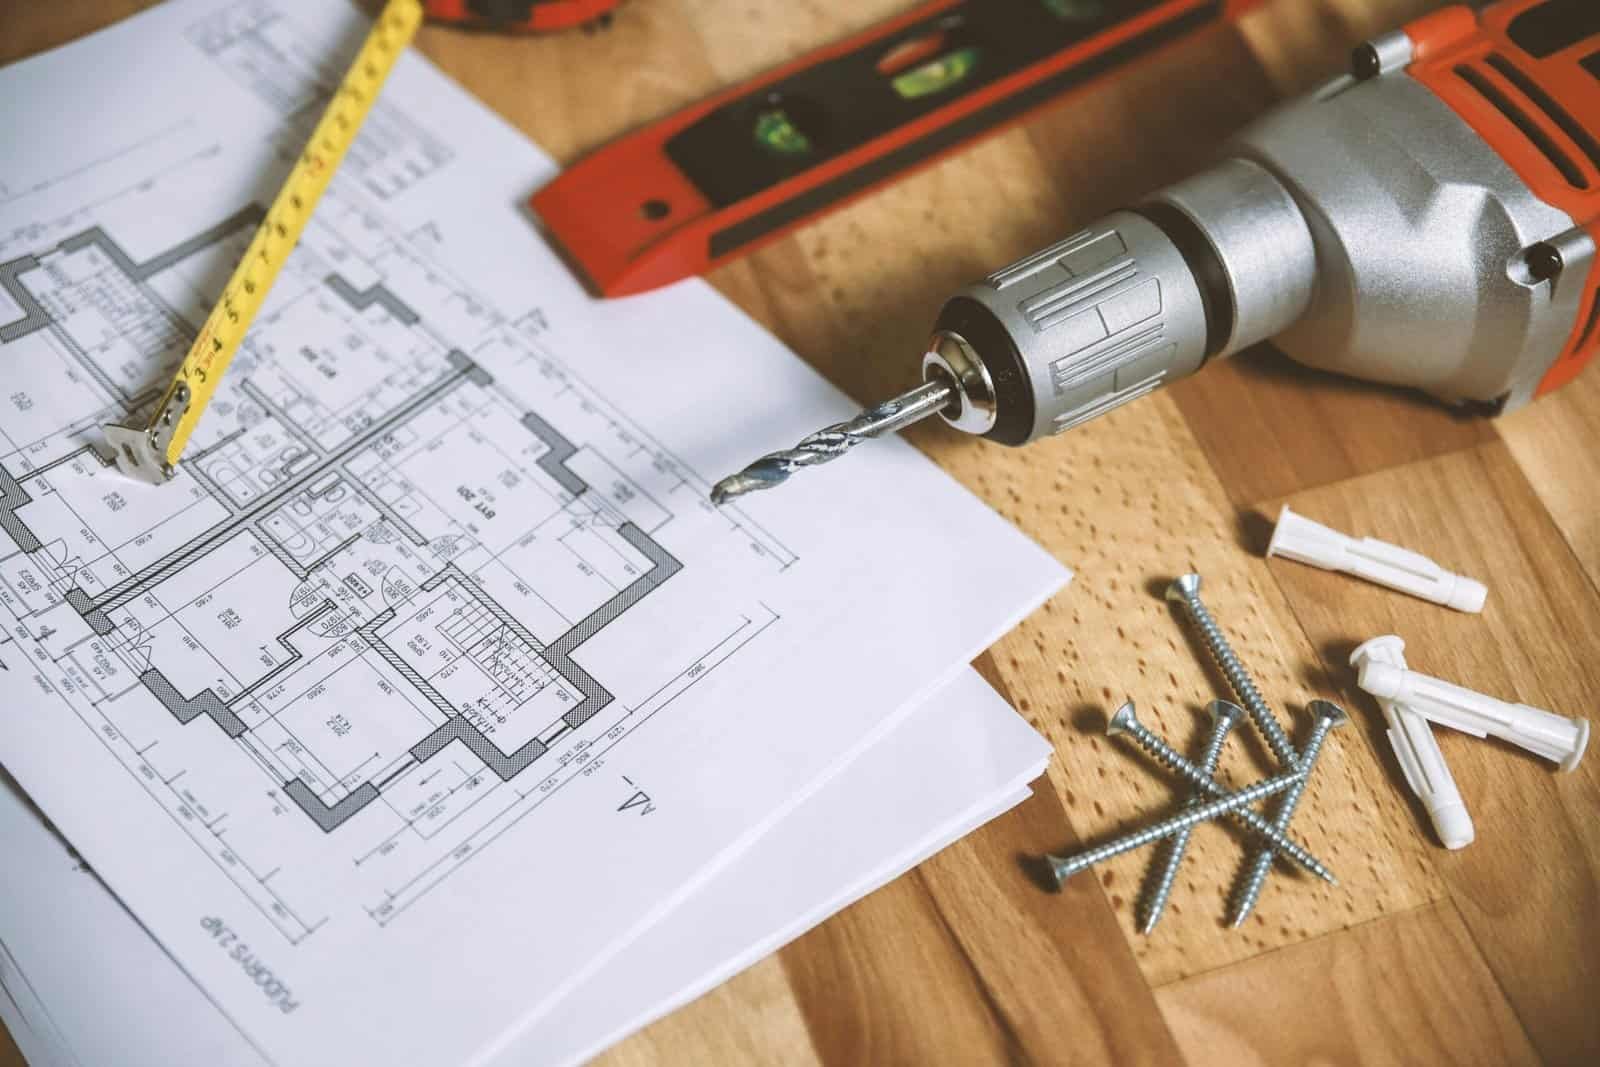
To fix your skateboard deck, gather the following tools and materials. Having everything ready will make the repair process smoother and more efficient.
| Tool/Material | Purpose |
|---|---|
| Sandpaper | Smoothing out the surfaces |
| Wood Glue | Bonding the cracked or delaminated layers |
| Clamps | Holding the pieces together while they dry |
| Epoxy Resin | Reinforcing and sealing deeper cracks |
| A Putty Knife | Spreading glue or resin |
| A Screwdriver | Removing trucks (if needed) |
Step-by-Step Guide to Fixing a Broken Deck
1. Removing the Trucks
Before you begin the repair, consider removing the trucks. Although it isn’t always necessary, taking them off can make handling the deck easier.
Why Remove the Trucks?
Removing the trucks allows you to clamp the deck properly without interference. It also prevents any glue or resin from accidentally interacting with your trucks.
- Step: Use your screwdriver to carefully unscrew the bolts attaching the trucks to the deck. Set the trucks and screws aside safely.
2. Preparing the Deck
Clean and dry the deck thoroughly. Any moisture or dirt can hinder the adhesive process.
Cleaning the Area
- Step: Wipe down the deck with a clean, dry cloth. Ensure the cracked area is free of dust and debris.
Sanding
- Step: Lightly sand around the crack with sandpaper. This roughens the surface slightly, allowing the glue to adhere better.
3. Bonding the Cracks
Use wood glue for small surface cracks or delamination, and epoxy resin for larger or deeper cracks.
Using Wood Glue
- Steps:
- Apply a generous amount of wood glue into the crack.
- Spread the glue evenly with a putty knife.
- Press the layers together gently.
Using Epoxy Resin
- Steps:
- Mix the epoxy resin according to the instructions on the packaging.
- Pour or inject it into the crack.
- Spread it evenly and ensure it fills the crack completely.
4. Clamping the Deck
Clamping is essential to ensure the layers bond correctly. Align everything so it cures properly.
How to Clamp Effectively
- Step: Place clamps along the glued area and tighten them securely. Ensure the pressure is evenly distributed. Let it dry for the recommended time (usually 24 hours).
5. Sanding the Surface
Once the adhesive has fully dried, sand down any excess glue or resin. This gives your deck a smooth finish.
Smoothing Out
- Step: Use sandpaper to sand over the repaired area gently. Make sure the surface is even and smooth to prevent snagging or splinters.

Maintenance Tips to Avoid Future Breaks
Being proactive in the care of your skateboard can help prevent future breaks and prolong its life.
Regular Inspections
- Tip: Regularly inspect your skateboard deck for signs of wear and tear, especially after a heavy session.
Keep It Dry
- Tip: Avoid exposure to water. Store your skateboard in a dry place to prevent moisture damage.
Proper Storage
- Tip: Store your skateboard flat rather than standing upright to maintain its integrity.
When to Consider Buying a New Deck
Even the best fixes might only temporarily extend the life of a skateboard deck that has seen its fair share of overuse or severe damage. Here are some signs that it might be time to invest in a new deck:
Severe Delamination
If the layers continue to separate and you find yourself constantly having to repair the deck, it may be beyond saving.
Unnatural Flex
A good skateboard deck has a natural flex. If it begins to feel off or hazardous after repairs, consider a new one for safety.
Extensive Surface Damage
Splits, splinters, and cracks that cover the deck might not only affect performance but also increase the chance of injury.

Conclusion
Repairing a broken skateboard deck can be a satisfying and cost-effective way to extend the life of your favorite board. With the right tools and a little patience, you can restore the functionality and aesthetics of your deck. However, always prioritize safety and recognize when a repair is no longer feasible. A well-maintained skateboard ensures a smooth ride and uninterrupted fun, keeping you rolling with confidence.
