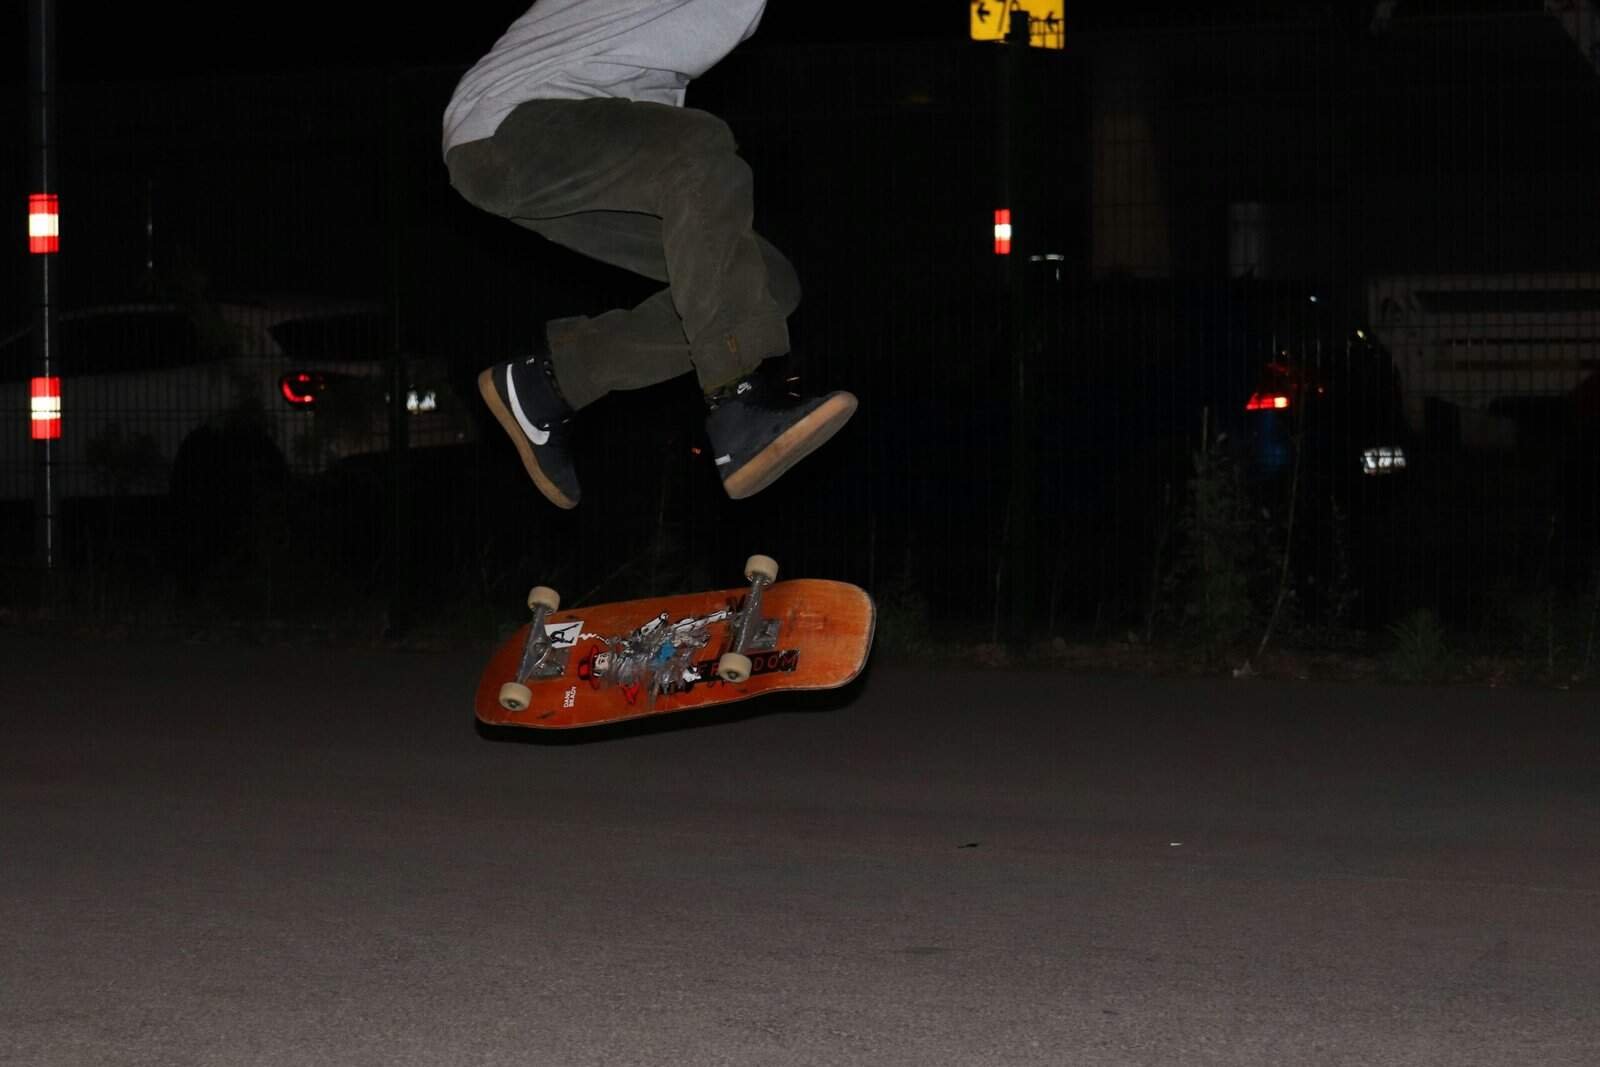
Have you ever looked at your skateboard and realized that the grip tape has seen better days? Maybe it’s lost its grit, started peeling at the edges, or simply outgrown your style. Updating your skateboard’s grip tape isn’t just about looks—it can significantly impact your performance too. So, how do you go about removing and replacing it effectively?
Understanding Skateboard Grip Tape
Before diving into the meticulous process of changing out your grip tape, it’s beneficial to understand what it is and why it’s important. Skateboard grip tape is a gritty, sandpaper-like material that sits on the surface of your board, offering you the traction needed to perform tricks and maintain control. Without it, your board would be a slippery surface, making it nearly impossible to skate effectively.
Why You Might Need to Replace Grip Tape
Over time, grip tape can wear out due to regular use, weather conditions, and dirt buildup. Signs that it’s time for a replacement include decreased traction, visible tears, or a style change. Having grip tape in good condition ensures that your skateboard is safe and performs at its best.
Tools You Will Need
Preparation is key for a successful grip tape replacement. Gather the following tools to make the process smoother:
- Hairdryer or Heat Gun
- Razor Blade or Box Cutter
- Screwdriver
- New Grip Tape
- Cleaner and Cloth
With these tools at hand, you’re ready to get started on revitalizing your skateboard.

Removing Old Grip Tape
Removing old grip tape may seem daunting, especially if it’s your first time. However, a step-by-step approach can simplify the task and ensure that your deck isn’t damaged in the process.
Step 1: Loosen the Adhesive with Heat
Start by applying heat to the grip tape using a hairdryer or a heat gun. Warm up one section at a time for about 30 seconds. The heat softens the adhesive underneath the grip tape, making it easier to peel away without leaving fragments behind.
Step 2: Begin Peeling from the Edge
Once the adhesive is warm, use your razor blade or box cutter to lift the edge of the grip tape. Be sure to hold the blade at a shallow angle to avoid gouging the wooden deck. Carefully lift a corner enough to grab hold of it.
Step 3: Slowly Peel Off the Grip Tape
With a firm grip on the lifted edge, slowly peel back the grip tape. Pull at a consistent angle and pace to minimize tearing. If you encounter resistance, apply more heat to ease the process.
Step 4: Tackle Stubborn Areas
Some sections may be more stubborn to remove than others. Apply additional heat as needed and use your blade carefully to work through these tougher areas. Patience is key here.
Cleaning Your Deck
After successfully removing the old grip tape, your skateboard deck is likely to have leftover adhesive residue and dirt. Cleaning your deck ensures the new grip tape adheres properly and looks smooth.
Step 1: Remove Residue
Use a cleaner and cloth to remove adhesive residue. Products specifically designed to break down adhesive, like Goo Gone, can be particularly effective. Rub gently to avoid damaging the deck’s surface.
Step 2: Ensure a Smooth Surface
Examine your deck for any splinters or rough spots. Sand them down if necessary to create an even surface for the new grip tape to adhere to.

Applying New Grip Tape
Now comes the exciting part: applying new grip tape to refresh your board’s look and function. This process requires precision and patience to achieve the best results.
Step 1: Align and Place the Grip Tape
Start by peeling back a small section of the adhesive backing on your new grip tape. Align the taped edge with the edge of your skateboard. Gradually press down as you peel away the backing, aiming for an even application that avoids air bubbles.
Step 2: Use the Screwdriver Method
Take a screwdriver and, with the flat side down, press firmly along the edges of your deck. This traces the outline of your board onto the grip tape, making it easier to cut.
Step 3: Trim Off Excess Grip Tape
Use your razor blade or box cutter to trim the excess tape. Hold the blade at an angle and follow the outline you’ve made with the screwdriver for a clean cut. Doing this carefully ensures that the edge of your board doesn’t become uneven or jagged.
Step 4: Smooth and Pierce Air Pockets
If you notice air pockets, use the point of your blade to create tiny piercings. Press out the air and flatten the tape to ensure a secure, uniform grip.
Maintaining Your Grip Tape
With new grip tape applied, maintenance becomes important to prolong its lifespan and performance. A bit of regular cleaning and care can make a big difference.
Cleaning Techniques
To clean your grip tape, use a grip tape cleaner or a piece of rubber to erase dirt and grime. Regular cleaning prevents buildup and maintains traction.
Inspect Regularly
Regularly inspect your board for signs of wear and damage. Catching issues early can save you from frequent tape changes and keep your skateboard in prime condition.

Conclusion
So, now you know the entire process for removing and replacing skateboard grip tape! From understanding its importance to executing the removal and application steps effectively, you are equipped with the knowledge to maintain your skateboard’s performance and style. Whether you’re a seasoned skater or just starting out, ensuring your board has the fresh grip it requires is essential for a safe and enjoyable ride.
