Have you ever wondered how to give your skateboard a fresh look or improve your grip by replacing the grip tape? Whether you’re aiming for better performance or just want a new style, removing and replacing skateboard grip tape is a process that can be incredibly rewarding and is a great way to breathe new life into your board.
Understanding Skateboard Grip Tape
Grip tape is a rough, sandpaper-like material applied to the top of a skateboard. It serves to provide traction for your shoes, helping you maintain control during tricks and maneuvers. Over time, grip tape can wear out, reducing its effectiveness, or you might simply wish for a change in design to suit your evolving style.
Why Replace Grip Tape?
Replacing your grip tape is essential for maintaining your skateboard’s performance. As grip tape wears down, it loses its abrasive surface, which can lead to slippage and decreased control. Even if your grip tape is still functional, you might want to rejuvenate your skateboard with a vibrant new design or pattern that reflects your personality.
Tools You’ll Need
Before diving into the process, it’s important to gather the necessary tools. Having the right tools on hand will not only make the task easier but also ensure a smooth finish.
- Hairdryer or Heat Gun: Helps in softening the adhesive, making removal easier.
- Flat Utility Knife or Razor Blade: For cutting and lifting the tape.
- Screwdriver: Useful for poking through existing holes for screws and trucks.
- Grip Tape Roller or Smooth Object: To firmly stick the new grip tape onto the board.
- Clean Cloth and Solvent (optional): For cleaning residue off the deck.
Removing Skateboard Grip Tape
Removing the old grip tape is a task that can sound daunting, but with a bit of patience and the right approach, it’s quite manageable.
Step 1: Soften the Adhesive
Begin by softening the adhesive that holds the grip tape to the skateboard. You’ll want to warm the tape’s surface with a hairdryer or heat gun. Move it back and forth slowly over a section of the tape until the adhesive starts to warm up. This step is vital as it helps to make the adhesive less sticky and significantly easier to peel off.
Step 2: Start Peeling
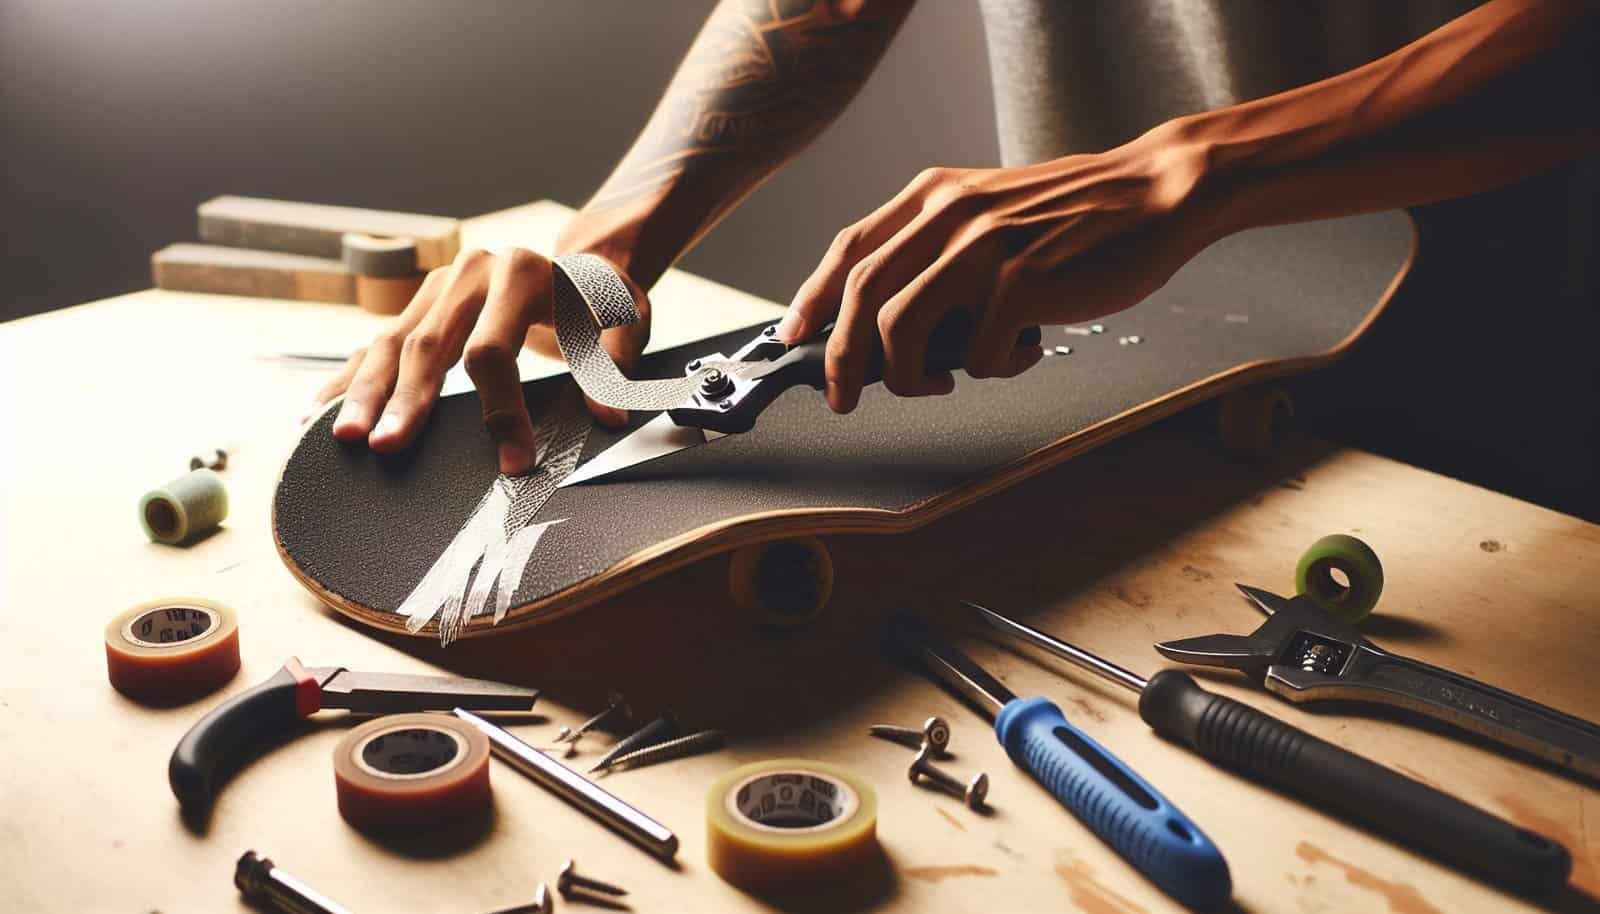
Once the adhesive is warm, use the corner of a utility knife or razor blade to carefully lift the edge of the grip tape. Be cautious to avoid damaging the board’s surface. Once you have a corner lifted, gently pull back on the tape at a low angle. If the tape is old and brittle, it might break, but with a little patience, you’ll be able to peel it away section by section.
Step 3: Remove Residue
After removing the grip tape, there might be some adhesive residue left on the deck. Use a clean cloth and a solvent like rubbing alcohol to gently scrub away the sticky residue. Removing all the remnants will help ensure a smooth application of the new grip tape.

Preparing to Apply New Grip Tape
Applying new grip tape is where you can start getting creative. Whether it’s a solid color, a pattern, or a custom-cut design, here’s how you can achieve a professional finish.
Step 1: Align the New Grip Tape
Align the new sheet of grip tape over the skateboard deck. Make sure it covers the entire top surface. For boards with pronounced concave curves, you may need to press the grip tape slightly to conform to the curves. Don’t remove the backing paper just yet; this step is to ensure sizing.
Step 2: Peel and Stick
Peel off a portion of the backing paper and stick it to one end of the board. Gradually peel the rest of the backing as you press the grip tape onto the deck, working slowly to avoid air bubbles. Using a grip tape roller or any firm, round object, apply pressure and smooth out the grip tape from the center to the edges.
Step 3: Trim the Excess
With the grip tape fully applied, use a flat utility knife or razor blade to trim off the excess around the edges of the deck. Run the blade along the edge of the board, keeping consistent pressure and angle for a clean cut.
Step 4: Create Holes for Hardware
Using a screwdriver or the razor blade, poke small holes in the grip tape where the mounting holes for your trucks are located. This step ensures you’ll have no trouble installing your trucks back onto the board.
Tips for a Perfect Finish
Getting that flawless finish for your grip tape doesn’t have to be a hassle. Here are some tips to help you out.
- Work in a Dust-Free Environment: Dust can compromise the adhesive quality, so ensure your workspace is clean.
- Check for Air Bubbles: Roll out any air bubbles you encounter to keep the grip tape smooth and true to the board surface.
- Personalize Your Grip Tape: Consider cutting your grip tape into unique shapes or designs before applying it to the deck for a personalized touch.
- Use Proper Lighting: Well-lit conditions help you identify any missed spots or sections that may need reworking.

Troubleshooting Common Issues
If you encounter issues, don’t worry. Here are some common problems and how to fix them:
Air Bubbles
If you spot air bubbles after application, use a small pin to puncture the bubble, then press the air out gently using your fingers or a roller.
Incomplete Adhesion
If the grip tape doesn’t seem to adhere completely, particularly around the edges, reapplying heat can reactivate the adhesive. Press down firmly once warm.
Difficulty in Cutting
Blunt tools can make cutting the grip tape difficult and lead to uneven edges. Ensure you’re using a sharp blade for a clean cut.
Conclusion: Ride in Style
Replacing your skateboard grip tape is certainly a task that you can manage with a little time and patience, and the payoff is a skateboard that performs efficiently while looking great. Whether you’re replacing worn-out tape or revamping your board’s style, knowing how to properly remove and apply grip tape is a skill worth mastering. Happy skating!

FAQs
How often should grip tape be replaced?
Grip tape should generally be replaced anytime it becomes overly worn, loses its texture, or if you’re just eager for a style update. Skaters who frequently use their boards might need to replace grip tape every few months.
Can I layer new grip tape over old grip tape?
It’s best to remove old grip tape before applying a new layer. Doubling up can cause uneven surfaces and decrease the effectiveness of the grip.
Is there grip tape with different levels of roughness?
Yes, grip tape comes in varying levels of grain, from smoother, less abrasive options for casual riding to rougher, coarser tape ideal for professional tricks.
What if my skateboard deck is different from a standard size?
Grip tape comes in sheets or rolls, which can be cut to fit any deck size or shape.
Can special designs impact the grip?
While cuts and designs can add style, excessive cuts might reduce the overall grip. Ensure your designs still leave enough surface area to maintain traction.
