Have you ever wondered what it takes to keep your skateboard in top-notch condition, particularly when it comes to maintaining or replacing the bearings? Whether you’re a seasoned skateboarder or just starting, ensuring your skateboard bearings are functioning correctly is crucial for a smooth ride. Bearings are those small yet significant components that make your wheels spin, and knowing how to replace them can save you a lot of trouble and enhance your skating experience.

Understanding Skateboard Bearings
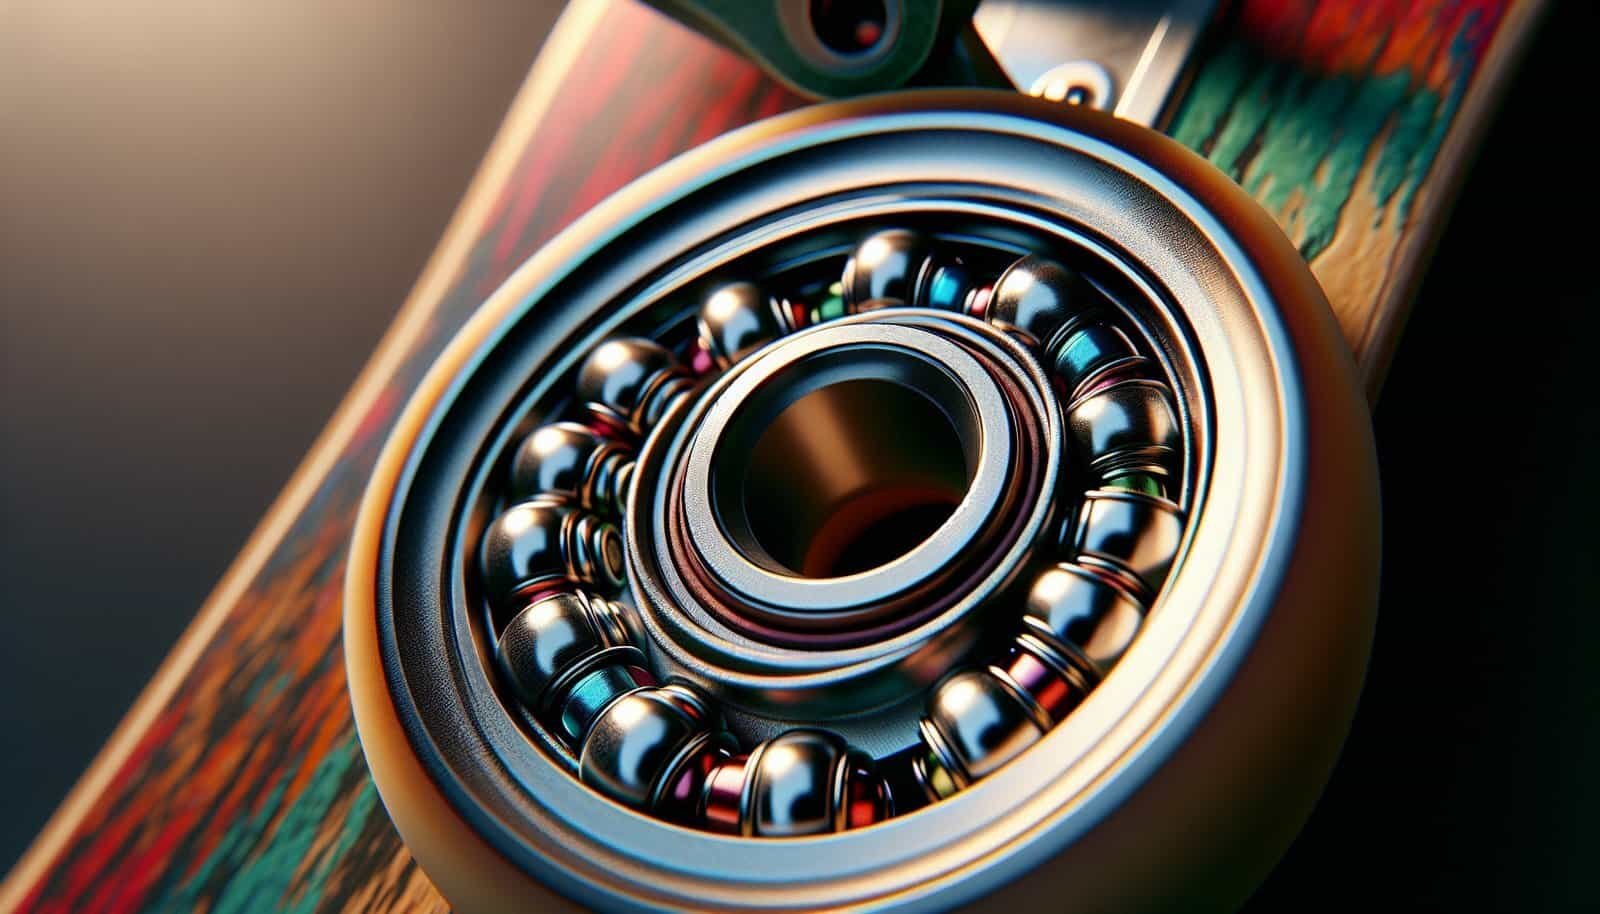
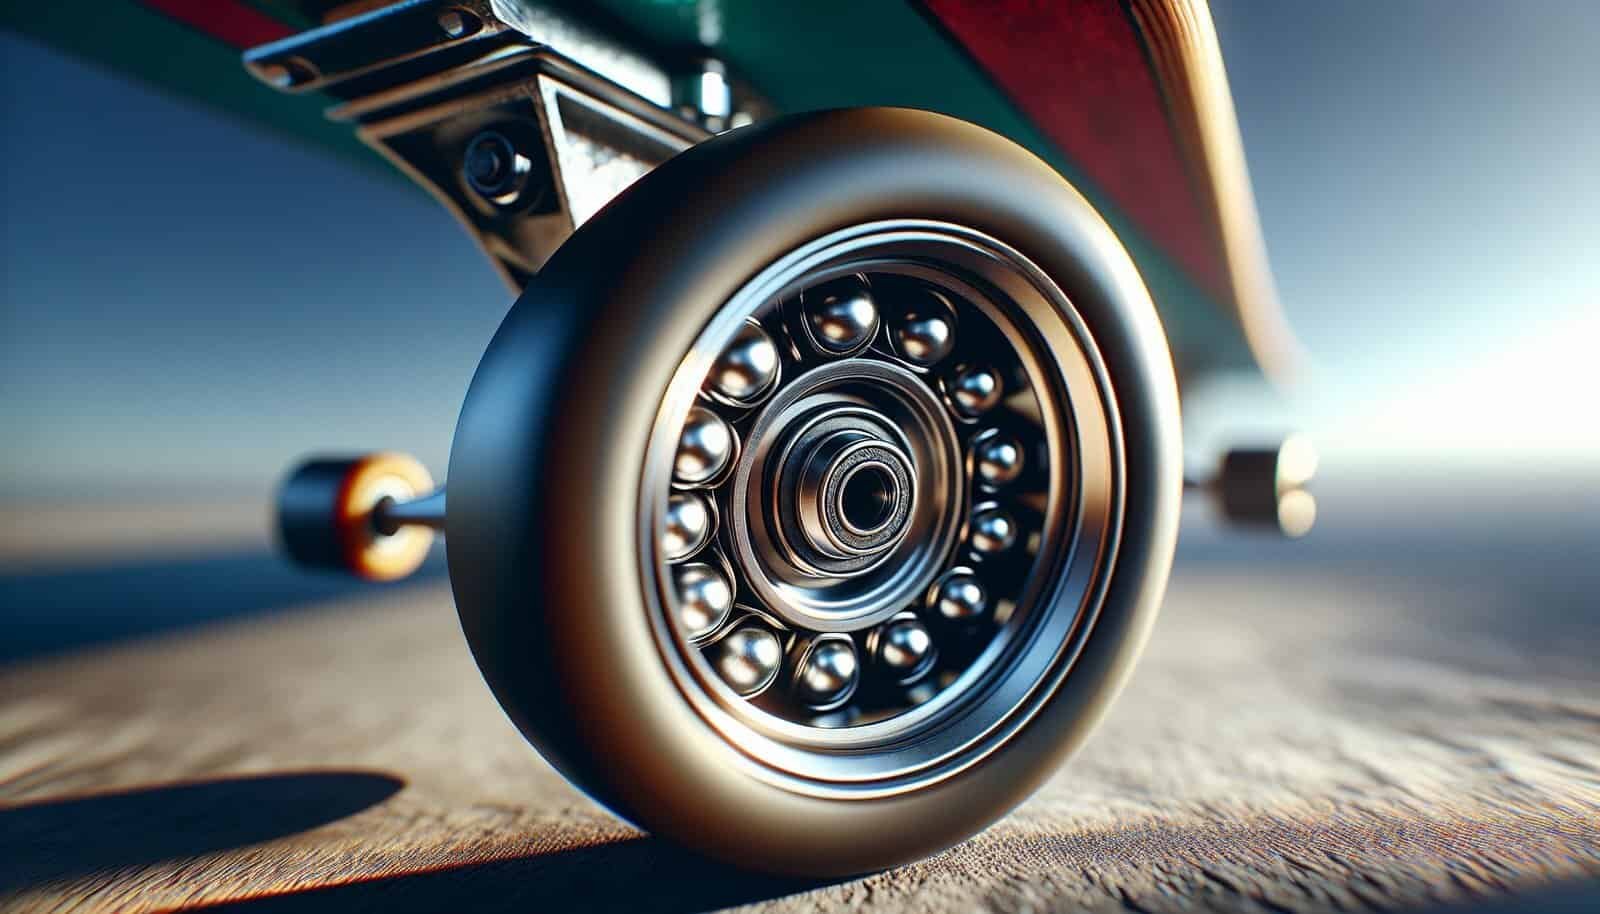
Before getting into how to replace your skateboard bearings, it’s essential to understand what they actually are. Skateboard bearings are small, circular components that fit inside your skateboard wheels, allowing them to turn smoothly. Typically, each wheel requires two bearings, which means a standard skateboard uses a total of eight bearings.
Components of a Bearing
A standard skateboard bearing is composed of several parts. These include the outer and inner race, the ball retainer, steel balls, and the shield. Understanding these components can help you better grasp how bearings operate and why they are pivotal to the overall performance of your skateboard. Knowing each part allows for better care and handling when installing or replacing them.
Types of Bearings
While most skateboard bearings share a similar design, they can differ in material and quality. Generally, bearings are categorized into two groups: steel and ceramic. Steel bearings are the most common and provide a good balance of affordability and performance. On the other hand, ceramic bearings are known for their durability and heat resistance, making them a premium option favored by advanced skaters. Choosing between these types depends largely on your boarding needs and budget.
Why Replace Skateboard Bearings?
Replacing skateboard bearings isn’t about aesthetics or being on-trend; it’s about functionality and safety. Over time, dirt, debris, and moisture can accumulate inside bearings, causing them to slow down or stop working properly. This accumulation can result in a rough ride, reduced speed, and potentially hazardous situations if not addressed.
Signs It’s Time for a Replacement
Knowing when to replace your bearings can be tricky, but several telltale signs can guide you. If your skateboard wheels are not spinning freely, making a grinding noise, or feeling wobbly, these are strong indicators that your bearings need attention. Ignoring these signs can lead to more significant problems down the line, such as damaging your wheels or having a more complex repair process.

Preparations Before Replacing Bearings
Before diving into the task of replacing your bearings, it’s crucial to gather the necessary tools and prepare your workspace. This will not only make the process smoother but also ensure you don’t encounter unnecessary obstacles.
Tools You’ll Need
To replace skateboard bearings effectively, you’ll need a few essential tools. These include a skateboard tool or wrench, a bearing press or remover, and a clean workspace. Additional items like a rag, cleaning solution, and gloves can help ensure a clean process and prevent dirt from getting into new bearings. Here’s a straightforward list for quick reference:
| Tool | Purpose |
|---|---|
| Skateboard Tool | Loosens and tightens nuts and bolts |
| Bearing Remover | Aids in safely removing bearings from wheels |
| Rag & Cleaner | Cleans the wheels and grip tape |
| Gloves | Protects hands from dirt and grease |
Taking time to set up these items will help you accomplish the task more efficiently and prevent potential damage to your skateboard or the new bearings.
Safety First
As with any task involving tools, prioritizing safety is crucial. This means making sure your working area is well-lit and clean, wearing protective gloves to safeguard your hands from sharp or greasy components, and ensuring you’re working on a flat surface to prevent any accidental slips.

The Step-by-Step Process of Replacing Bearings
Now that you’re prepared with the necessary tools and a little background knowledge, it’s time to get hands-on with replacing your skateboard bearings. This section offers a comprehensive, step-by-step guide for replacing them.
Step 1: Remove the Wheels
Begin by using your skateboard tool or wrench to remove the axle nuts from the wheels. Make sure to place these nuts in a safe spot, as you’ll need them to reinstall the wheels later. Once you’ve removed the nuts, gently slide each wheel off the axle.
Step 2: Remove the Old Bearings
With the wheels removed, it’s time to take out the old bearings. Insert the axle into the hole of one bearing and gently pry the bearing out using the trucks for leverage. Repeat this process for all bearings. If they seem stuck, avoid forcing them out, as this can damage the wheels or the bearings themselves.
Step 3: Clean the Wheels
Once the bearings are out, take this opportunity to clean your wheels. Use a rag and some cleaning solution to remove any dirt or grime. Clean wheels help maintain the longevity of your new bearings and ensure a smooth ride.
Step 4: Install the New Bearings
Now, take your new bearings out of their packaging and prepare to install them. Place a bearing onto the axle, then push the wheel firmly onto the axle against the bearing. This will press the bearings into the wheel. You should hear a slight pop, indicating the bearing is seated correctly. Repeat this process for all wheels.
Step 5: Reattach the Wheels
Once all new bearings are securely installed, slide each wheel back onto its axle. Secure them using the axle nuts you saved earlier. Make sure not to overtighten the nuts, as this can restrict the free spinning of the wheels. Your wheels should spin smoothly without too much resistance or wobble.

Maintaining Your Bearings
Replacing your bearings is a significant task, but maintaining them is just as important to ensure they last. Regular maintenance can help you avoid frequent replacements and keep your skateboard performing at its best.
Cleaning Your Bearings
Regular cleaning is key to maintaining the lifespan and performance of your bearings. You can clean your bearings using a specialized cleaning solution or a mixture of soap and water. Be sure to dry them thoroughly before reinstallation to prevent rust and corrosion.
Lubrication
In addition to cleaning, regular lubrication is essential for optimal performance. Use a high-quality skateboard bearing lubricant to keep the bearings spinning smoothly. Avoid using household oils like WD-40, as these can attract dirt and degrade the bearing materials over time.
Regular Checks
It’s also beneficial to regularly check the condition of your bearings, even if they seem to be functioning well. Look out for any unusual noise or resistance when you spin the wheels and inspect them for visible signs of wear. Regular checks allow you to address potential issues before they turn into significant problems.

Conclusion
Knowing how to replace skateboard bearings is a vital skill for any skateboarder, enhancing both your ride’s quality and your equipment’s longevity. By understanding the components, identifying when replacements are necessary, and following a detailed process for replacing bearings, you ensure your skateboard remains in excellent condition. Moreover, proper and regular maintenance can significantly extend the life of your bearings, saving you both time and money in the long run. Enjoy your smooth rides and the satisfaction of maintaining your gear effectively!
