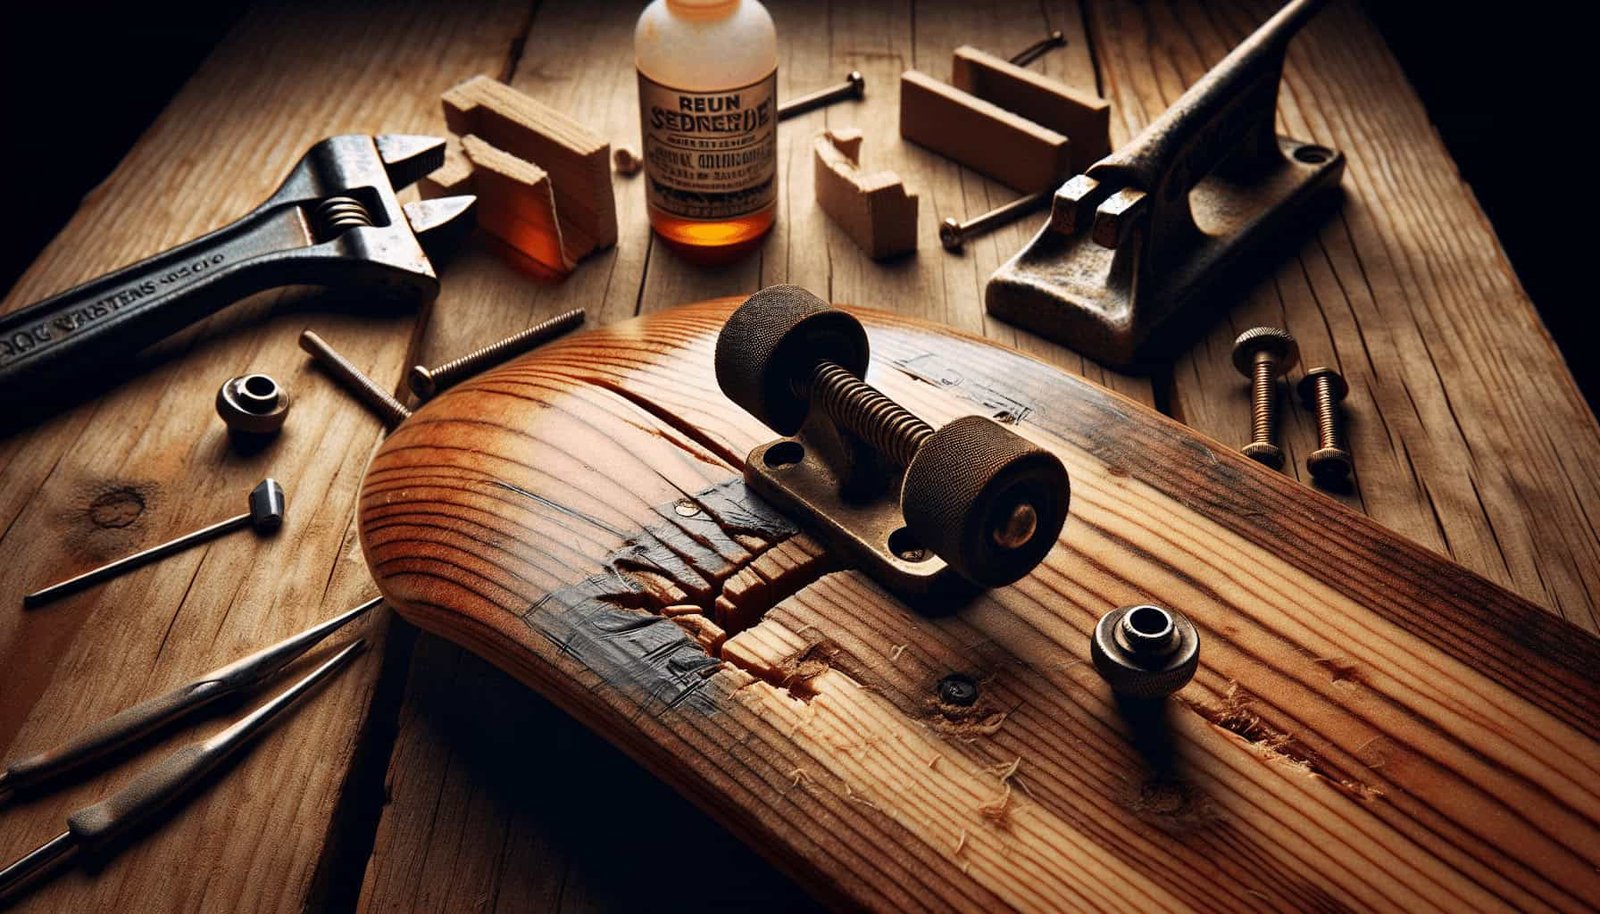
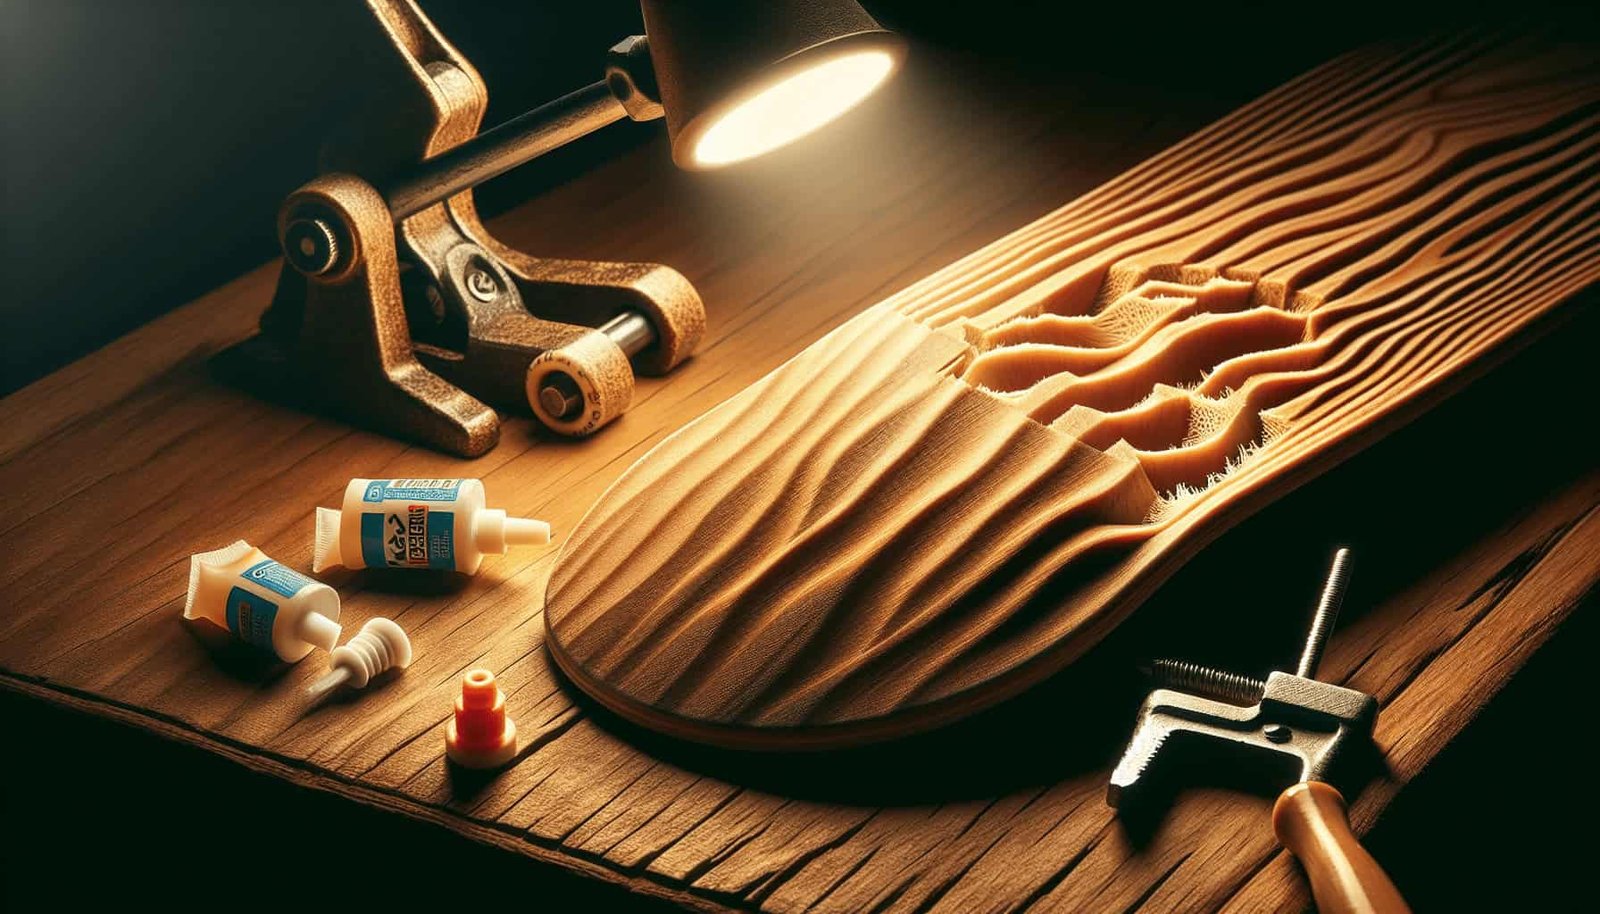
Have you ever felt the frustration of discovering a crack on your beloved skateboard deck? It’s a common issue for skateboard enthusiasts and one that raises many questions about repair options. Whether you’re an avid skater or just someone who skates occasionally, understanding how to repair a cracked skateboard deck can save you both money and the heartbreak of bidding farewell to your favorite board. This article aims to guide you through the best ways to restore your skateboard deck to its prime condition, ensuring you can continue to enjoy the ride.

Understanding the Anatomy of a Skateboard Deck
Before diving into repairs, it’s essential to understand the basic structure of a skateboard deck. Typically, skateboard decks are crafted from multiple layers of Canadian maple wood, pressed and glued together to form a sturdy plank. The natural flexibility and durability of this material make it ideal for withstanding the rigorous demands of skateboarding. However, even the strongest decks can succumb to stress, leading to cracks or fractures that require attention.
Common Causes of Cracks
Understanding why your skateboard deck cracked in the first place can help in choosing the best repair method and preventing future damage. Here are some common causes:
- Impact Damage: Hard landings from tricks or bumps can lead to pressure cracks, particularly near the trucks where stress is concentrated.
- Environmental Conditions: Exposure to moisture or extreme temperatures can weaken the glue and the wood, making it susceptible to cracking.
- Normal Wear and Tear: Over time, the repeated stress from riding and executing tricks can naturally lead to small fractures.
Assessing the Damage
Not all cracks are the same, and the extent of damage generally dictates the repair method. Here’s how you can evaluate whether your skateboard deck is repairable:
- Surface Cracks: These are shallow cracks that affect only the top layer of the deck. Usually cosmetic, they rarely impact the structural integrity and are often easy to fix.
- Deep Cracks: Running deeper through several layers, these cracks can compromise the skateboard’s performance and may require more intensive repair methods.
- Delamination: Sometimes, layers of wood may start separating, known as delamination. This can also indicate a weakened deck needing attention.
Table: Types of Cracks and Best Repair Methods
| Crack Type | Description | Suggested Repair Method |
|---|---|---|
| Surface Crack | Shallow, typically not structural | Wood glue and sanding |
| Deep Crack | Penetrates several layers of wood | Epoxy resin injection |
| Delamination | Layers of wood separating | Wood glue with clamps |

Best Repair Methods
Fixing Surface Cracks
Surface cracks, while often concerning, usually don’t require extensive repairs. Fixing them can be a simple and rewarding process.
Materials Needed:
- Wood glue
- Fine-grit sandpaper
- A damp cloth
Step-by-step Guide:
- Clean the Area: Use the damp cloth to clean around the crack, ensuring the surface is free from dust and debris.
- Apply Wood Glue: Gently press wood glue into the crack using your finger or a fine brush. Make sure to fill it thoroughly.
- Drying: Let the glue dry completely according to the manufacturer’s instructions. Usually, this takes a few hours.
- Sand the Surface: Once dried, use sandpaper to smooth out the area. Your deck should resume its smooth appearance, ready for action.
Repairing Deep Cracks
When it comes to deep cracks, you’ll need a more robust solution. Epoxy resin is typically the go-to solution for these kinds of repairs because of its strength and durability.
Materials Needed:
- Epoxy resin and hardener
- Small putty knife or plastic card
- Plastic wrap
Step-by-step Guide:
- Prepare the Surface: Make sure the cracked area is clean. Use a damp cloth to remove any dust from the surface.
- Mix Epoxy Resin: Follow the instructions to mix the resin and hardener.
- Apply the Mixture: Use a putty knife or card to press the epoxy into the crack. Be sure to fill it completely.
- Cover and Set: Wrap plastic over the filled area to hold the epoxy in place, ensuring a solid set.
- Cure: Allow the epoxy to cure fully. This can take several hours to a full day, depending on the product.
- Final Sanding: Once cured, sand the area gently to avoid any rough edges.
Addressing Delamination
If you’re dealing with delamination, the remedy requires a bit of patience and precision. The key is to re-bond the separated layers firmly back together.
Materials Needed:
- Wood glue
- C-clamps
- Wax paper
Step-by-step Guide:
- Clean the Layers: Slightly pull apart the delaminated layers and clean between them to remove any dirt.
- Apply Wood Glue: Insert wood glue between the separated layers using a brush or tool.
- Clamp the Deck: Place wax paper over the glued parts to prevent sticking to the clamps, then secure the clamps tightly.
- Drying Time: Leave the clamped deck for the suggested drying time as per the glue instructions. Check for a firm bond after drying.
- Sanding: Sand any dried glue excess to achieve a smooth surface.

Maintenance Tips to Prevent Future Cracks
Preventative care is as vital as knowing how to fix your skateboard deck. Here are a few tips to help keep your deck in excellent condition:
Regular Inspections
Check your skateboard deck regularly for any signs of wear and tear. Early detection of small cracks can prevent them from developing into larger, more problematic ones.
Mind the Environment
Store your skateboard in a dry, cool place to avoid unnecessary exposure to elements that can weaken the wood over time.
Proper Usage
While pushing your limits is part of the fun, certain surfaces and maneuvers could be harsher on your board than others. Be mindful of how and where you skate to prolong your deck’s lifespan.
Keeping It Dry
Avoid water as much as possible. If your board gets wet, dry it thoroughly before skating again to prevent the wood from swelling and weakening.

When to Replace Your Deck
Despite the best repairs, sometimes a crack signifies the end of your deck’s life. It might be necessary to replace your board when:
- The structure feels noticeably weaker, affecting safety or performance.
- Cracks continue to appear frequently despite repairs.
- There is significant delamination that can’t be fully repaired.

Conclusion
Understanding and applying these repair methods can breathe new life into your skateboard deck, allowing you to continue with your skateboarding adventures without the worry of recurring damage. Remember, maintenance is key, and so is knowing when to let go and invest in a new board for both safety and enjoyment.
Whether you’re patching up a small crack or tackling deeper structural damage, having the right information and tools will help you make informed decisions and prolong the life of your skateboard deck. So next time you’re faced with a crack, you’ll know exactly what to do to keep shredding with confidence and ease!
