Have you ever looked at your skateboard and realized that your grip tape has seen better days? Perhaps it’s peeling off or has lost its grip, making your ride less enjoyable or even less safe. Don’t worry; replacing grip tape is a task you can handle with some patience and the right tools. Let’s walk through the entire process of removing and replacing skateboard grip tape so you can get back to shredding with confidence.
Understanding Grip Tape and Its Importance
Grip tape is essentially sandpaper with an adhesive backing applied to the top of your skateboard deck. It provides your feet with traction, ensuring stability and control while skating. Over time, it can wear out, become less effective, or even look a bit unsightly. Knowing when and how to replace it will keep your skateboard performing optimally.
Why Replace Grip Tape?
Replacement is necessary when the grip tape is peeling, worn out, or simply not as adhesive as it used to be. A lack of grip not only diminishes your skateboarding experience but could lead to slips and falls. By replacing it, you maintain the aesthetic and functional quality of your board.
Essential Tools for the Task
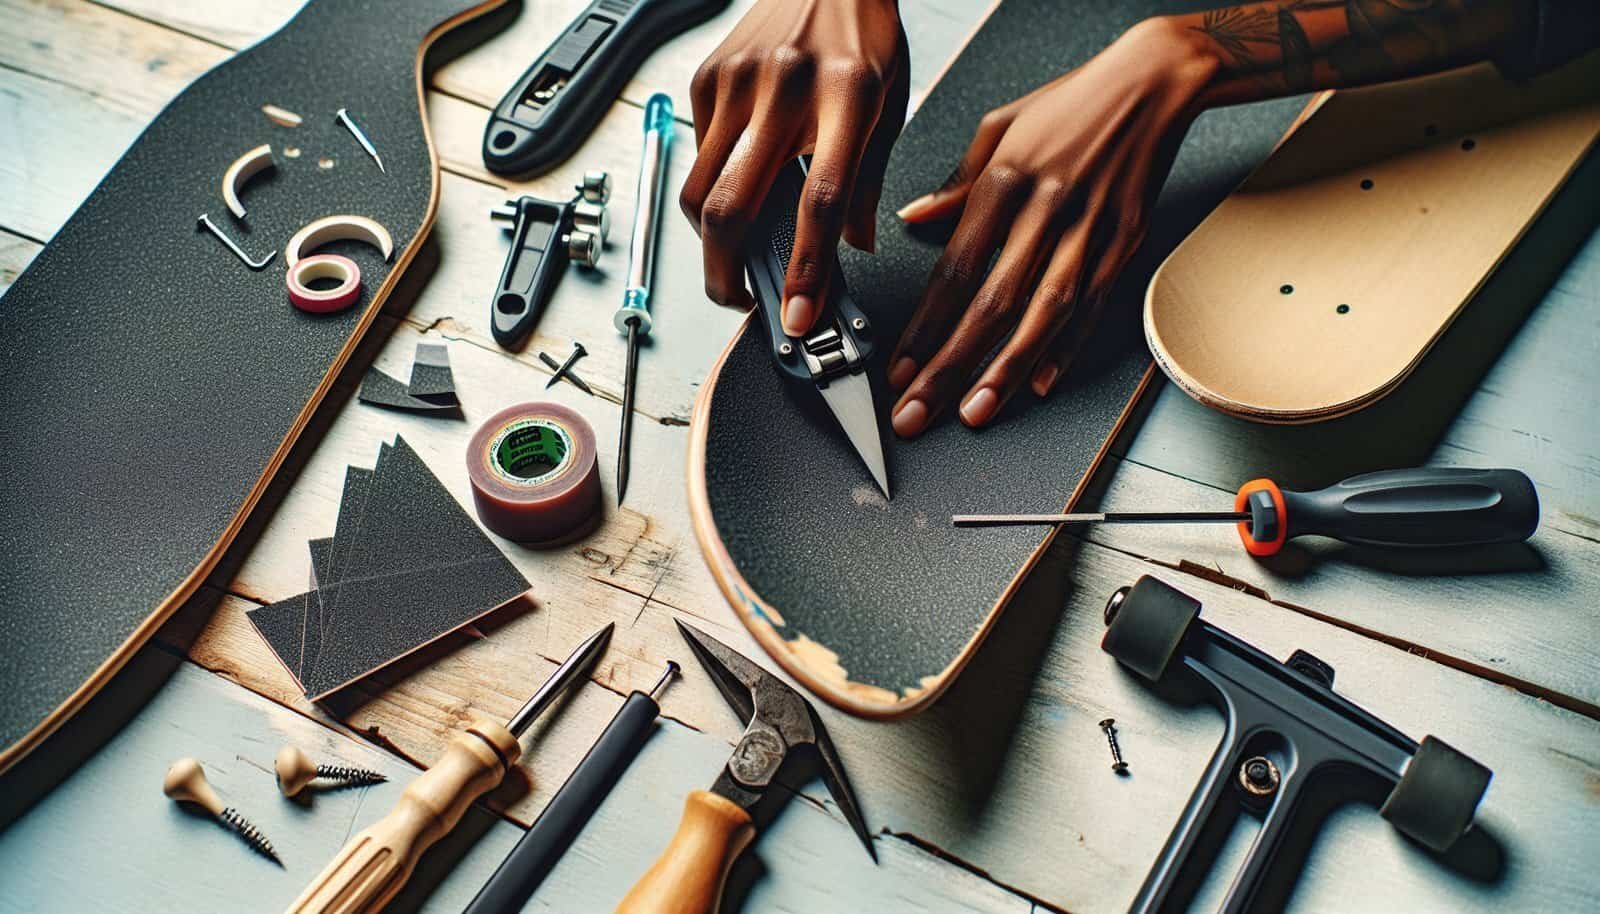
Before you begin, gather the following tools for a smooth experience:
| Tool | Purpose |
|---|---|
| Hair Dryer or Heat Gun | To soften the adhesive for easier removal of the grip tape |
| Razor Blade or Box Cutter | To carefully cut and lift the edges of the grip tape |
| Screwdriver | To remove any attachments or to use as a lever |
| Grip Tape Sheet | The new grip for your board |
| Cleaning Cloth | To clean residue off the deck before applying new tape |

Step-by-Step Guide to Removing Grip Tape
Removing grip tape can be a straightforward process if done correctly. Let’s go through this methodically.
Step 1: Heat the Grip Tape
To start, gently heat the grip tape using a hair dryer or heat gun. This softens the adhesive, making it easier to peel off. Move the dryer across the surface evenly to avoid burning the tape or the board.
Step 2: Start Peeling from the Edge
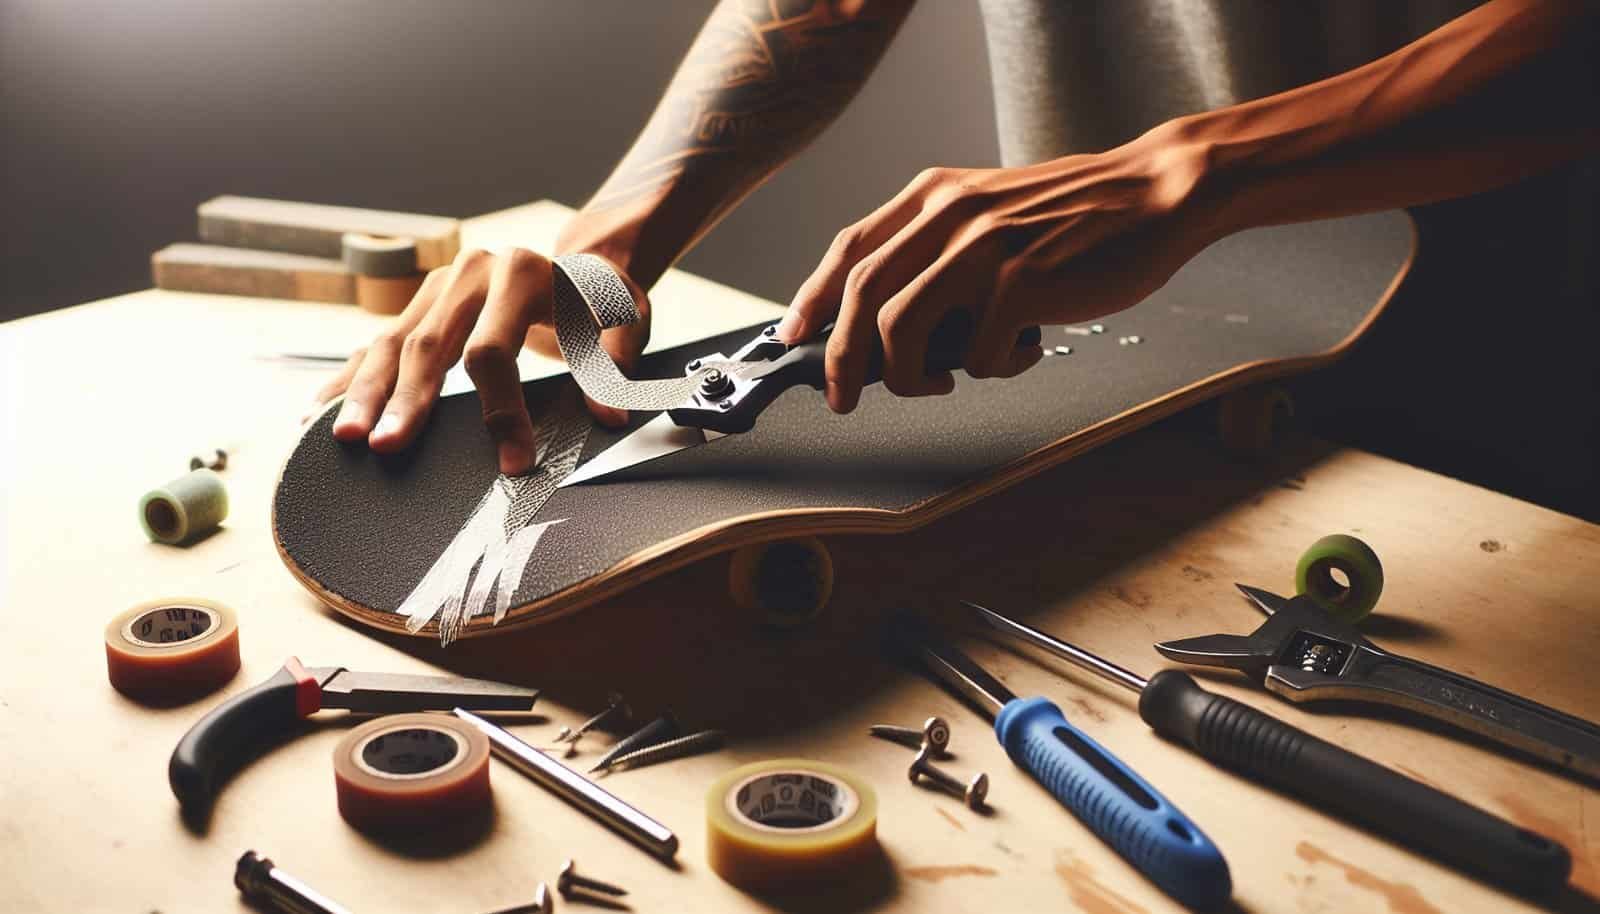
Use a razor blade or box cutter to lift the edge of the grip tape. Be careful when doing this to avoid cutting into the deck itself. Once you have a corner lifted, you can begin peeling with your fingers. A steady, slow pull will help in removing large sections without tearing.
Step 3: Use a Screwdriver for Stubborn Areas
For sections that refuse to budge, use a screwdriver to apply a bit of leverage. Slide it under the tape and pry gently. This technique is especially useful around the board edges where the grip tape might be particularly stubborn.
Step 4: Clean the Deck Surface
Once the grip tape is fully removed, you’ll likely have some adhesive residue on your deck. Use a cleaning cloth and a bit of alcohol or adhesive remover to clean this off thoroughly. Ensure the surface is dry before moving on to the next step.
Preparing to Apply New Grip Tape
With the deck cleaned and prepared, it’s time to focus on applying new grip tape. This part is crucial for maintaining the right balance and control on your skateboard.
Step 1: Align the New Grip Tape
Start by positioning the grip tape sheet over the deck without removing the backing. Ensure it covers the entire board and makes adjustments as necessary.
Step 2: Peel and Stick
Carefully peel off one end of the backing and begin sticking the grip tape to the board starting from that edge. Use a smooth, consistent motion to avoid air bubbles or wrinkles. If any air bubbles form, use the razor blade to gently puncture them and smooth them out.
Step 3: Trim Excess Grip Tape
Once the grip tape is firmly applied, use the box cutter or razor blade to trim off any excess tape around the edges. Hold the blade at an angle and cut slowly, following the contour of the board to ensure a clean line.
Step 4: Perforate Holes for Hardware
Using the screwdriver, poke holes through the grip tape where bolts are located. This allows for easy installment of your trucks back onto the deck.

Finishing Touches for Your Skateboard
After successfully applying the new grip tape, it’s essential to reassemble your skateboard correctly and perform a few checks before hitting the pavement.
Reattach Skateboard Components
Reinstall the trucks using a screwdriver and ensure each bolt is tight. A secure attachment means a safer ride.
Perform a Safety Check
Before your first ride with the new grip, check that everything is secure: make sure no air bubbles remain, and the edges are not peeling. This final check ensures that your skateboard is ready for action.

Tips for Grip Tape Maintenance
Regular maintenance can prolong the life of your grip tape. Here are some friendly tips for keeping it in top condition:
- Avoid Excessive Water Exposure: Water can seep into the adhesive, causing the grip tape to peel. Try to skate in dry conditions.
- Clean Regularly: Brush away dirt and grit to keep the grip functioning well. A simple brush can remove surface debris.
- Rapid Repair: If you notice slight peeling, a small application of glue can secure loose edges before they worsen.

Wrapping Up
Replacing skateboard grip tape isn’t as daunting as it sounds. With some basic tools and this guide, you’re well equipped to tackle the task efficiently. Remember, maintaining your skateboard is crucial for safety and performance, and with a fresh grip, you’re ready to dive into your next adventure with confidence and style.


