Have you ever found yourself pondering the task of removing and replacing skateboard grip tape? Maybe the edges of your grip tape are beginning to peel, or you’ve got a fresh deck waiting for customization. Whatever the reason, understanding how to maintain your skateboard deck’s grip is an essential skill every skater should master. A well-maintained board not only performs better but also extends the life of your deck. Let’s guide you through the step-by-step process to ensure your skateboard is always in top condition.
Understanding Skateboard Grip Tape
Before jumping into the removal and replacement process, it’s important to grasp what grip tape is and why it’s crucial for your skateboarding experience. Grip tape is a gritty, sandpaper-like sheet applied to the top of your skateboard deck. It provides the necessary friction to keep your feet securely on the board as you ride, perform tricks, or grind rails.
Why Grip Tape Matters
Grip tape enhances your control and stability while performing tricks or simply cruising around. Without it, skateboarding could become a slippery and dangerous venture. It’s the bridge between your feet and the board, and maintaining it well can drastically affect your overall skateboarding performance.

Tools You’ll Need
Removing and replacing grip tape doesn’t require a professional toolbox, but having the right tools on hand can make the process smoother and easier.
Essential Tools:
| Tool | Purpose |
|---|---|
| Hair Dryer/Heat Gun | Softens the adhesive for easier removal |
| Razor/Box Cutter | Cuts the grip tape precisely |
| Screwdriver | Removes trucks for easy access to the deck |
| Cleaning Rag | Wipes the deck surface clean post-removal |
| New Grip Tape | The replacement that will go onto your deck |
Preparing Your Work Area
Choose a well-lit space with enough room to maneuver your board and tools. Lay down some newspapers or a mat to catch debris and minimize mess—the process can get a bit messy.

Step-By-Step Guide to Removing Grip Tape
Once you’re ready with all your tools and a designated workspace, it’s time to begin the removal process.
Step 1: Remove the Trucks
Start by flipping your skateboard over so that the wheels are facing up. Use your screwdriver to remove the nuts on the trucks, allowing you to separate them from the board. This will give you uninhibited access to the entire deck.
Step 2: Heat the Grip Tape
Next, grab your hair dryer or heat gun. Hold it a few inches above one end of the grip tape and move it slowly back and forth. The heat will soften the adhesive backing, making it easier to peel off the grip tape without leaving any sticky residue.
Step 3: Begin Peeling
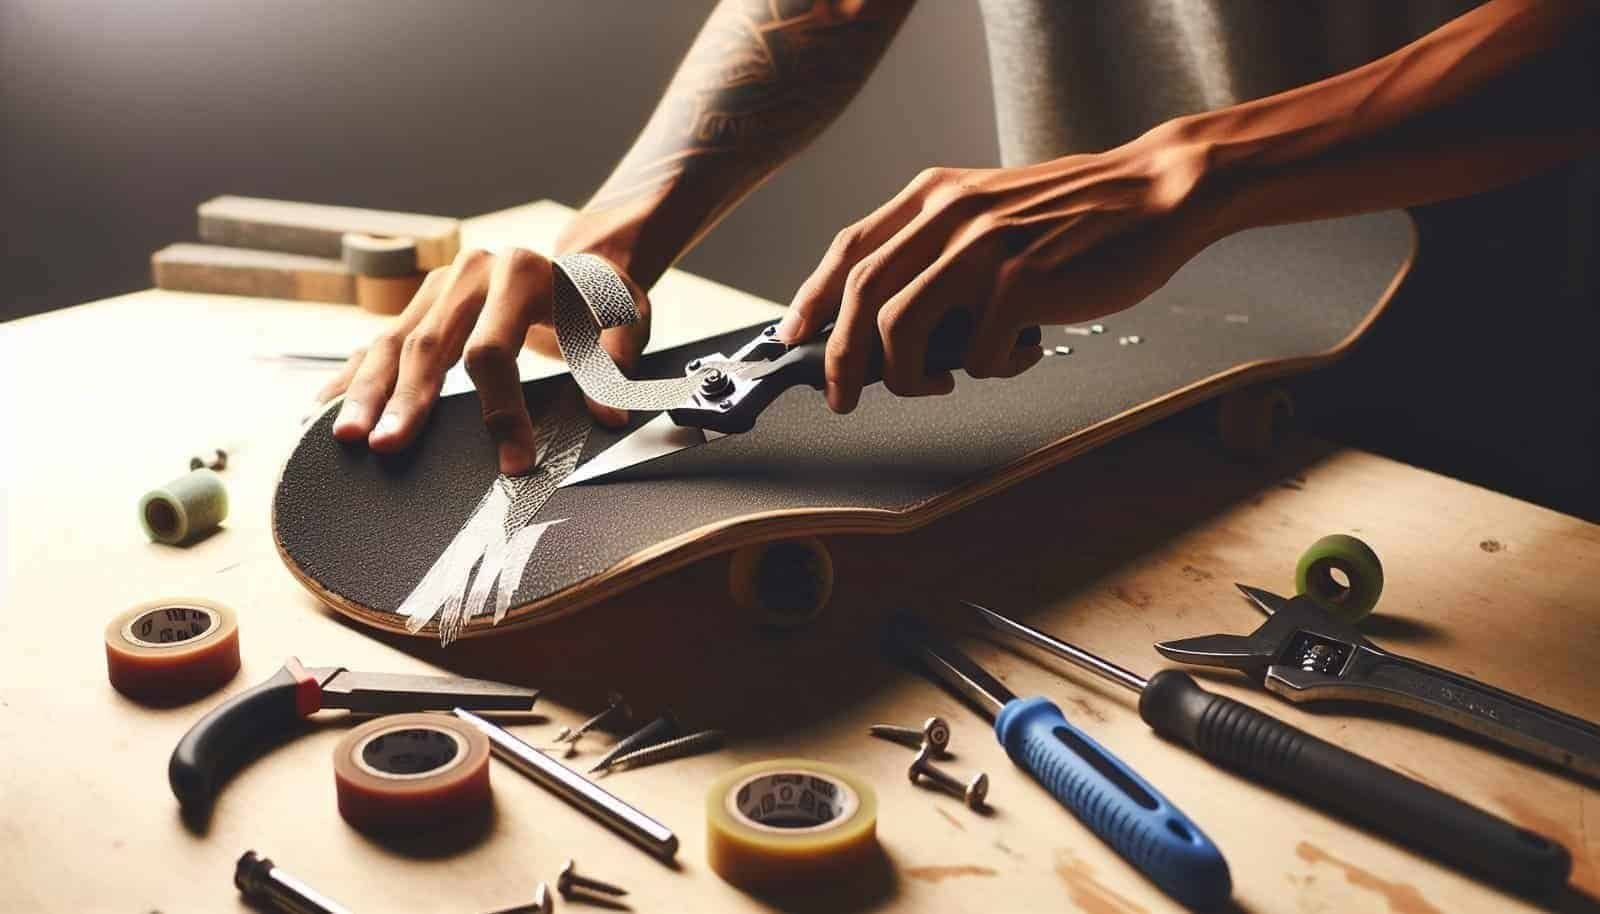
Once the adhesive is sufficiently heated, use your fingers or a corner of your razor to lift a small edge of the tape. Carefully peel back the grip tape with a slow and steady motion, heating sections of the tape as you go along if needed.
Step 4: Use a Razor for Stubborn Areas
Occasionally, you might encounter areas where the grip tape is particularly stubborn. In such cases, use a razor blade or box cutter to gently pry underneath the tape. Exercise caution to avoid damaging the deck underneath.
Step 5: Clean the Deck Surface
After the grip tape is entirely removed, take a cleaning rag and possibly a bit of soapy water to wipe down the surface of the deck. You want to remove any leftover adhesive or dust, ensuring a clean base for the new tape.

Step-By-Step Guide to Applying New Grip Tape
Now that your deck is clean and ready, it’s time to give it a fresh new grip. Selecting the right grip tape is essential—consider texture and style to reflect your personality and preferences.
Step 1: Measure and Position
Unroll the new grip tape over the top of your deck to measure it against your skateboard. Align it so that it extends slightly over the edges of the deck for full coverage once applied.
Step 2: Apply the Grip Tape
Peel off a small section of the backing paper, stick it securely to one end of the deck, and gradually continue peeling the backing paper while pressing the grip tape onto the board. Use a flat object like a ruler to smooth out air bubbles as you go.
Step 3: Trim the Edges
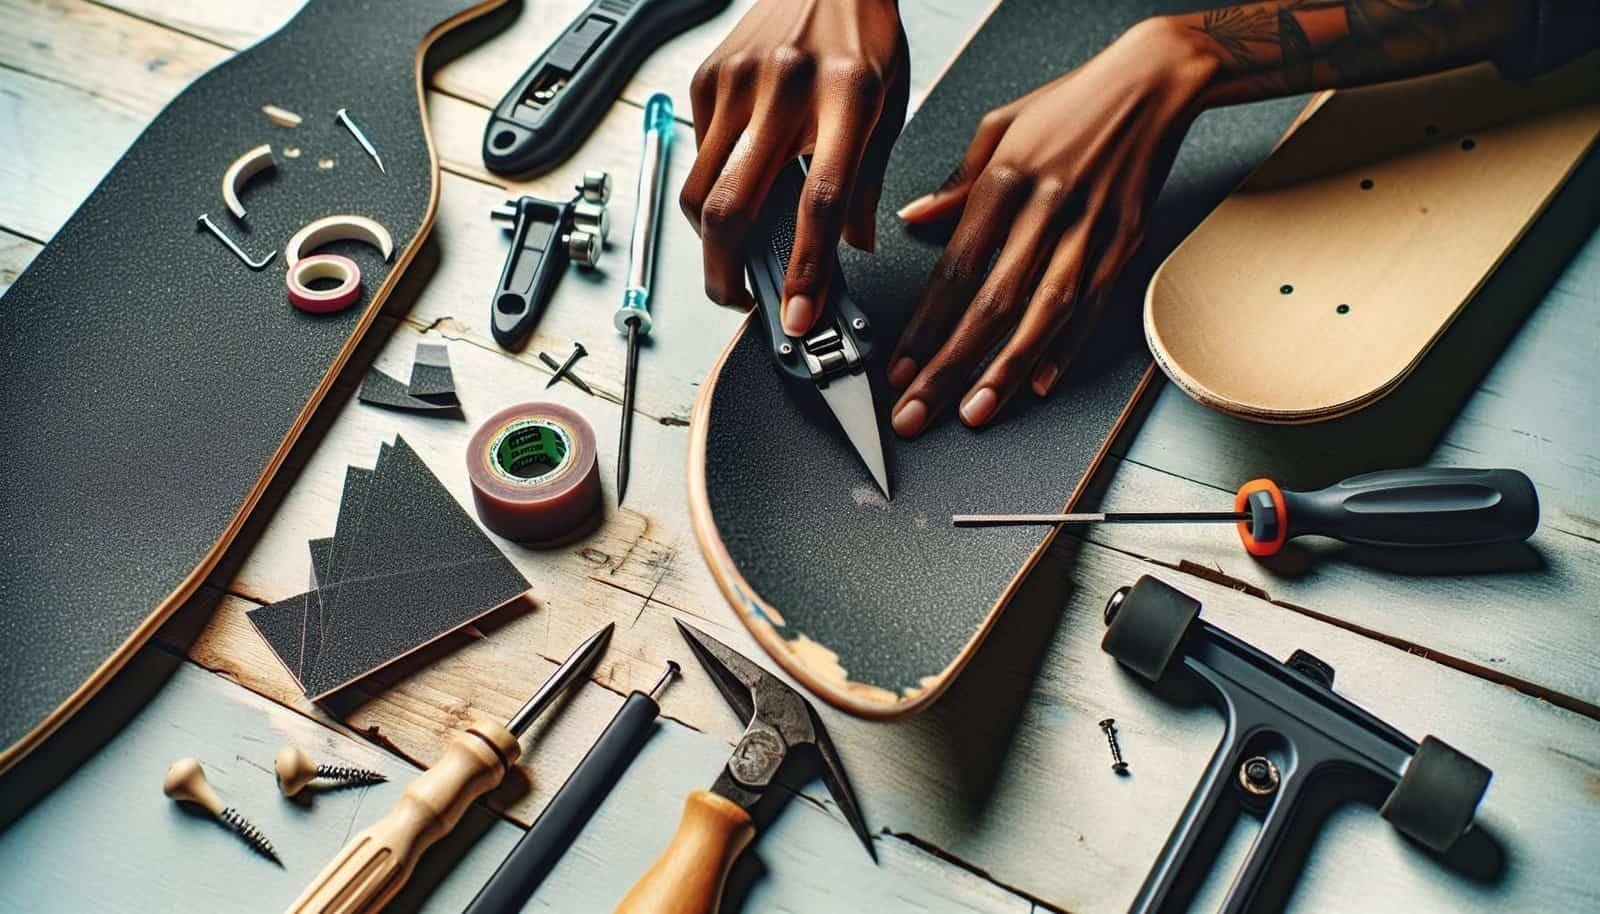
Post-application, you’ll need to trim the excess grip tape hanging off the sides. Carefully run a razor along the deck edges, angling it slightly inward to avoid cutting into the deck itself. Pay close attention to corners, ensuring a snug fit.
Step 4: Smooth Out the Edges
With the razor or a file, gently file down the edges of the grip tape. This will prevent the tape from peeling up over time and provides a cleaner finish.
Step 5: Poke Holes for Hardware
Use a screwdriver to poke small holes through the grip tape where the truck holes are located. This ensures you’ll be able to attach your trucks back easily without guessing their positions.

Additional Tips for Maintaining Your Grip Tape
Once you’ve successfully replaced your grip tape, consider these maintenance tips to prolong its life and effectiveness.
Regular Cleaning
Periodically clean your grip tape with a special cleaning brush designed for skateboards or simply use an old toothbrush. This will increase its lifespan and maintain its stickiness.
Avoid Moisture
Keeping your skateboard, especially the grip tape, away from excessive moisture can prevent it from wearing out prematurely. Wet surfaces can compromise grip strength.
Replace When Necessary
No matter how well you maintain it, grip tape will eventually wear out. Regularly inspect your grip tape for signs of peeling or reduced friction, and replace accordingly.

Troubleshooting Common Issues
What if the Grip Tape is Tearing?
If you notice your grip tape beginning to tear while applying or trimming, this could be due to using a dull razor. Always ensure that your cutting tools are sharp to prevent jagged edges.
What if You End Up with Air Bubbles?
Air bubbles can reduce the grip by creating uneven surfaces. Use a pin or needle to puncture the bubble and press out the trapped air, smoothing afterward.
What if the Grip Tape Doesn’t Stick Properly?
This problem often arises if the deck wasn’t properly cleaned before application. Make sure your deck is free from dust and old adhesive. A secondary factor could be poor-quality grip tape, so consider investing in a reputable brand.
By following these detailed steps and tips, you’re well on your way to mastering the art of removing and replacing skateboard grip tape. As with any skill, practice makes perfect, and with experience, you’ll become more adept at maintaining your skateboard—a key component for any dedicated skater. Now get out there and enjoy your ride with renewed confidence, knowing your skateboard can handle whatever comes its way.

