
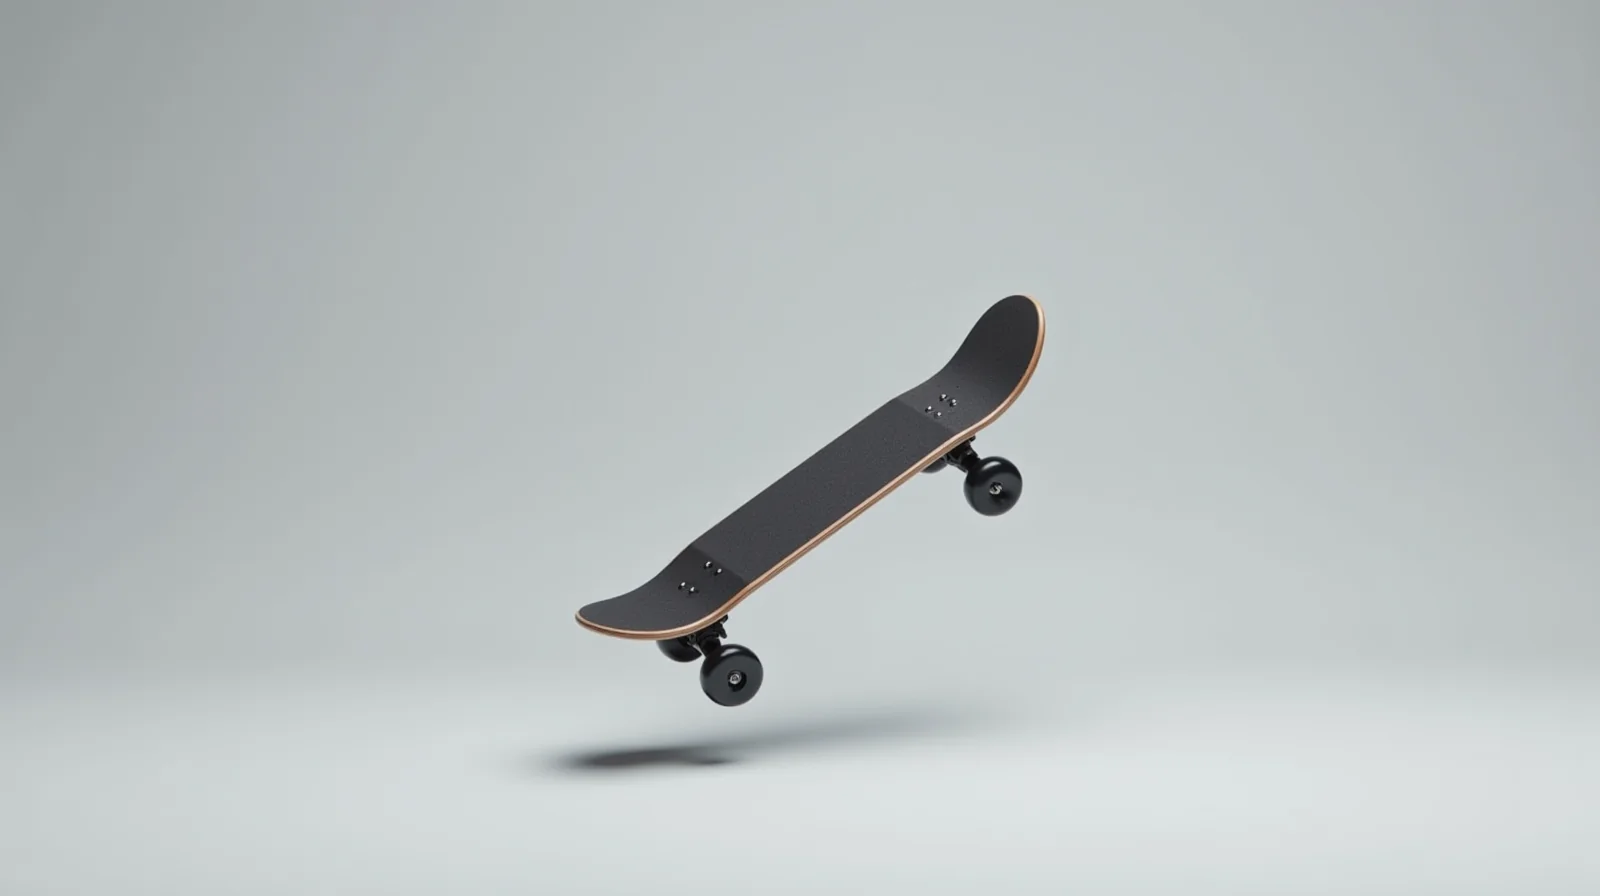
If you can ollie but the board keeps sliding out from under your front foot the moment you try to flick it, you already know the problem: a kickflip is an ollie with one extra job. That one extra job is a full 360-degree rotation of the deck on its long axis, and it is almost entirely decided by where your front foot starts, how much it rotates, and the exact instant it leaves the board. In this 2026 step-by-step guide, I break down how a kickflip actually works, the foot placement and flick angle that make the rotation consistent, the five mistakes that keep the flip from completing, and the setup details that change how the board responds under your feet. If you have been trying to land a kickflip for weeks and the board keeps landing upside down, this is the guide I would hand to a student.
I have spent seven years testing skateboards, wheels, and protective gear, and I have watched hundreds of riders go from first ollie to first kickflip. Everything below comes from that hands-on time: the specific angles, the specific mistakes, and the progression order that actually works on flat concrete, not the condensed version you see in highlight reels. If you follow the steps in order and give each stage the reps it needs, the kickflip stops being a lottery and becomes a trick you can land on command.
By Mia Torres, Skate Gear Reviewer
Mia has spent 7 years testing skateboards and protective gear, covering everything from beginner setups to advanced street rigs. Her reviews come from weeks of wear-testing.
Published: October 13, 2026
The short version
A kickflip is an ollie in which the front foot flicks the board a full 360 degrees along its length while the back foot lifts and lands first. The rotation happens in the first 150 milliseconds after pop, it is started by a front-foot angle of about 45 to 60 degrees, and it finishes only if your body rises with the board instead of dropping onto it.
What a Kickflip Actually Is
A kickflip is the first major progression off the ollie. The ollie gives the board height and a level landing; the kickflip adds a 360-degree rotation around the board’s long axis, which means the deck spins sideways like a coin rolling across a table, and then snaps back flat under your feet before it lands. If the rotation completes, the board lands grip tape up. If it falls 90 degrees short, it lands edge-down on its side. If it goes too far, it lands upside down on the grip. All three outcomes feel like failures, but they are three different errors, and that is why fixing a kickflip requires diagnosing which one you are getting.
The reason the trick is a step up from the ollie is timing, not power. You do not need to jump higher than you already do, and you do not need to kick the board with force. The rotation comes from a quick, precise flick of the front foot that happens while the board is still in contact with the ground, and from letting the board’s own momentum finish the spin. Riders who try to keep kicking the board in the air are usually the ones stuck at the same spot for months. The trick is one clean motion, not a sustained effort.
It is also worth saying what a kickflip is not, because the confusion causes bad habits. A kickflip is not a pop shuv-it, where both feet stay on the board and the whole deck rotates from the back foot dragging the tail. In a pop shuv-it the board never leaves your feet. In a kickflip the front foot leaves the board early, the board travels with you through the air, and the back foot is the first foot back on the deck. If your board is rotating while your front foot is still glued to it, you are doing a different trick, and the kickflip will not come from that position.
How the Flip Works: The Two-Phase Breakdown
Watch any kickflip in slow motion and the board does two separate things in quick succession. Phase one is vertical: the tail pops, the board leaves the ground, and both feet rise with it, exactly like an ollie. Phase two is rotational: the front foot, which is still in contact with the grip tape during the pop, drags across the tail edge and flicks outward, sending the deck spinning. The two phases overlap, which is what makes the trick hard, but understanding them separately is what makes it learnable.
The critical detail in phase one is that the board must be airborne before the flick can do its job. If you flick the board while it is still on the ground, the grip tape catches the concrete, the rotation dies, and the board either stays put or hops sideways. If you flick too late, after the board has already risen past your ankles, you are kicking at mid-air and the rotation is messy and short. The flick window is narrow: it opens the instant the tail pops and the board leaves the ground, and it closes about 100 to 150 milliseconds later, before the board reaches its apex. Every rider who lands kickflips consistently lives in that window.
The critical detail in phase two is that the flick is an angle, not a kick. The front foot rotates outward from a diagonal stance, the sole rolls off the edge of the tail, and the toe area travels in a quick arc that spins the board. The foot does not push the board forward; it peels off at an angle so the board’s long axis rotates. Think of peeling a sticker off a surface: a clean angle, a quick peel, and the surface rotates. A straight upward push just bounces the board. In my testing of setups for street sessions, the boards that made this peel easiest were the ones with a slightly rounded tail edge and medium-grip tape, because the sole rolls across the edge cleanly instead of sticking and then yanking.
Foot Placement: Where Each Foot Starts
Foot placement is the single biggest predictor of kickflip consistency, and most stuck riders have it wrong in the same two ways: the front foot is too far forward, and the back foot is not centered on the tail. Here is the starting position that works, based on what I see in consistent sessions.
Your back foot goes on the tail, centered on the flat spot, with the ball of the foot just above the tail edge, not with the heel hanging over the end. If the heel hangs over the tail, the pop is weaker and the board tilts before you even start. Your front foot goes in the middle of the deck, about one inch behind the center line of the bolts, and here is the part most riders miss: the front foot is not flat. It starts at an angle of about 45 to 60 degrees, with the toes pointing toward the right side of the board for a regular rider. That angled stance is what gives the flick its arc. A flat front foot can only push; an angled front foot can peel. The wider the angle, the more rotation you get, but past about 70 degrees the stance feels unstable and the ollie part weakens, so 45 to 60 degrees is the sweet spot for most riders.
There is a second placement detail that separates a clean flip from a wobbly one: your front knee is slightly bent and your weight is split roughly 50/50, maybe a touch more on the back foot so the tail loads. If you start with all your weight on the front foot, the tail does not pop cleanly and the board rises crooked, which means the flick has to happen on a board that is already tilted, and the rotation goes off-axis. Load the tail, keep the front knee soft, and the board comes up straight, which gives the flick a level platform to work from.
Common setup warning
If your front foot is planted flat and parallel to the board, you will never get a consistent flick no matter how hard you try. The angled stance is not optional; it is the mechanism. If a flat stance feels more comfortable, practice the angle slowly on flat ground before adding the pop, so the position becomes automatic.
The Flick: Angle, Speed, and Where the Foot Travels
The flick itself is a short, quick motion, and three variables control it: the starting angle, the speed of the peel, and the direction the foot exits. Getting all three right makes the rotation complete; getting any one wrong gives a recognizable failure pattern.
The starting angle is the 45 to 60 degree front-foot position described above. The speed matters more than the distance: the peel should be fast, almost a snap, not a slow drag. A slow drag across the tail lets the board rise ahead of your foot, and the flick lands late, so the rotation starts at the wrong point and never finishes. The exit direction is the part riders overthink: the foot travels outward and slightly forward, peeling off the tail edge in an arc, and then it simply falls away as the board spins. You do not need to track the foot through the air or steer the board after the peel. The foot’s job ends the instant the board is rotating; after that, the board’s momentum carries the spin to completion.
One more detail from the sessions: the flick should happen with the wrist of the front foot relaxed and the ankle loose. A stiff, locked ankle makes the peel jerky and the board responds unevenly. A loose ankle lets the sole roll smoothly across the tail edge, which is the difference between a clean spin and a board that hops and then tries to spin. If your flicks feel choppy, loosen the ankle first before changing anything else.
Kickflip Timing: When Every Part Happens
Because the vertical and rotational phases overlap, the whole trick is really a timing sequence. Here is the order of events from a clean kickflip, with the approximate timing from the moment the tail loads. These numbers come from slow-motion review of sessions, and they are close enough to use as a reference for where your timing is going wrong.
| Phase | Timing | What is happening |
|---|---|---|
| Stance load | 0 to 200 ms | Back foot loads the tail, front foot settles at 45-60 degrees, knees soften. |
| Pop | 200 to 300 ms | Tail snaps down, board leaves the ground, both feet begin rising. |
| Flick window | 300 to 450 ms | Front foot peels off the tail edge, board begins its 360-degree spin. |
| Rotation completes | 450 to 700 ms | Board finishes the spin on its own momentum, you rise to meet it. |
| Catch and land | 700 ms to landing | Back foot lands first, front foot follows, knees absorb the impact. |
Timing reference from slow-motion review of street and flat sessions; individual riders vary by a few hundred milliseconds.
Use this table to diagnose your own attempts. If the board lands on its side, your flick most likely started after the 450 ms mark, so the spin began late and never finished. If the board lands upside down, the flick probably went too far or too fast and overshot the 360 degrees. If the board never rotates at all and just rises like an ollie, the front foot is not peeling off the tail edge; it is staying flat and pushing straight up. Each failure pattern maps to a specific timing or angle fix, which is much more useful than the generic advice to just try again.
How to Do a Kickflip: Step-by-Step
Here is the full sequence in practice order. Work through each step on flat, clean concrete, and do not move to the next one until the current one feels automatic. The order matters because each step builds on the one before it.
- Set your stance. Back foot centered on the tail, ball of the foot just above the edge. Front foot in the middle of the deck, angled 45 to 60 degrees. Knees soft, weight roughly 50/50 with a touch more on the back foot.
- Load the tail. Shift a little more weight onto the back foot and feel the tail flex down. This is the same load you use for an ollie; the kickflip uses the same pop, so if your ollie is weak, fix that first before adding the flick.
- Pop and rise together. Snap the tail and let both feet rise with the board. For the first few attempts, do this without the flick at all, just clean ollies from the angled stance, so your body learns the new starting position.
- Add the flick. As the board leaves the ground, peel the front foot off the tail edge in a quick outward arc. Focus on the peel, not on tracking the board. Let the foot fall away after the peel instead of reaching for the board.
- Rise with the board. As the board spins, keep your body rising so you stay level with it. The most common early error is dropping your body while the board is still rotating, which means the board comes down onto your feet instead of landing under them. Stay tall.
- Catch with the back foot. As the board completes its rotation and levels out, bring the back foot down first to meet the grip tape, then let the front foot follow. The back foot lands a fraction of a second before the front foot, and that split-second catch is what keeps the landing stable.
- Roll away soft. Knees bent, absorb the impact, and roll out slowly. A clean landing with soft knees is the goal, not a stiff, locked landing that leaves you wobbling off balance.
Reps matter more than intensity here. In the sessions I run, riders who practice 50 to 100 focused attempts in a short block, then rest and review what went wrong, progress faster than riders who grind for hours without checking their form. The trick is a timing skill, so short, deliberate blocks with breaks between them are the most efficient way to build it.
The Five Most Common Mistakes (and the Fix for Each)
After watching enough kickflip attempts, the failures sort into the same five patterns. If you are stuck, find which one you are in and apply the specific fix instead of guessing.
| Mistake | Symptom | Fix |
|---|---|---|
| Flat front foot | Board rises but never rotates, or rotates unevenly. | Set the 45-60 degree angle and practice ollies from it until it feels natural. |
| Late flick | Board lands on its side, rotation falls short. | Start the peel the instant the board leaves the ground, not after it has risen. |
| Overshoot | Board lands upside down on the grip tape. | Reduce the peel distance and angle; let momentum finish the spin instead of driving it. |
| Dropping the body | Board spins but lands ahead of or behind your feet. | Keep rising with the board; stay tall until it levels out, then bring the back foot down. |
| Weak ollie base | Board never gets enough height for the spin to complete. | Go back to clean ollies for a session; the kickflip inherits every weakness in the ollie. |
Patterns observed across beginner and intermediate street sessions; most stuck riders are in the flat-foot or late-flick category.
The last row is the one I see most often and the one riders skip. A kickflip is an ollie first, and if the ollie is short, crooked, or inconsistent, the flick has nothing clean to work with. If you have not landed a solid run of plain ollies recently, spend a session on those before touching the flip again. It feels like a step backward, but it is the fastest way forward.
Board Setup That Makes the Kickflip Easier
Your setup does not replace good technique, but a well-matched setup makes the flip respond more predictably, and the wrong setup fights you on every attempt. Here are the setup variables that actually matter for kickflips, based on the boards and components I have tested for street use.
Deck width is the first one. For street skating and flip tricks, a deck in the 7.75 to 8.25 inch range is the standard, and most riders find that a narrower board, around 7.75 to 8.0 inches, spins a little faster and feels quicker to flip because there is less mass to rotate. A wider board is more stable for rolling and cruising but takes a touch more flick to turn over. If your board feels sluggish when you flick it, width is the first thing to check. A deck with a slightly rounded tail edge also helps, because the front foot rolls off the edge more cleanly than it does on a square, abrupt tail.
Grip tape matters more than most riders expect. You want a grip that holds your foot during the stance and the pop but lets the sole roll across the tail edge during the peel. A very fine, high-grit tape can feel grippy in a good way, but if it is too sticky or worn down to a rough patch, the peel catches and the rotation stutters. Medium-grip tape with a smooth, even surface is the most forgiving for learning the flip, and replacing worn grip is one of the cheapest setup fixes there is.
Wheels should be hard enough for street and small enough to clear the ground during the flip. A durometer in the 99A range and a diameter around 50 to 53 mm is the typical street setup, and smaller, harder wheels are more predictable for flip tricks because they do not wobble as much at the heights a kickflip reaches. Soft, big cruiser wheels are the wrong tool for this trick; they roll slowly and make the board feel heavy in the air.
Finally, trucks and stance should match your height and how you like to stand. If your stance feels cramped or your feet are too close together, the front-foot angle is harder to set, and the flick has less room to travel. If you are unsure what fits you, the sizing logic in our first skateboard buyer’s guide covers deck width and stance in detail, and the deck width breakdown in our skateboard deck width and concave guide is the place to start if your board feels like the wrong size for flip tricks.
Kickflip Progression: From Flat Ground to Stairs
The kickflip does not get learned in one spot and then magically work everywhere. It gets built up in stages, and skipping a stage is how riders get stuck. Here is the progression order that works, with a rough idea of how long each stage takes for a rider who is already rolling comfortably.
Stage one: the flick on flat ground. Before the pop, practice the front-foot peel while standing still, then while rolling slowly. The goal is to make the flick automatic so that when you add the pop, your foot already knows where to go. This stage takes a few short sessions.
Stage two: kickflips on flat ground. Now add the full sequence on clean, flat concrete. The goal is a handful of landed flips, not a lot of attempts. Once you can land a few on flat ground on most attempts, the trick is in your body.
Stage three: kickflips off small obstacles. Move to a small ledge, a low curb, or a single step. The board has to come down onto something, which means the catch has to be cleaner and the timing tighter. This is where riders who were only doing the trick on flat ground find out whether they actually have it.
Stage four: kickflips on stairs. A two- or three-stair set is the classic first stair attempt. By this point the flip should be consistent enough that the only new variable is the landing surface and the height. If the flip is shaky, go back to stage three; the stairs will not fix an inconsistent flip, they will only make it more obvious.
As the flip becomes consistent, it unlocks the next set of tricks. The nollie kickflip is the natural next step, because it uses the same rotation from the other direction, and the 360 flip combines the kickflip with a full board rotation. Both build directly on the flip you are learning here, which is why the cleanest possible base trick pays off for the rest of your progression. And if you are coming up to this from the other direction, still building the ollie and the basics, the beginner roadmap lays out the order the whole skill tree is supposed to follow, so the kickflip lands in the right place in your development.
Kickflip FAQ
What is a kickflip on a skateboard?
A kickflip is a trick where the rider pops an ollie and, while the board is in the air, flicks the front foot across the tail to spin the deck a full 360 degrees along its long axis. The board lands grip tape up under the feet, with the back foot catching first. It is the first major trick off the ollie and the foundation for a large family of flip variations.
How long does it take to learn a kickflip?
For a rider who can already land solid ollies, a few weeks of focused practice is typical, usually in short blocks of 50 to 100 attempts with breaks. The big variables are how clean your ollie is and how much deliberate practice you put in. A strong ollie base can shorten the process significantly, while a shaky ollie can stretch it out, which is why the guide sends riders back to ollies when the flip is not coming.
What is the difference between a kickflip and an ollie?
An ollie is the base jump trick where the board rises and levels out under the feet without rotating. A kickflip is an ollie plus a 360-degree sideways rotation of the deck, started by the front foot peeling off the tail. The ollie provides the height; the kickflip adds the spin. Every kickflip contains an ollie, but an ollie does not contain a kickflip.
Why does my kickflip land on its side?
A board landing on its side usually means the flick started too late, so the rotation began after the board had already risen and never had time to finish the full 360 degrees. The fix is to start the peel the instant the board leaves the ground, not after it has risen past your ankles. If the board also feels like it is rotating off-center, check that the front foot is at the right angle and the back foot is centered on the tail.
Do I need special wheels or a special board for kickflips?
No, but a standard street setup helps: a deck around 7.75 to 8.25 inches wide, wheels in the 99A durometer range at 50 to 53 mm, and medium-grip tape with a smooth surface. You do not need anything exotic. A cruiser with soft, big wheels or a board that is the wrong width will make the flip harder, but a normal street board is all the trick requires.
See Also
- How to Ollie: Step-by-Step Guide for 2026 — the base trick every kickflip is built on, with the same foot placement and pop details.
- Nollie Kickflip 2026: Step-by-Step Guide and Setup — the same rotation from the other direction, the natural next step once the kickflip is solid.
- How to Choose Your First Skateboard: Complete Buyer’s Guide — how to match deck width and stance to your height so flip tricks feel right.
Sources
- Wikipedia: Kickflip — the standard reference for the trick’s definition, rotation axis, and its place in the flip-trick family.
- Wikipedia: Ollie — the base jump mechanic that the kickflip inherits, including the pop and the level landing.
- Wikipedia: Skateboarding trick — the broader taxonomy of tricks and the rotation and flip categories the kickflip belongs to.
#kickflip #skateboarding #skateboard #howtokickflip #skatetips #fliptrick #skateboarding2026 #streetskating #skateboardtricks #skatecoach #learnskateboarding #skatesafety #boardsetup #skateprogression #skateboardtips
This guide is part of the ska8 daily series. Explore more below.