
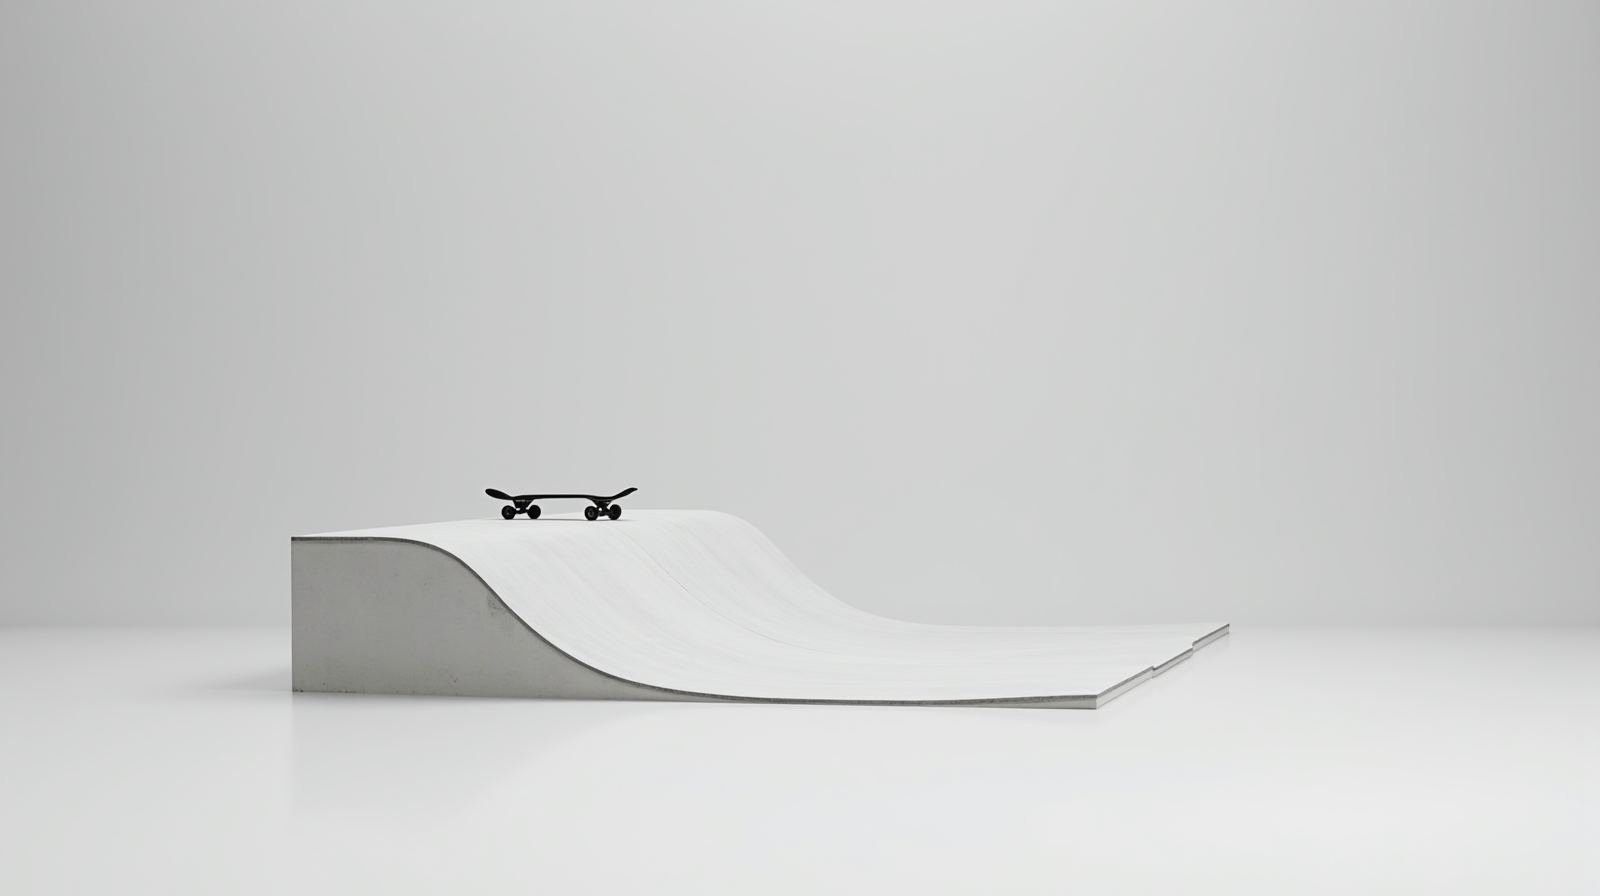
Vert skateboarding is where the sport gets serious. Instead of popping tricks on flat ground or rolling over ledges, you ride up a tall, curved transition — a quarterpipe or halfpipe — grab air over the coping, and come back down. For a lot of riders, that first time up the wall is the moment skateboarding stops being casual and starts being a discipline with its own board, its own skills, and its own safety rules. In this 2026 guide we walk through exactly what vert is, how it differs from street and park skating, the specific board you need, and a safe step-by-step progression from your first push up the ramp to your first clean landing.
After seven years of testing boards and gear for this site, the advice I give every rider heading to a vert ramp for the first time is the same: bring the right board, start on the smallest transition available, and treat “how to land” as the real trick — it is. Everything below is drawn from real ramp sessions and a lot of watching first-timers figure it out the safe way.
By Mia Torres, Skate Gear Reviewer
Mia has spent 7 years testing skateboards and protective gear, covering everything from beginner setups to advanced street rigs.
Published: October 17, 2026
What Is Vert Skateboarding?
Vert (short for vertical) skateboarding is done on ramps with a tall, concave transition that curves from flat ground up to a flat top called the deck, capped with a rounded metal rail called the coping. The two main shapes are the quarterpipe — a single vertical wall — and the halfpipe — two quarterpipes joined by a flat base, which is the standard vert shape. The goal is to ride up the transition, pop off the coping for air, and land back on the transition to keep rolling. Height is the whole game: the bigger the ramp, the more air and the more the trick is judged.
Vert is one of the oldest and most recognized disciplines in skateboarding. It was the original contest format, it anchors major X Games and Dew Cup events, and it has its own pro division. Because the geometry is so defined — a smooth, predictable curve — vert rewards a very different skill set from street: commitment, board control at height, and the ability to absorb a big landing over and over.
Key fact
Vert is judged on how high you go and how clean you land, not on how many tricks you chain. A rider who gets high and lands solid beats one who pops a bigger trick and wobbles on the way down. That is why learning to land well is the single most important vert skill.
How Vert Is Different From Street and Park
If you are coming from street or bowl skating, three things change the moment you commit to a vert ramp:
- There is no bail-out. On street you can push, turn, or step off mid-trick. On a tall ramp, once you are committed to the transition you are going to go over the coping — there is no flat ground to fall back onto. Commitment is the mental shift most first-timers struggle with.
- You are absorbing repeated big landings. Street landings are small and varied. Vert landings are the same size, from the same height, dozens of times in a session. That repetition is hard on your legs, your board, and your focus.
- The board is different. A vert board has a longer wheelbase, smaller wheels, and usually risers, and you ride with a different stance and more pads than you do on street. Your street board will not feel right on a vert ramp, and vice versa.
From coaching first-timers, the biggest mistake is trying to street-skat a vert ramp — popping small tricks and never committing to the wall. Vert is a binary: you either ride the transition and grab air, or you are just on a ramp. The progression below is all about building the confidence to commit.
The Vert Board You Need
Before your first session, set up a board that actually suits vert. A street board on a tall ramp feels twitchy and short in the wheelbase, which makes landings harder and bails more likely. Here is the setup I recommend for a beginner vert board and how it differs from a street setup:
| Component | Street setup | Vert setup |
|---|---|---|
| Deck width | 7.75–8.0 in | 8.25–8.75 in (longer wheelbase) |
| Wheel size | 52–54 mm | 48–52 mm |
| Wheel durometer | 99a–101a | 99a–101a (harder is fine) |
| Riser pads | Optional | 1/8–1/4 in (prevents wheel bite) |
| Trucks | Medium baseplate | Longer baseplate, tuned for stability |
| Protective gear | Wrist guards typical | Helmet + wrist guards + knee/elbow pads |
Beginner vert setup ranges. The longer wheelbase and risers are the two changes that matter most for stable landings; wheel and durometer choices are close to street.
The single most important change is the riser pads. On a vert ramp you lean far back and the deck can tilt into the wheels; risers lift the deck so the wheels never bite into it. Without them a hard lean can snap a wheel or send you down. Pair the risers with a longer-deck, and your board will feel planted when you land.
Anatomy of the Vert Ramp
Knowing the parts of the ramp helps you read your line and land better. Every vert ramp is built from the same pieces:
- Base (the flat). The flat section at the bottom where you pump and get speed. On a halfpipe this is between the two transitions.
- Transition (the curve). The smooth concave surface from the base up to the top. This is where you ride, compress, and launch.
- Coping. The rounded metal rail along the top edge of the transition. You pop off it for air. It is the “lip” of the ramp.
- Deck (the flat top). The flat surface at the very top. You do not want to land on it — you want to pop off the coping before you reach it.
- Transition height. Measured from the base to the top of the coping. Beginner ramps are 2–4 feet; contest ramps are 8–14 feet. Start low.
Rule of thumb
Learn on the smallest transition you can find, ideally under 3 feet tall, before you go bigger. Most serious vert skill is built on a small ramp where a bail is a small fall, not a hard one. Progression comes from repetition at a safe height, not from jumping straight to the big ramp.
How to Get Up the Ramp (The Fundamental Skill)
Before you can pop for air, you have to be able to ride up the transition and over the coping and come back down — cleanly, on both sides of the board. This is the “getting up” and it is 80 percent of learning vert. Here is the sequence I teach first-timers, in order:
- Stance. Stand slightly narrower than shoulder-width, knees bent, weight centered. On a vert board your stance is a touch wider and more relaxed than on street.
- Generate speed in the base. Push off and pump the base to build enough momentum to reach the coping. On a small ramp a couple of pumps is plenty.
- Ride the transition smoothly. As you hit the curve, keep your knees bent and your weight slightly back, letting the board track the curve up toward the coping.
- Commit over the coping. Do not stall at the top. Carry your momentum over the coping so you drop back down the other side. This is the commitment step that first-timers freeze on.
- Land on the transition, not the deck. Come down onto the curve, keep your knees absorbing, and let the board roll back to the base. You have just done a “get up and back.”
- Repeat on both sides. Practice going up and down the same side, then the other, until it is automatic and relaxed.
The goal of this phase is not tricks — it is a smooth, committed, repeatable ride up and over the coping. If you can do that calmly on a small ramp, everything else follows.
How to Land on Vert (The Trick That Actually Matters)
Getting high is easy to get excited about, but landing is what makes or breaks a vert session. A clean landing is a specific physical skill, and it is the one that prevents injuries. Here is what a good vert landing looks like, step by step:
- Spot your line on the way down. As you drop from the coping, look at where you want to land on the transition, not straight ahead or at the ground below.
- Bring the board in front of you. On the way down, tuck your front foot toward your chest and bring the tail in so the board meets the ramp at the right angle — not flat on top of the transition, not nose-first.
- Bend everything on contact. Knees, hips, and ankles all bend at once as the board hits. You are absorbing the impact with your body, not your board.
- Stay over the board. Keep your weight centered over the deck. Leaning too far back sends you down the transition; leaning too far forward dumps your nose into the curve.
- Roll through to the base. Let the board carry you down and into the base, still bent, still absorbing. A good landing rolls all the way through — it does not end at the impact.
Watch out
The two most common bad landings are landing too high on the transition (which dumps you back up the ramp) and landing flat with straight legs (which sends the full force through your board and your joints). If your landings hurt, you are probably doing one of those two — bend more and come in lower on the curve.
How to Learn Vert: A Step-by-Step Progression
Do not jump from flat ground to grabbing air on a tall ramp. This is the progression I use to build vert skill safely, in order:
- Phase 1 — Get up and back (1–2 sessions). On the smallest ramp, ride up and over the coping and back, both sides, until it is relaxed and repeatable. No tricks.
- Phase 2 — Get high and land (2–4 sessions). Add real height: go up, pop just off the coping for a small amount of air, and focus entirely on a clean landing. This is where landing skill is built.
- Phase 3 — Add your first small tricks (4–8 sessions). Once landings are solid, add small vert-appropriate tricks: a small pop, a little turn, a grab at the apex. One variable at a time.
- Phase 4 — Increase height and air (ongoing). As your landings and small tricks stay clean, move to a taller ramp or go higher on the same ramp. Bigger air, same landing discipline.
- Phase 5 — Chain and style (advanced). Combine tricks, add rotations and grabs, and work on style. This is where vert becomes expressive rather than just technical.
The whole point of the phases is that each one is a gate: you move up only when the current one is clean and repeatable. Riders who skip Phase 2 (clean landings) end up with the injuries and the fear that make vert feel impossible.
Safety on Vert
Vert is the highest-impact discipline in skateboarding, so the safety bar is higher than on street. This is non-negotiable, especially while you are learning:
- Wear a helmet. On vert this is not optional. A proper skate or mountain-bike helmet, fitted correctly, is the single best injury prevention you can do.
- Wear full pads when learning. Wrist guards, knee pads, and elbow pads. Bails happen on every session, and your body will thank you for the pads while you are building skill.
- Learn on the smallest ramp available. A 2–3 foot ramp makes every bail a small, manageable fall. Build skill there before you go tall.
- Check the coping and transition. Loose or dented coping and cracks in the transition are hazards. Do not ride a ramp that is in bad shape.
- Learn to bail. Know how to get your feet off the board and roll or fall safely when a trick does not come together. Falling safely is a vert skill.
Common Vert Mistakes to Avoid
From watching first-timers, these are the mistakes that slow progress and cause injuries:
- Not committing. Stalling at the top and rolling back down instead of going over the coping. This never builds the confidence you need — you have to actually go over.
- Skipping the landing work. Chasing height before you can land cleanly. The landings come first, always.
- Using a street board. No risers, short wheelbase — the board feels wrong and landings are hard. Set up a real vert board.
- Starting too tall. A 10-foot ramp on day one is a recipe for a hard bail and a bad first impression. Start small.
- Looking down. Watching the ground instead of spotting your landing line. Your eyes lead your body.
- Ignoring your body. Pushing through sore knees or a wobbly landing. Vert is repetitive impact; rest when you need to.
Vert Skateboarding FAQ
What is the difference between vert and park skateboarding?
Vert is specifically about riding tall, vertical transitions (quarterpipes and halfpipes) and grabbing air over the coping. Park skating is broader and includes bowls, ramps, ledges, and flat-ground features. Vert is a discipline within the wider world of ramp skating, focused on height and air rather than variety of obstacles.
What size board do I need for vert?
A vert board is longer and wider than a street board — typically 8.25 to 8.75 inches wide with a longer wheelbase, smaller wheels (48–52 mm), and riser pads. The longer wheelbase and risers are what make landings stable and prevent wheel bite.
How tall should a ramp be for a beginner to learn vert?
Start on the smallest transition you can find, ideally under 3 feet tall. You build real vert skill on a small ramp where bails are small and manageable, then progress to taller ramps once getting up and landing are clean and repeatable.
Do I need a helmet and pads to learn vert?
Yes. A properly fitted helmet is non-negotiable on vert, and full pads (wrist guards, knees, elbows) are strongly recommended while you are learning. Vert is the highest-impact discipline in skateboarding, and bails are part of every session.
How long does it take to learn vert?
It depends on how often you ride and what you already know. If you are a confident street or bowl skater, you can be getting up and landing cleanly on a small ramp within a few sessions. Building to real height and air takes months of consistent, safe practice. The progression is as much about confidence as it is about technique.
See Also
Keep reading on Ska8:
- Street vs Park Skateboarding 2026 — which to learn first (where vert fits in the big picture)
- Skate Park Types 2026 — which one to start with (finding the right ramp to learn on)
- How to Fall Safely on a Skateboard 2026 — step-by-step (bailing without getting hurt)
Sources
- Wikipedia — Vert skateboarding: discipline history, ramp types, and competition format.
- Wikipedia — Quarterpipe: ramp geometry, transition, coping, and deck dimensions.
- Indy Trucks — indytrucks.com: truck and baseplate options for a stable vert setup.
#VertSkateboarding #Skateboarding #Vert #Quarterpipe #Halfpipe #Skateboard #SkatePark #SkateGear #SkateLife #LearnToSkate #SkateboardSetup #Coping #Skateboarding101 #VertLife #Rolling
This guide is part of the ska8 daily series. Explore more below.