
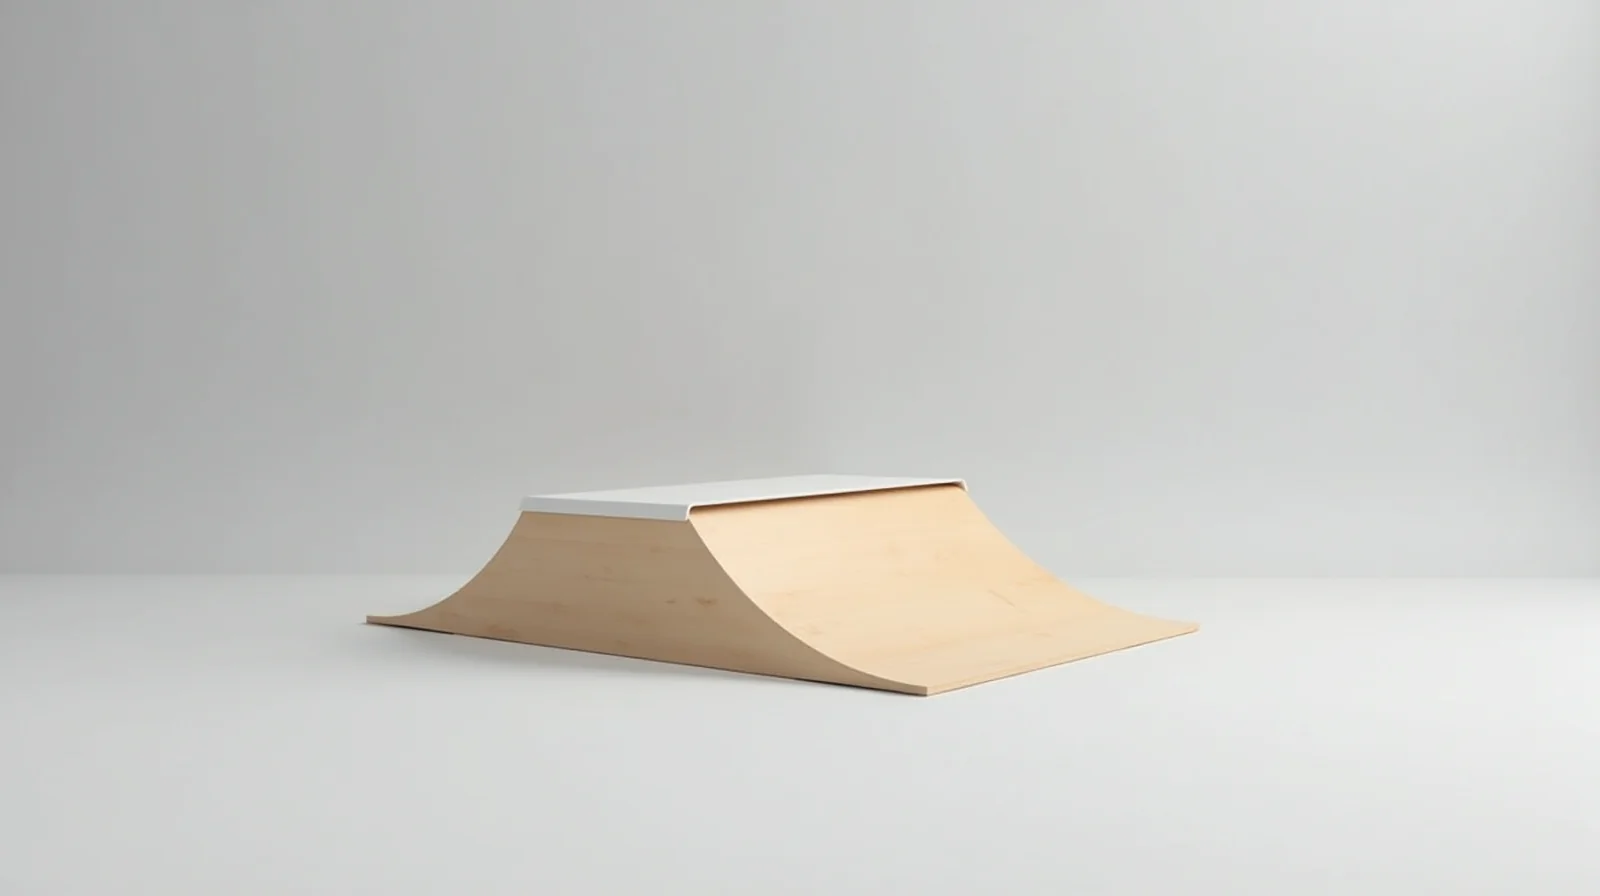
If you have ever stood in the aisle of a hardware store wondering how to build a mini ramp, you are not alone. A mini ramp is the classic skateboarding shape: two curved quarter-pipe transitions joined by a flat bottom, and it is the single most useful structure you can add to a backyard, garage, or community lot. Building one yourself lets you pick a size that actually fits your space, cut the cost by 60 to 80 percent compared with a commercial ramp, and get a riding surface that is tuned to the way you skate. The tradeoff is that a ramp is a structure people put their whole bodies against at speed, so the details that make or break a build are the ones that are easy to get wrong.
In this guide I break down exactly how to build a mini ramp in 2026: the dimensions to choose and why, a full tools and materials list with realistic prices, a step-by-step build from frame to coping, and the safety details that separate a ramp that simply holds together from one that actually launches you. After building and riding three DIY mini ramps over the past few years, I have written down the measurements, the shortcuts that save time, and the mistakes I made so you do not have to repeat them. You will finish with a build plan you can take straight to the lumber counter.
By Mia Torres, Skate Gear Reviewer
Mia has spent 7 years testing skateboards and protective gear, covering everything from beginner setups to advanced street rigs.
Published: November 2, 2026
Quick Answer
You build a mini ramp by framing two quarter-pipe transitions with braced 2×4 or 2×6 lumber, covering them with layered 1/2 inch plywood transitions and a flat plywood bottom, then capping the top of each transition with 1.5 inch steel half-pipe coping. A standard 4-foot home build costs roughly $300 to $600 in materials and takes a capable weekend builder two to three full days. The most important decisions are the transition height, the width, and how rigidly you brace the frame.
What Is a Mini Ramp? The Anatomy of the Classic Skate Ramp
A mini ramp is the original transition shape in skateboarding. It is made of two identical curved sections, called transitions or quarter pipes, that face each other across a flat running surface, called the flat bottom. Ride up one transition, the board follows the curve until the wheels reach the rounded metal pipe at the very top, the coping, and then gravity brings you back down the other side. The whole structure sits on a frame, the hidden skeleton of lumber or steel that carries all the load and keeps the riding surface from flexing or racking.
Even though the shape has barely changed since the late 1970s, the mini ramp is still the best place to learn the fundamentals of transition skating: pumping to build speed without pushing, stalling at the top of the coping, and loading up for a bigger pop. It scales cleanly from a two-foot kid ramp that fits in a garage to a six-foot pro transition, and everything you learn on a small mini ramp carries directly to a full-size skate park. That is why a DIY mini ramp is one of the highest-value projects a home skater can build.
The Four Parts That Matter
Transition — the curved plywood surface that bends from vertical to horizontal. Coping — the rounded steel pipe bolted across the top edge, smooth enough to grind on. Flat bottom — the level deck between the two transitions where you gain speed. Frame — the braced lumber skeleton underneath that keeps everything rigid under load.
Mini Ramp Dimensions: Choosing the Right Size
Size is the first decision, and it is the one most first-time builders get wrong. A ramp that is too small to build real speed on is frustrating to ride, and a ramp that is too big for your space or your skill level is a liability. Three numbers define a mini ramp: the transition height (how tall each curve is, measured from the deck to the coping line), the flat bottom length (the distance between the two transitions), and the width (how wide the riding surface is, side to side). Get the transition height to match your goals and the flat bottom long enough to pump, and the rest of the build falls into place.
| Ramp Size | Transition Height | Flat Bottom | Width | Best For |
|---|---|---|---|---|
| Small / Indoor | 24 in (2 ft) | 8 ft | 4 ft | Kids, garages, first ramp |
| Standard | 48 in (4 ft) | 16–20 ft | 8 ft | Most home skaters, intermediate |
| Large | 60 in (5 ft) | 20–24 ft | 8–10 ft | Advanced riders, bigger tricks |
The 4-Foot Rule
If you are choosing one size for a home build, a 4-foot transition with an 8-foot width and a 16 to 20 foot flat bottom is the sweet spot. It is tall enough to build real momentum and land a solid grab or a small flip, wide enough to not feel claustrophobic, and small enough to fit a typical driveway or the end of a long backyard. In my builds, the 4-foot version is the one that gets ridden the most and regrets the least.
Tools and Materials You Will Need
A mini ramp build is a plywood-and-steel job, and the material list is short but specific. The single most important purchase is the plywood: you want a hard, stable species for the riding surface, not the cheap softwood that splinters and dents under a truck. Birch or poplar plywood in AC or B/BB grade holds a smooth surface and takes a seal well. For the frame, dimensional lumber (2×4 or 2×6) is fine for a home build; use 2×6 if you are going above a 4-foot transition or want extra stiffness. The coping is 1.5 inch diameter steel half-pipe, 16 gauge, which is the standard grindable edge you will see on real parks.
| Item | Specification | Quantity (4 ft build) | Est. Cost |
|---|---|---|---|
| Riding-surface plywood | 1/2 in (12 mm) AC birch or poplar, 4×8 ft | 8–10 sheets | $110–$160 |
| Frame lumber | 2×6 (or 2×4) select, 8 ft and 12 ft | 20–30 boards | $180–$300 |
| Coping | 1.5 in steel half-pipe, 16 gauge, 8 ft lengths | 2 lengths | $60–$100 |
| Structural screws | 3 in (75 mm) deck/structural, box | 1–2 boxes | $40–$70 |
| Coping bolts | 1/4 in lag or carriage bolts + washers | 40–60 | $25–$40 |
| Seal / finish | Polyurethane or ramp sealer, exterior grade | 2–3 gallons | $50–$80 |
On the tool side, you need a circular saw for the straight frame cuts, a jigsaw to trace the transition curve, a drill/driver, a good set of clamps, a chalk line, a tape measure, a level, and 80- to 120-grit sandpaper. If you do not own a jigsaw, a hand file and patience work for the curve, but the jigsaw is what makes the transition smooth. Wear eye and ear protection whenever you cut, and cut the transition curve in a scrap sheet first so you can check the radius before you commit to a full sheet.
Step-by-Step: How to Build a Mini Ramp
The build runs in six stages, and the order matters: frame first, then transitions, then coping, then the flat bottom, and finally reinforcement and finish. Skipping ahead is how ramps end up with a wobbly base or a coping line that is not level. Lay out the full footprint on the ground with chalk before you cut a single board, and double-check that the space is square.
Step 1: Lay Out and Cut the Frame
Mark the full rectangle on flat, level ground: the total length is the flat bottom plus both transition heights, and the width is your riding width plus a couple of inches of overhang on each side. Cut the perimeter lumber and the internal ribs that will sit under the transition. For a 4-foot build, the frame under each transition is a right triangle, and the hypotenuse line is where the curved plywood will sit. Keep every cut square; a frame that is off by even a half inch shows up as a lip in the riding surface.
Step 2: Assemble and Brace the Frame
Dry-fit the frame, then fasten it with 3 inch structural screws, two per joint minimum. This is where most DIY ramps fail: the frame needs diagonal cross-bracing so it cannot rack, or twist out of square, when a skater loads up on the coping. Add a diagonal brace in each end bay and along the long sides. Check the whole frame for square by measuring both diagonals; they should be equal. A frame that is square and braced will stay square for years under load.
Step 3: Shape and Attach the Transitions
Trace your transition curve onto the plywood using a template, then cut it with the jigsaw. For a smooth, professional curve, build the transition from two or three layers of 1/2 inch plywood laminated together: the layered approach bends around the curve far better than a single sheet and is much stiffer. Sand the cut edge until it is glass-smooth, because this edge becomes the line where the flat bottom meets the curve and you will feel every rough spot through your wheels. Screw the transition layers to the frame ribs, overlapping seams, and check that the curve meets the flat bottom with no gap and no step.
Step 4: Install the Coping
The coping is the rounded steel half-pipe that caps the top of each transition. Position it so the crown of the pipe sits just above the top of the plywood, then drill pilot holes through the coping and into a backing plate or the top frame member. Bolt it down with 1/4 inch lag or carriage bolts on roughly 8 inch centers, using washers on both sides. The two coping lines must be at the same height and dead level, so check with a level and a long straightedge before you torque the final bolts. File or grind away any burrs; a smooth, burr-free coping is a safety requirement, not a finishing touch.
Step 5: Build the Flat Bottom and Deck
Lay the flat bottom plywood across the frame between the two transitions, butting it tightly against the base of each transition curve. Stagger the sheet seams so they do not line up in a single line, and screw down through the plywood into the frame at 6 to 8 inch spacing. The flat bottom is where you generate speed, so any seam that creates a catch will ruin the ride. If your flat bottom is longer than a single 8-foot sheet, overlap or book-match the seam and keep it as flush as you can, then sand it flat.
Step 6: Reinforce, Sand, and Seal
Go over the entire structure and confirm every fastener is tight, every transition is solid against the frame, and no screw head is proud of the surface. Sand the whole riding surface with 80-grit, then 120-grit, until it is even. Finally, seal the plywood with an exterior-grade polyurethane or a dedicated ramp sealer in two to three coats; unsealed plywood absorbs moisture, swells, and the surface starts to chip within a season. Let each coat dry fully before riding, and recheck the coping bolts once the wood has settled.
How Much Does a DIY Mini Ramp Cost?
The whole reason most people build a ramp instead of buying one is cost. A comparable commercial or pro-built mini ramp runs from a few thousand dollars for a small unit to well over ten thousand for a large, code-compliant structure, because you are paying for engineered steel, certified materials, labor, and liability. A DIY build strips all of that out and leaves you with raw materials, which is why a 4-foot home ramp typically lands between $300 and $600. The table below puts the two paths side by side so the difference is obvious at a glance.
| Build Path | Small (2 ft) | Standard (4 ft) | Large (5 ft) |
|---|---|---|---|
| DIY materials | $200–$350 | $300–$600 | $500–$900 |
| Commercial / pro-built | $1,500–$3,000 | $3,000–$8,000 | $8,000–$15,000+ |
| Time to ride | 1–2 days | 2–4 days | 4–7 days |
Two things push a DIY build toward the top of its range: the plywood species (birch costs more than poplar but lasts longer and rides smoother) and the coping (a thicker, galvanized half-pipe costs more but will not rust and corrode at the grind line). If you are on a tight budget, the single place I would not cut corners is the coping, because it is the part your wheels and your body hit the most and the part that is hardest to replace once the ramp is built.
Common Mini Ramp Mistakes to Avoid
Most failed DIY ramps share the same handful of mistakes, and almost all of them are cheap to avoid if you know to look for them. After riding ramps that were built both well and badly, these are the ones I check for every time.
- Using softwood or MDF for the riding surface. Cheap construction-grade pine dents and splinters under a truck, and MDF shatters when it gets wet. Use hard birch or poplar plywood for every surface that touches wheels.
- Skipping the diagonal bracing. An unbraced frame racks under load, the coping lines go out of level, and the whole ramp feels loose. Bracing is not optional.
- Leaving a seam or step where the flat meets the curve. Even a 1/16 inch lip will catch a wheel and dump you. Book-match and sand that transition line until it is invisible.
- Undersized or under-bolted coping. Thin pipe or widely spaced bolts flex and lift at the grind line. Use 1.5 inch, 16 gauge half-pipe on 8 inch bolt centers.
- Building it unsealed. Bare plywood swells with moisture, the surface chips, and the ramp degrades within a season. Always seal, especially outdoors.
- Making it too small to be useful. A 2-foot ramp with a short flat bottom is fine for a kid, but an adult will not build enough speed to enjoy it. Size the flat bottom to your goals.
Building a Safe Mini Ramp: What Actually Prevents Injuries
A ramp concentrates a lot of force into a small structure, and the safety of the finished build is determined almost entirely during construction. Commercial parks follow published standards for exactly this reason; the ASTM F2698 guide for above-ground and in-ground skate park facilities sets out the kinds of enclosure, surface, and structural expectations that a well-designed ramp is measured against. You do not need to certify a backyard ramp, but the same principles apply: rigid structure, smooth surfaces, no hazards at the ride line, and a stable base.
Non-Negotiable Safety Checks Before First Ride
Every fastener torqued and nothing proud of the surface. Coping smooth and burr-free, both lines level and the same height. No gaps or steps in the riding surface. Frame braced and sitting on a flat, stable, level base with nothing loose underneath. And, on the rider side, a properly fitted helmet and wrist guards: the Consumer Product Safety Commission and the American Academy of Orthopaedic Surgeons both note that wrist fractures are among the most common skateboarding injuries, and wrist guards measurably reduce their frequency and severity. A safe ramp and safe gear are two separate requirements, and you need both.
Finally, pick the site as carefully as the build. The ramp needs to sit on a level, drained, compacted base so it does not settle unevenly and develop a lean over time. Keep the ride path clear of debris, and if the ramp is outdoors, plan for the seal to be refreshed every couple of seasons so the surface never gets to the point where it chips.
Mini Ramp vs Quarter Pipe vs Pump Track
These three terms get mixed up constantly, so here is the clean distinction. A quarter pipe is a single curved transition, the building block. A mini ramp is two quarter pipes facing each other across a flat bottom, the classic enclosed shape. A pump track is a completely different animal: a continuous, undulating surface of linked rollers that you ride by pumping your body, with no coping and no vertical wall. The table makes the practical differences clear.
| Feature | Mini Ramp | Quarter Pipe | Pump Track |
|---|---|---|---|
| Shape | Two transitions + flat bottom | Single transition | Linked rollers, no walls |
| Has coping | Yes | Yes | No |
| Speed source | Pumping + pumping the flat | Pumping | Body pumping only |
| Typical space | Driveway or backyard | Wall or garage end | Long, open area |
| Best for learning | Pumping, stalling, first airs | Basic transition feel | Flow and pumping rhythm |
After You Build It: Where and How to Ride
A finished mini ramp is a tool for learning, so ride it like one. Start at the bottom of the transition, not the top: learn to pump back and forth across the flat bottom to build speed before you ever try to stall at the coping. Once pumping feels smooth, work up the wall in stages, keeping your eyes up and your body over the center of the board. If you are new to transition in general, pair the ramp with a broader look at the different skate park types and which one to start with, because understanding where a mini ramp fits in the wider family of ramps makes your practice more intentional. And because you will fall while you learn, the two habits that protect you most are covered in the guides to essential safety gear for skateboarding and how to fall safely on a skateboard. Wrist guards in particular earn their keep the first time you go over the bars.
Frequently Asked Questions About Building a Mini Ramp
How long does it take to build a mini ramp?
For a standard 4-foot build, plan on two to four full days if you have basic woodworking tools and experience, and a full weekend or two if it is your first serious build. The frame takes the most time, the transitions are where the careful work is, and the coping and sealing are quick once the structure is solid. Drying time between seal coats is usually the thing that stretches the schedule the most.
What is the smallest usable mini ramp size?
A 2-foot transition with at least an 8-foot flat bottom is the practical minimum for an adult, and it is the right size for kids and for tight indoor or garage spaces. Below about 2 feet the transition is too short to build meaningful speed, and the ramp stops being much fun for an adult. If your space only allows a small ramp, prioritize the flat bottom length over the transition height so you can still pump up to speed.
What plywood should I use for a ramp?
Use 1/2 inch (12 mm) hard plywood in AC or B/BB grade, in birch or poplar, for the riding surface, and 3/4 inch or 1/2 inch structural plywood or solid lumber for the frame. Avoid MDF and cheap softwood entirely for anything the wheels touch. Laminating two or three 1/2 inch layers for the transition gives you a curve that is both smooth and stiff, which is the combination a single sheet cannot match.
Can I build a mini ramp indoors?
Yes, a compact 2-foot ramp with a 4-foot width and a short flat bottom fits in a large garage or a cleared room, and it is a great way for kids to learn. The tradeoffs are space, noise, and dust: cutting and sanding indoors is messy, and a ramp in a living space needs a stable, level floor and a lot of clearance. If you build indoors, work in stages and contain the sawdust, and keep the riding surface sealed so it does not wick moisture from the floor.
How much does a DIY mini ramp cost?
A DIY 4-foot mini ramp runs roughly $300 to $600 in materials, depending on the plywood species and the grade of coping you choose. A small 2-foot build can drop to $200 to $350, and a large 5-foot build climbs to $500 to $900. That is a fraction of the $3,000 to $8,000 a comparable commercial ramp costs, which is the core reason people build in the first place.
See Also
Sources
- U.S. Consumer Product Safety Commission — Skateboarding Safety fact sheet on protective gear and common injuries: cpsc.gov
- American Academy of Orthopaedic Surgeons (AAOS) OrthoInfo — Skateboarding Safety, wrist fractures, and injury prevention: orthoinfo.org
- TrueRide — commercial ramp construction, structural testing, and ASTM skate park facility standards: trueride.com
#Skateboarding #MiniRamp #DIYSkateRamp #SkateRamp #HowToBuildARamp #RampBuilding #SkatePark #Skateboard #QuarterPipe #DIY #Woodworking #RampPlans #SkateLife #Skateboarder #SkateCulture
This guide is part of the ska8 daily series. Explore more below.