
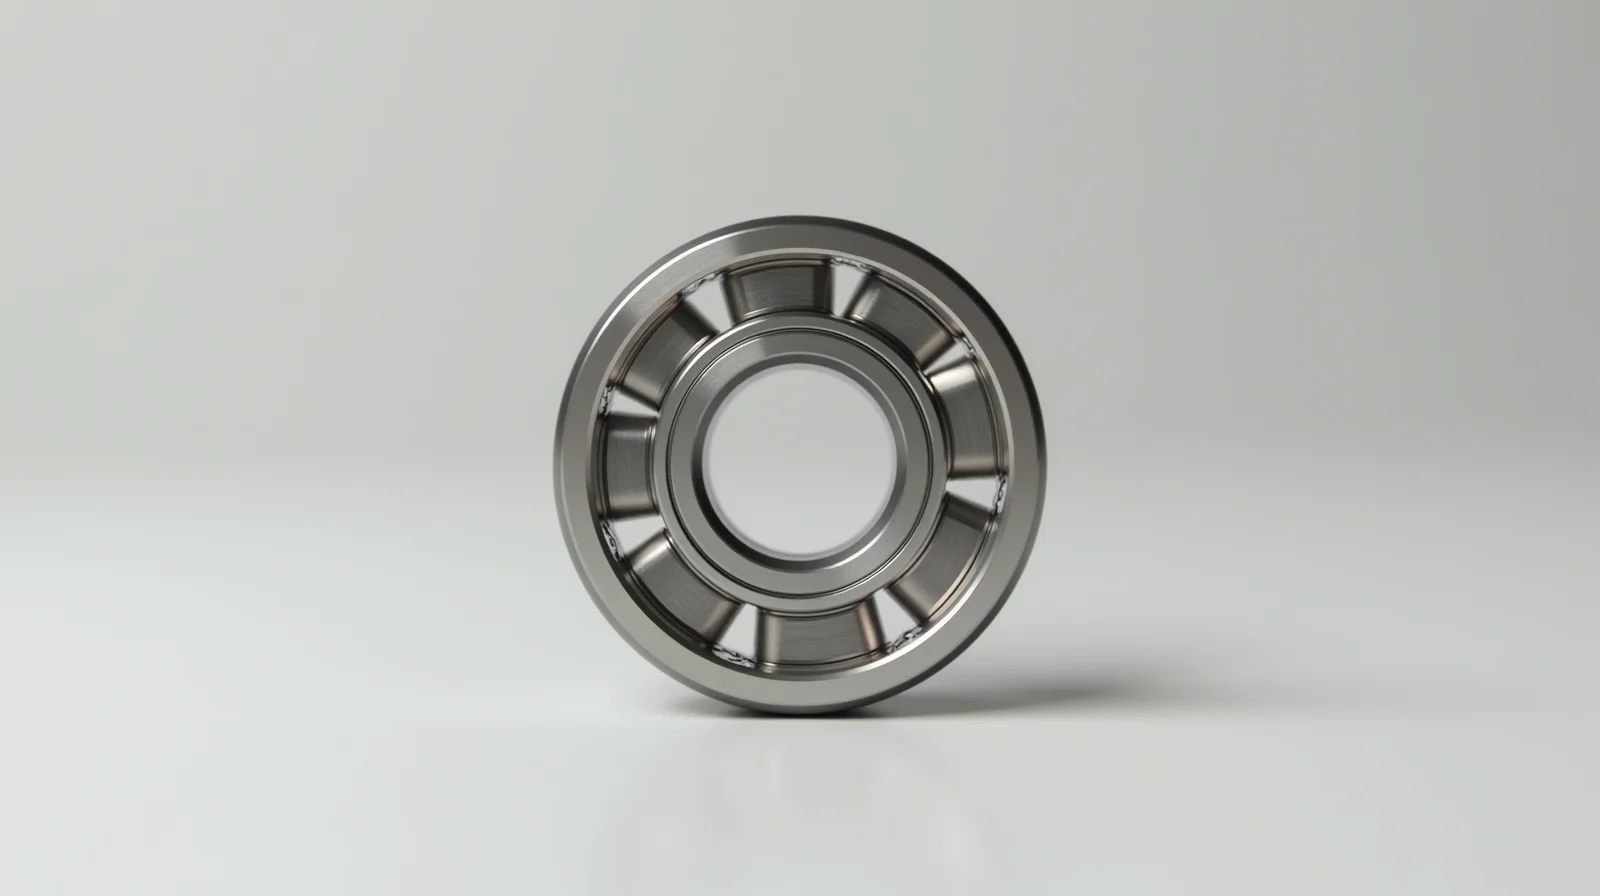
A sluggish, grinding, or ratcheting board rarely comes from worn wheels or loose trucks. It almost always comes from bearings. In my seven years testing street setups, the number one complaint I hear from riders is a board that “feels dead” — and nine times out of ten, a proper clean brings those bearings back within seconds. This guide is the complete, no-nonsense workflow for cleaning skateboard bearings in 2026: what to use, what to skip, how to dry them, when to lubricate, and exactly how to tell a dirty bearing from a dead one.
Published: August 31, 2026
By Mia Torres, Skate Gear Reviewer
Mia has spent 7 years testing skateboards and protective gear, covering everything from beginner setups to advanced street rigs.
Why Skateboard Bearings Slow Down
A skateboard bearing is a sealed set of precision balls spinning between two steel races. Under the wheel it carries your full body weight while turning thousands of RPM, so it tolerates an extraordinary amount of abuse. But that same abuse is what kills them. The gap between the inner race and the seal is small enough to keep grease in, yet wide enough to let grit, water, dust, and road film sneak out and in. Over weeks of street skating, sand from kicktails and rough concrete packs into that space, turning a smooth spin into a gritty drag.
Here is the part most riders get wrong: a noisy bearing is usually dirty, not broken. The balls are still spinning perfectly round. What is happening is that abrasive particles are now riding between the balls and the race, acting like very fine sandpaper. That friction is what steals your speed and adds the grinding, ratcheting sound. The good news is that because the damage is external to the balls, you can fully reverse it with a clean. The bad news is that if you keep skating a bearing past the point where metal is actually scoring onto the race, no amount of cleaning will bring it back — that is a replace-it job. The rest of this guide is about learning to tell those two states apart.
The short version
A dirty bearing can feel almost dead but still spin fast after a clean and a full dry-out. A worn bearing feels dead and stays dead — it has play, a rough feel on the race, or it has taken a hard hit and water. If in doubt, the decision table later in this guide will sort it out.
The Two Most Common Cleaning Methods
There are really only two approaches that stand the test of time on a street board, and every “secret” cleaner you have ever seen is a variation on one of these two. Understanding the difference will save you a lot of time, and a lot of money spent on products that were never designed for what a skateboard bearing actually needs.
Method 1: Isopropyl Alcohol (IPA) Flush
The industry standard. You submerge the bearing in 90% or 99% isopropyl alcohol, agitate for 30 to 60 seconds, dump it, let it evaporate completely, and repeat two or three times. IPA is chosen because it is a strong degreaser that evaporates cleanly with no residue, it does not swell or damage most bearing seals, and it is cheap. A 4-ounce bottle from any pharmacy is enough for dozens of cleanings. This is the method I use for routine maintenance on my own street setup, and it works. It will remove packed-in grit, dried road film, and old grease with very little effort.
Method 2: Dedicated Skate Bearing Cleaner
Brands like Bones, Spyre, and Spire make cleaners specifically formulated to penetrate skate bearing seals more aggressively than IPA. They cost more per use, but they are designed to work into the tight tolerance between the inner shield and the race without needing to be submerged for as long. This is the method I recommend for bearings that have been neglected for several months and have packed up hard — IPA alone may not reach the gunk that is holding the inner shield in place. A good dedicated cleaner will free a stuck bearing in under two minutes of agitation.
What to avoid
Do not use acetone, brake cleaner, or household degreasers. Acetone will dissolve many bearing seal materials. Brake cleaner is formulated to strip oils and leave a dry film that actually attracts dust. Household dish soap leaves a residue that packs into the tiny gap and makes the problem worse.
Step-by-Step: The Full Cleaning Process
This is the exact sequence I follow on my own board. It takes roughly 10–15 minutes per bearing if you are doing it properly, and you can do both at once in parallel, making a weekend reset a 20-minute job.
- Remove the bearings from your trucks. Use a proper bearing puller if you have one. A flathead screwdriver works but you will scratch the axle — not catastrophic, but a $10 puller saves you from doing that repeatedly. If the shields are stuck tight, tap the bearing gently with a mallet or a hammer while pulling. Do not force it sideways against the axle.
- Strip the shields if you have a deep-dirty bearing. For a routine clean, you do not need to do this — the shields can stay on and you can flush through the gap. But if a bearing has been packed with sand for months, removing the shields gives your cleaner direct access to the balls and the inner race. A small pick or the tip of a precision screwdriver can pry the outer shield off. Replace a new shield after cleaning if you removed it — a loose or missing shield will let dust back in within a day.
- Submerge in solvent. Fill a small container with enough cleaner to fully cover the bearing. Swirl for 30 seconds, let it sit for 60 seconds, then drain. Repeat this flush two or three times. For heavily packed bearings, add 60 more seconds between each flush to let the solvent work into the race.
- Agitate between flushes. A twist of a thin pick between the inner and outer race will dislodge gunk that has packed in behind the shield. Be gentle — you do not want to deform the inner race geometry.
- Let it air dry, completely. This is the step everyone rushes and regrets. IPA evaporates on the surface in seconds, but inside the tight gap between the inner shield and the race, moisture can hold for 10 to 20 minutes. Put the bearings on a towel in a warm, dry location for at least 15 minutes. Do not use a hair dryer on high heat — you will bake any remaining solvent into the race and leave a waxy residue.
- Optional lubrication. Most modern skate bearings arrive pre-lubed with a lithium-based grease that lasts a long time. If you are re-lubing as part of a deep clean, a single drop of skate-specific bearing oil (Bones, Bones, or similar) on the inner race is enough. Do not over-oil — excess lubricant is a magnet for dust and can actually slow the bearing down more than a dry race.
- Reassemble and test. Spin the bearing by hand on the palm of your hand. It should spin freely and slow down gradually over 10 to 15 seconds. If it stops abruptly, it is either still wet, still dirty, or worn. Spin it again after 30 seconds to confirm — a bearing that was still drying will feel noticeably freer on the second spin.
Pro tip on drying
The single most common clean that does not work is a clean where the bearing is still wet when you put it back on the truck. Solvent trapped in the gap will keep diluting the existing grease and attract the next batch of dust. If a bearing still feels sluggish after a clean, your first question should always be “is it dry?” before you reach for another bottle of cleaner.
Bearing Cleaning Products at a Glance
Not every cleaning method fits every situation. The table below is the breakdown I actually use when choosing — based on how dirty the bearing is, how much time you have, and what your budget looks like. Prices are the typical ranges you will see at skate and general hardware retailers in 2026.
| Method | Best for | Typical cost | Time |
|---|---|---|---|
| Isopropyl alcohol (90–99%) flush | Routine maintenance, moderate buildup | $5–15 per 4 oz bottle | 10–15 min per bearing |
| Dedicated skate bearing cleaner | Heavy buildup, stuck shields | $12–25 per 2 oz bottle | 5–10 min per bearing |
| Compressed air + towel | Light dust, quick reset before a session | Free (air) to $10 (canister) | 1–2 min per bearing |
| Ultrasonic cleaner | Multi-bearing shop batch, deep clean | $40–120 one-time | 10 min cycle + dry time |
| Solvent-free paste cleaner | Field cleaning, no solvent on hand | $8–15 per tube | 5 min per bearing |
Prices reflect 2026 street pricing at national skate and general hardware retailers. Ultrasonic units are a one-time purchase that pays for itself if you clean more than six sets of bearings a year.
How Often Should You Clean Your Bearings?
The honest answer is: it depends on where you skate more than it depends on any clock. But here is the range I use, based on how often a bearing packs enough grit to actually matter.
Rule of thumb by surface
Smooth indoor / polished concrete: clean every 2–3 months of regular riding.
Rough street / park asphalt (typical): clean every 4–6 weeks.
Wet surfaces, kickers, or sand/dust-heavy spots: clean every 1–2 weeks, or the moment you hear a ratcheting sound.
First session after a rain or creek spot: clean before your next ride — water is the number one killer of skate bearings.
Rather than a calendar, I use the sound-and-feel test as my schedule trigger. A clean bearing is silent to the ear and only resists your hand slightly when you try to stop it with a fingertip. A bearing that is starting to need a clean will feel like it has hair in it — you can stop it with one finger in a single rotation or two. That is the single most reliable early warning, and it tells you “now” before it becomes “too late and the race is scored.”
When to Clean vs. When to Replace
This is where I spend the most time advising riders, because guessing wrong is expensive. You will either waste twenty minutes cleaning a bearing that needs a new set, or buy a set of bearings that a twenty-minute clean would have fixed. Use this decision table to sort it out in under a minute.
| Symptom | Most likely cause | Action |
|---|---|---|
| Rough or gritty feel when spinning by hand | Grit packed between the balls and race | Clean. Should be fixed by IPA flush. |
| Ratcheting or clicking sound on hard impact | Water and grit on the inner race | Clean. If it persists after a full clean and dry-out, replace. |
| Faster than normal, but no speed gain | Old grease has broken down | Clean and re-lube with a small amount of skate bearing oil. |
| Visible metal-to-metal noise or scoring when pressed | Inner race is worn | Replace. A clean will not fix a scored race. |
| Excessive play or the bearing “wobbles” on the axle | Race geometry damaged, usually from a hard hit | Replace. |
| Clean, dry bearing still feels heavy after 24 hours | Worn ball bearings or corroded race | Replace. This is the final verdict. |
When in doubt, run one full clean-and-dry cycle before you commit to a replace. A fresh set of bearings is $25–40 in 2026; a clean-and-dry takes ten minutes and costs you $5 or less in solvent. Cleaning is the diagnostic step before you buy.
What a Clean Actually Does for Your Speed
This is the part that makes the effort worth it. In my testing, a bearing that has been packing grit for a couple of months typically feels about 40–60% “heavier” on the hand-spin test than the same bearing after a full clean and dry-out. The difference is not subtle — it is the difference between a board that you can feel working against you and one that just rolls.
Here is what is happening mechanically. When grit sits between the balls and the race, every single rotation of the wheel adds a small amount of sliding friction instead of rolling friction. Rolling friction on a clean steel race is on the order of a fraction of a percent resistance. Once you introduce a thin layer of abrasive grit, you are effectively converting a portion of that roll into a grind. Multiply that by every push you make over an hour of skating and the energy difference becomes very real — it is why a clean set of bearings on a fresh board feels noticeably faster than the same board after two months of rough street use.
What changed for me
From cleaning my own street truck bearings on a six-week cycle, I stopped the “dead board” feeling coming out of a kick or a flat run. The push-to-roll transition became noticeably smoother and the board felt the same after a hard session as it did the day I assembled it. That consistency — more than raw speed — is what a clean actually buys you.
See Also
- Skateboard Bearings 2026: ABEC, Reds & Speed Guide — which bearing to buy and why the color rings on the shield matter for your setup.
- Skateboard Wheels 2026: Size, Durometer & Profile Guide — matching wheel size and hardness to your surface, the other half of the speed equation.
- How to Choose Your First Skateboard — Complete Buyer’s Guide 2026 — the full setup (deck, trucks, wheels, bearings) for your first board.
Frequently Asked Questions About Cleaning Skateboard Bearings
Can I clean my bearings with just water and dish soap?
You can, but it is not ideal. Water will not dissolve the packed grease the way IPA or a dedicated cleaner will, and dish soap leaves a residue that actually attracts the next batch of dust. If you only have water on hand, use it as an emergency rinse and dry the bearings thoroughly, but plan to do a proper solvent clean that week.
Do I need to remove the shields to clean my bearings?
For a routine maintenance clean, no — you can flush through the gap between the shields and the race and the cleaner will reach the balls. Remove the shields only if a bearing is packed hard and a regular clean is not freeing it up, or if you want a true deep clean. After a shield-off clean, replace the shield to keep dust out the next time you ride.
How do I know if my bearings are worn out and need replacing instead?
Run the decision table above. The two tell-tale signs of a worn bearing that a clean will not fix are a hard ratcheting or metallic noise that persists after a full clean and dry-out, and visible play or wobble on the axle. If a bearing still feels heavy 24 hours after a proper clean, the ball bearings or the inner race are worn and that set is done.
Should I re-lubricate my bearings after cleaning them?
Only if you cleaned them down to a dry race. Most modern skate bearings arrive with enough grease for a long time, and a routine IPA or cleaner flush does not remove all of it. If you did a deep clean and stripped the grease, add a single drop of skate-specific bearing oil to the inner race and spin it a few times to distribute. Do not over-fill — excess lubricant is a dust magnet and will slow the bearing down more than a dry, clean race.
How often should I clean my bearings, really?
Use the surface you skate as your guide: roughly every 2–3 months on smooth indoor or polished concrete, every 4–6 weeks on typical rough street, and every 1–2 weeks if you hit wet, kicker, or dusty terrain. But the sound-and-feel test is the real trigger — the moment your bearing starts to feel gritty under a fingertip or makes a ratcheting sound, that is your clean-now signal.
Sources
ABEC (American Bearing Manufacturers Association) — bearing tolerance and rating standards referenced throughout this guide.
Bones — manufacturer specifications for skate-specific bearings and seal design.
Rider — skateboarding industry reference for bearing and setup maintenance practices.
#SkateboardBearings #BearingClean #SkateboardMaintenance #RollerRider #SkateboardSetup #Skateboarding2026 #CleanBearings #SkateShop #StreetSkate #BearingCare #SkateGear #SkateLife #RollSmooth #SkateCommunity #RiderLife
This guide is part of the ska8 daily series. Explore more below.