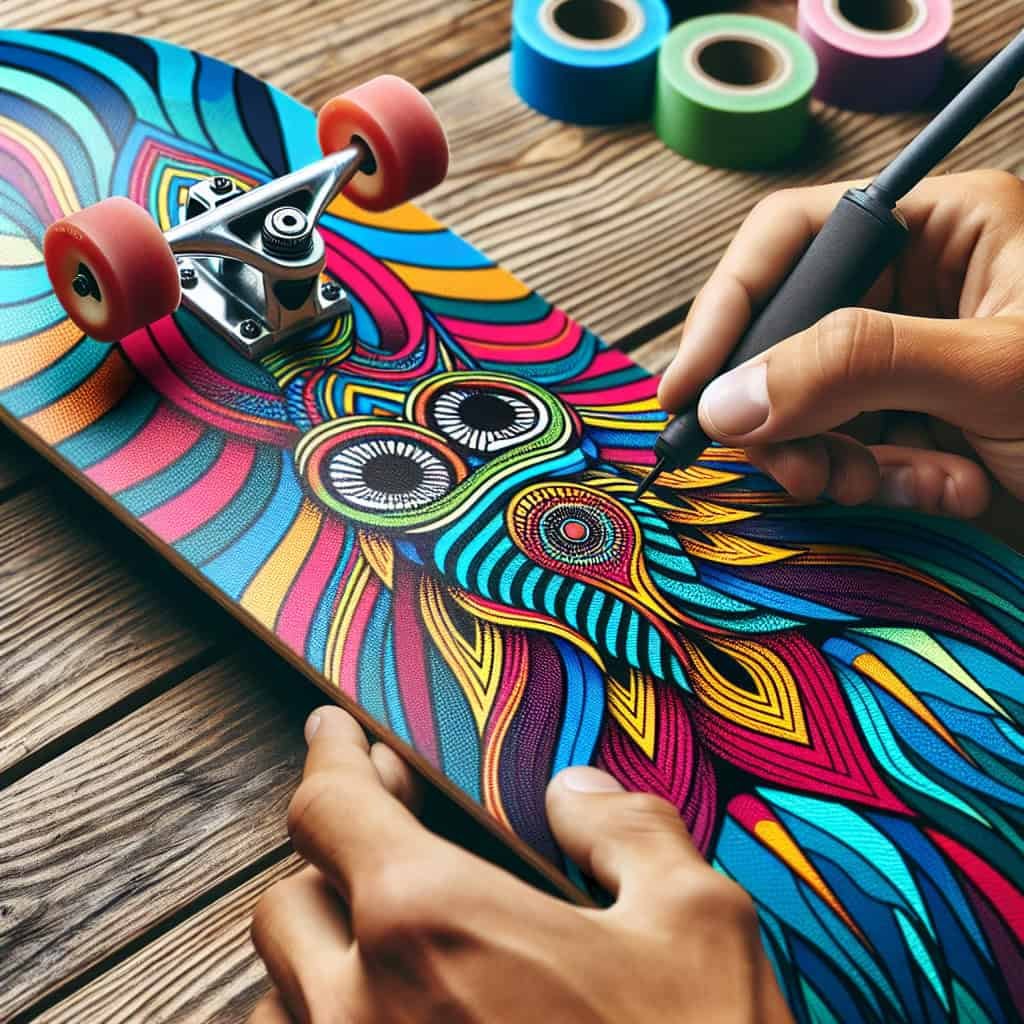
So, you’ve got a skateboard and you want to add a personal touch to it? Well, one way to do that is by customizing your skateboard grip tape with unique artwork and designs. By personalizing your grip tape, not only will your skateboard stand out from the rest, but it will also reflect your individual style and creativity. Whether you’re into bold and colorful patterns, intricate drawings, or even your favorite band’s logo, there are endless possibilities for creating a grip tape design that truly represents you. But how exactly can you go about customizing your skateboard grip tape? Let’s explore some exciting and easy methods to transform your grip tape into a work of art.

Choosing the Right Grip Tape
Consider Your Riding Style
When it comes to customizing your skateboard grip tape, the first step is to consider your riding style. Are you a street skateboarder who enjoys doing tricks and flips? Or are you more of a longboarder who prefers cruising and carving? Your riding style will determine the type of grip tape that suits you best. Street skateboarders often prefer a more coarse grip tape that provides maximum traction and grip, while longboarders may opt for a slightly less aggressive grip tape that allows for more fluid movements.
Decide on the Grip Tape Material
Next, you need to decide on the material of your grip tape. Grip tapes are typically made from either silicon carbide or aluminum oxide. Silicone carbide grip tape is known for its durability and rough texture, making it ideal for skateboarders who want a strong grip during intense tricks. On the other hand, aluminum oxide grip tape is slightly less coarse but still provides excellent traction and is favored by longboarders and cruisers.
Choose the Grip Tape Width and Length
Once you have determined the type of grip tape material you want, it’s time to choose the width and length of your grip tape. Grip tape widths generally range from 8 to 10 inches, with wider options providing more stability and control. The length of grip tape typically matches the length of your skateboard deck, so be sure to measure your deck accurately before purchasing your grip tape. Remember, having the right width and length of grip tape is essential for a comfortable and personalized riding experience.
Preparing the Grip Tape for Customization
Cleaning the Grip Tape
Before you can customize your grip tape, it’s crucial to clean it thoroughly. Over time, dirt and debris can accumulate on the surface of your grip tape, affecting its ability to provide traction. Start by using a soft brush or toothbrush to remove any loose dirt. Next, dampen a cloth or sponge with mild soap and water and gently scrub the grip tape in circular motions. Rinse the grip tape with clean water and pat it dry with a towel. Cleaning your grip tape will ensure that the adhesive used during customization adheres properly.
Sanding the Grip Tape
To enhance the bond between your artwork and the grip tape, it’s recommended to lightly sand the surface. Using fine-grit sandpaper, carefully sand the grip tape to create a slightly rough texture. This will help the adhesive and any paint or markers you use during customization adhere better. Take care not to oversand or press too hard, as this may damage the grip tape or lessen its effectiveness.
Applying Grip Gum
After cleaning and sanding the grip tape, you can apply grip gum to further enhance its grip. Grip gum is a specialized wax-like substance that is applied to the surface of the grip tape and then rubbed vigorously. This helps to activate the grippy texture of the grip tape, making it more effective in providing traction. Apply a small amount of grip gum to your grip tape and use circular motions to rub it in thoroughly. Once done, wipe away any excess grip gum with a clean cloth.
Creating Artwork and Designs
Sketching Your Ideas
Before you can transfer your design onto the grip tape, it’s essential to sketch and plan out your ideas. Grab a piece of paper and some pencils or markers and start brainstorming. Think about the theme, colors, and overall composition you want to incorporate into your design. Consider your skateboarding style and personal aesthetics. Sketch out different ideas and experiment with different elements until you find a design that speaks to you.
Choosing Your Artistic Medium
Once you have a clear vision of your design, it’s time to choose your artistic medium. There are various options to consider, such as permanent markers, acrylic paints, or spray paint. pens and markers offer precise lines and vibrant colors, making them suitable for detailed designs. Acrylic paints can provide a wider range of colors and allow for more blending and layering techniques. Spray paint is an excellent choice for larger designs or creating more abstract patterns. Consider your skill level and the desired outcome when selecting your artistic medium.
Using Stencils
If you’re not confident in your freehand drawing skills or want to achieve a more precise design, stencils can be incredibly helpful. Stencils come in a variety of shapes and patterns, and you can either purchase them or create your own. Using stencils allows you to replicate intricate designs or patterns onto your grip tape effortlessly. Simply lay the stencil over the grip tape and apply your chosen artistic medium through the cut-out areas. This technique ensures clean lines and consistent shapes in your design.
Transferring the Design Onto the Grip Tape
Using Transfer Paper
Transfer paper is a handy tool when transferring your design onto the grip tape. To use transfer paper, start by printing your design on regular paper. Place the transfer paper face down onto the grip tape and position your printed design on top, making sure everything is aligned correctly. Using a pencil or pen, trace over the lines of your design with firm pressure. The transfer paper will leave a faint outline on the grip tape, providing a guide for your artwork.
Printing Your Design on Tracing Paper
Another method of transferring your design onto the grip tape is by printing your design on tracing paper. Tracing paper allows you to see through the design, making it easier to position accurately on the grip tape. Trim the tracing paper to fit the size of your grip tape and print your design onto it. Carefully position the tracing paper on the grip tape, making sure it is centered and aligned. Secure the tracing paper in place with a piece of masking tape.
Using Carbon Paper
If you don’t have access to transfer paper or tracing paper, carbon paper can be a suitable alternative. Carbon paper works similarly to transfer paper, leaving behind a faint carbon copy of your design. Place the carbon paper face down onto the grip tape, with the design on top. Use a hard object, such as a pencil or pen, and trace over your design with firm pressure. The pressure will transfer the graphite from the carbon paper onto the grip tape, creating an outline.

Applying the Artwork to the Grip Tape
Laying the Grip Tape on a Flat Surface
To ensure a smooth and accurate application of your artwork, it’s crucial to lay the grip tape on a flat surface. Start by peeling off the backing of the grip tape, exposing the adhesive side. Place the grip tape carefully on a clean and flat surface, adhesive side up. Smooth out any wrinkles or air bubbles to ensure proper adhesion. This step will make it easier to position and secure your artwork onto the grip tape.
Positioning the Design on the Grip Tape
With your artwork transferred onto the grip tape, it’s time to position it correctly. Carefully lift the tracing paper or carbon paper, making sure not to smudge or distort the design. Align the design with the center of the grip tape, ensuring it is straight and centered. Take your time with this step, as accuracy will contribute to the overall appearance of your customized grip tape.
Securing the Design with Masking Tape
Once you have positioned your artwork on the grip tape, use small pieces of masking tape to secure it in place. Place the masking tape along the edges of the design, creating a border that holds it firmly in position. This will prevent your design from shifting or moving during the cutting and trimming process. The masking tape can be easily removed later without damaging the grip tape or your artwork.
Cutting and Trimming the Design
Using X-Acto Knives or Utility Blades
To bring your design to life, you will need to cut and trim the excess grip tape surrounding the artwork. One of the most effective tools for this task is an X-Acto knife or a utility blade. These precision cutting tools allow you to make clean and controlled cuts, ensuring a professional-looking result. Take your time and make small, deliberate cuts along the edges of your design, removing the excess grip tape carefully.
Creating Intricate Designs with Precision
If your design includes intricate patterns or fine details, you may need additional tools to achieve precision. Small scissors or nail art brushes can be helpful in cutting out delicate shapes or refining intricate elements. Use these tools to carefully trim around small details or areas that require special attention. Take your time and exercise caution to avoid any accidental cuts or damage to your design.

Applying Clear Grip Tape or Clear Coat
Enhancing and Protecting the Design
Once you have cut and trimmed your design, you may choose to apply a layer of clear grip tape or clear coat to enhance and protect your artwork. Clear grip tape is a specialized adhesive film that provides additional grip while allowing your design to show through. It adds a layer of protection to your artwork and extends its lifespan. Alternatively, a clear coat can be applied over the design, providing a glossy finish and protecting it from scratches or smudges. Consider your preferences and desired outcome when deciding between clear grip tape or a clear coat.
Choosing between Clear Grip Tape and Clear Coat
Choosing between clear grip tape and a clear coat ultimately depends on your personal preferences and the desired look of your customized grip tape. If you want a more natural feel and maximum visibility of your design, clear grip tape is the way to go. It maintains the original texture of the grip tape while providing protection. On the other hand, a clear coat offers a glossy finish, enhancing the colors and details of your design. Clear coat is ideal for those who want a polished and refined look to their customized grip tape.
Finishing Touches
Smoothing Out Air Bubbles
After securing your artwork and trimming the grip tape, you may notice the presence of air bubbles. To smooth out these air bubbles and create a more seamless look, use a pin or needle to carefully puncture the bubbles. Push any air trapped beneath the grip tape towards the puncture to release it. Smooth out the area with your fingers or a cloth, ensuring that the surface is flat and free of any imperfections.
Removing Excess Grip Tape or Clear Coat
During the customization process, it’s common to have some excess grip tape or clear coat that needs to be removed. To remove any unwanted grip tape, gently lift the edges with your fingers or a blunt object and peel it away from the skateboard deck. Take care not to damage the rest of the grip tape or your artwork. If you have applied a clear coat, use an X-Acto knife or a utility blade to carefully scrape away any excess around the edges of your design.
Adding Wax or Grip Enhancers
To further enhance the performance of your customized grip tape, you may consider adding wax or grip enhancers. These products are applied to the grip tape to improve the overall grip and reduce friction. Wax can be rubbed onto the surface of the grip tape, making it smoother and providing better slide and control. Grip enhancers are specifically designed to increase the stickiness and effectiveness of the grip tape. Experiment with different products to find the one that suits your riding style and preferences.

Caring for Customized Grip Tape
Cleaning and Maintenance Tips
Proper cleaning and maintenance are essential for prolonging the life of your customized grip tape. Regularly remove dirt and debris by gently brushing the surface with a soft brush or toothbrush. For stubborn stains, you can use mild soap and water to scrub the grip tape gently. Avoid using harsh chemicals or abrasive materials that may damage the grip tape or your artwork. Additionally, avoid exposing your customized grip tape to excessive moisture or extreme temperatures, as this can affect its adhesive properties.
Replacing Grip Tape
Over time, grip tape will naturally wear out and lose its effectiveness. When you notice significant wear and tear, it’s time to replace your grip tape. Removing the old grip tape can be done by peeling it off from one end, gradually working your way across the skateboard deck. Once the old grip tape is removed, clean the deck thoroughly before applying a new grip tape. You can then start the customization process anew, creating a fresh and personalized design.
Preserving the Design
To ensure the longevity of your customized grip tape design, it’s important to take certain precautions. Avoid dragging your skateboard across rough surfaces or abrasive materials that may scratch or damage the artwork. Additionally, be mindful of your shoes and their condition when riding your skateboard. Worn-out shoes with sharp edges or protruding objects can unintentionally damage your customized grip tape. By being cautious and proactive in protecting your design, you can enjoy its vibrancy and uniqueness for a long time.
Seeking Professional Assistance
Supporting Local Artists or Skate Shops
If you’re not confident in your artistic abilities or simply want a professionally customized grip tape, consider seeking the assistance of local artists or skate shops. Local artists often offer their services for customized grip tape designs, allowing you to support their craft and showcase their talent. Additionally, skate shops may have skilled staff who can help you with design ideas and the customization process. Seeking professional assistance ensures a high-quality result and saves you time and effort.
Ordering Customized Grip Tape Online
If you’re unable to find local artists or skate shops that offer customized grip tape services, you can explore online options. Many online platforms and websites specialize in customizing grip tape. They allow you to upload your design or choose from pre-made options, offering a convenient and accessible way to personalize your skateboard grip tape. However, ensure that you thoroughly research the reputation and reliability of the online service to ensure a satisfactory outcome.
Gaining Inspiration from Experienced Artists
If you’re new to customizing skateboard grip tape and need inspiration for your design, consider seeking inspiration from experienced artists. Explore social media platforms, such as Instagram or Pinterest, where artists often share their customized grip tape designs. Analyze different styles, techniques, and themes that resonate with you and incorporate them into your own artwork. Engaging with the skateboarding and art communities can provide valuable insights and fuel your creative process.
By following these steps and taking the time to customize your skateboard grip tape, you can showcase your unique style and creativity. Whether you’re a street skateboarder or a longboarder, customizing your grip tape allows you to express yourself and make your skateboard truly your own. Embrace the process, experiment with different techniques, and have fun creating artwork that reflects your personality and enhances your skateboarding experience.

