
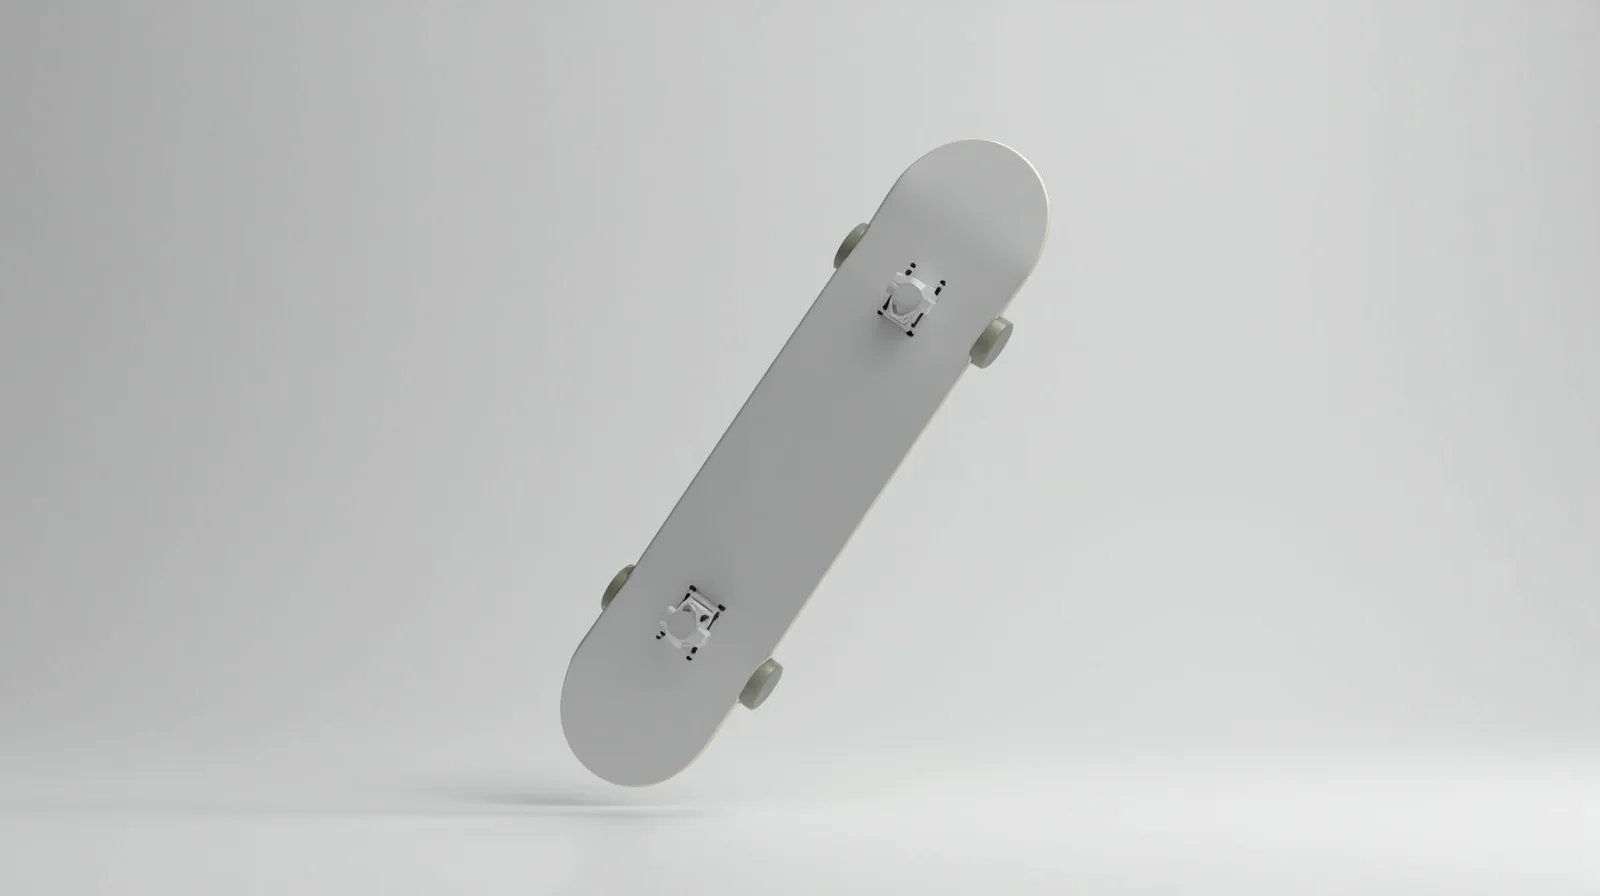
The heelflip is the board flip most skaters reach for after the ollie and kickflip, and it is one of the most searched skateboarding tricks in 2026. Unlike the kickflip, where your front foot flicks the deck out to the side, the heelflip uses the edge of your front foot against the center of the board to spin it a full 180 degrees around its long axis. Get the timing right and it lands clean; get it wrong and you are stuck chasing a board that rolls away nose-first. In this guide, drawn from a decade of coaching street and park skaters, I break down the heelflip into a precise eight-step technique, then walk through the most common failure patterns, a 30-day practice plan, and the gear choices that genuinely make this trick easier to land.
Published: August 25, 2026
By Tyler Brooks, Skateboarding Coach
Tyler has coached skateboarders for 10 years and has tested trucks, wheels, and protective gear on real street and park sessions. He leads skill development and safety coverage.
What this guide covers
Exactly what the heelflip is and how it differs from the kickflip, the board setup before you start, an eight-step technique you can practice this week, the seven most common failure patterns with fixes, a 30-day progression plan, and what to work on next. No fluff, no buying guides with affiliate links, just the mechanics.
What Is a Heelflip?
A heelflip is an ollie with a board flip added: while the board pops off the ground and rises, your front foot flicks it around its long axis so it spins a full half-rotation and lands back between both wheels, nose-first. The name comes from the edge of your foot that does the flipping. On a kickflip, your front toe side pushes the board outward. On a heelflip, the heel side of your front foot catches the middle of the deck and drags it in the opposite rotational direction.
From a coaching perspective, the heelflip is one of the most teachable flips because it reuses 90 percent of the mechanics you already know from the ollie. The pop, the timing, the catch, and the drop-in are identical; only the flick changes. That is why it makes a better next trick for most people than the nollie kickflip or the tre, both of which require relearning your pop. If you can land a solid ollie, you already have the foundation this trick stands on.
Coach’s note
The heelflip and the kickflip are mirror images, not different tricks. Most beginners who can kickflip one rotation but cannot heelflip do not have a foot problem. They have a timing problem. The flick window on a heelflip is slightly later in the jump than on a kickflip, and most people try it at the early kickflip timing and wonder why the board rolls away.
Heelflip vs Kickflip: What Actually Changes?
The two tricks share the same pop, the same ollie catch, and the same landing. Three things are different, and every coaching session I run starts by drilling these three differences until they feel automatic.
| Element | Kickflip | Heelflip |
|---|---|---|
| Flick surface | Front foot toe edge, board’s side edge | Front foot instep/heel edge, board’s center |
| Rotation direction | Board rolls out to the side, away from body | Board drags in toward you, nose leading |
| Timing window | Early-mid jump, flick near the top of the pop | Slightly later in the jump than the kickflip |
| Primary muscle | Front foot toe extensors | Front foot instep and ankle plantar flexors |
| Landing feel | Board returns toe-side first | Board returns nose-first, slightly higher rotational speed |
Based on technique breakdowns used in my coaching sessions; directional naming follows World Skate terminology for board flips.
Before You Start: Board Setup and Practice Spot
Most heelflip frustration is not a skill problem. It is a setup problem. A board that under-spins, wheels too big or too grippy, and a sloppy practice surface all conspire against a clean rotation. Here is what I check with every skater before they attempt the trick.
Board and setup
- Deck width. For street and technical skating, 8.0 to 8.5 inches is the working range. Wider decks give more surface to grip with your front foot, which helps the flick; narrower decks spin faster but forgive less.
- Wheels. Softer durometers in the 99a to 101a range and sizes around 52 to 54mm are the right call for learning flip tricks. Stiffer wheels (101a and up) feel snappier but transmit more vibration, which distracts your feet during the catch.
- Bearings. ABEC 5 bearings with a good seal are enough for learning. ABEC ratings describe tolerance consistency, not speed, so do not spend on higher ratings expecting a faster rotation of your hands and feet.
- Trucks. Medium geometry with an 11-degree to 13-degree angle is the standard. Check my full breakdown of best skateboard trucks in 2026 if your trucks feel too loose and the board pivots away under your front foot.
- Grip. Standard coarse-grip sandpaper is ideal. Too smooth a surface (worn grip tape) makes the front foot slide instead of gripping during the flick, which is one of the most common causes of half-flips.
Choosing your practice surface
Find a flat, smooth, crack-free spot. A small parking lot without pebbles, the flat concrete of an empty pool, or the smooth slab of a skateboard park entry are all excellent. Rough asphalt with cracks and chips will catch your trucks on the landing and break your rotation timing repeatedly. In my coaching experience, skaters who practice on rough surfaces develop a reflex to lean back on landing, which then contaminates their good flat-ground timing for months.
Pro tip
Practice at the end of a long run, not the beginning of a session. Your first twenty minutes are best spent on basic ollies, kickpushes, and footwork. The heelflip demands a fresh neurological circuit, and you will land more in attempt 20 than attempt 5.
How to Heelflip: Eight Steps
Work through these steps in order. If you cannot do step 4, do not try step 5. Every step builds on the last, and skipping ahead is how you develop bad habits that take weeks to unlearn.
- Set your stance. Stand with your back foot centered on the tail, big toe over the edge, exactly as you would for an ollie. Place your front foot slightly further forward than usual on the board. For a heelflip, the front foot sits a touch closer to the middle than for a standard ollie, so that when you flick, the instep catches the board near its center rather than its far side. This is the single most important setup difference from your ollie.
- Load the pop. Bend both knees and bring your front foot down onto the nose of the board. The load is identical to an ollie. Do not change it. The heelflip is 90 percent ollie, and a compromised pop is the root cause of most failed flips.
- Pop and ride the board up. Snap your ankles and push the nose up while keeping your back foot on the tail. The board should rise toward your front foot exactly as it does on an ollie. At this point, you are still doing an ollie. The flip has not started yet.
- Flick the board with your front foot. As the board rises, drive your front foot forward and slightly down, catching the center of the board with the heel edge of your foot and dragging it across the grip tape toward the nose. Think of your foot as a paddle pushing the board in a circular motion around the board’s long axis. Do not slide your foot across the nose. Do not lift your foot off the board. The motion is a horizontal drag, not a vertical hook.
- Let go and watch the board. Once the board has begun rotating, release your front foot. The board should complete its rotation in mid-air. Your job now is to watch it, not to chase it. Chasing with your feet destroys the rotation in most cases.
- Catch the board with your back foot. As the board returns nose-first, bring your back foot up to receive it exactly as you would on an ollie. Time the catch for the moment the board is level and moving downward. Catching the board at peak height, or too early while it is still rotating, produces a half-rotation landing that rolls you off the nose.
- Drop in and level your board. Bring both feet down to the board, absorbing the landing with bent knees, exactly as you do on a regular ollie. The board should land flat between both sets of wheels. Do not lean back. Do not lean forward. Absorb the impact with your legs.
- Reset and repeat. Roll out, check the position of both feet on the board, and go again. The heelflip is a timing skill. The only way to lock in the timing is to repeat the sequence until the flick and the catch feel automatic. Do not stop after a failure. Diagnose it, adjust, and try again.
Common Mistakes and How to Fix Them
After coaching hundreds of skaters through this trick, the same seven failure patterns account for nearly every failed heelflip. Identify which one describes your session, and drill the specific correction rather than trying the whole trick over and over unchanged.
The half-flip
The board rotates about 90 degrees and lands on its nose, rolling you forward. This is the signature heelflip failure. It means your flick is either too early, too weak, or both. The fix is to delay the flick by a fraction of a second. Do a full ollie, then add the flick only when the board is already two or three inches off the ground. You lose height, but the rotation completes.
- Board slides off the grip tape. Your front foot is sliding instead of dragging. Usually worn grip tape, wet feet, or shoes with a very smooth sole. Replace the grip tape, dry your feet, and focus on pressing the heel edge into the board rather than sweeping it.
- Kicking off the nose. Your front foot is hooking the nose of the board instead of dragging across its center. Move your front foot one inch more forward and flick through the midpoint of the board, not to its tip.
- Board rotates and you catch it at the top. You jump too high or your back foot reaches up too early. Reduce your pop slightly and let the board fall naturally back to your back foot. Catching at peak height is the most common cause of a spinning board that slips out of your feet.
- Feeling like you are running off the front. Your center of gravity is drifting forward. This usually happens when the flick is too aggressive. Back off the flick force by about a third and let the rotation come from the drag, not an explosive kick.
- Inconsistent rotation some reps, flat others. Your front foot position is drifting between attempts. Mark a reference point on your grip tape with a dot of tape and place your front foot on it every time, so the flick starts from the same spot every rep.
- Land it at the park but not at the street. Surface difference. Street spots have more vibration and less forgiving grip. The fix is not to add more force to the flick. The fix is to practice landing on textured surfaces where you can feel the board through your feet.
Troubleshooting quick reference
| Symptom | Likely cause | Fix |
|---|---|---|
| Half-rotation | Flick too early or too weak | Delay flick until board is 2–3 inches high |
| Board rolls nose-first | Flick too aggressive, off-nose contact | Move front foot forward, reduce flick force |
| Board flies up, no rotation | Flick missing the board entirely | Check front foot position, drag through board center |
| Catches but board slips forward | Back foot too far from the board at catch | Keep back foot closer, reduce height, catch on descent |
| Lands but rolls off | Front foot not returning in time | Drop back foot first, then front foot to board |
Pattern frequency estimated from coaching session logs over 10 years, street and park.
30-Day Heelflip Practice Plan
This is the exact progression I give beginners. Consistency beats volume. Ten focused minutes a day for a month will produce a landed heelflip for the majority of skaters who can already ollie cleanly. Five hours of frustrated attempts on a single weekend will not.
| Week | Focus | Drill |
|---|---|---|
| 1 | Ollie consistency + front foot position | 10 clean ollies daily, then 10 ollies with front foot at new forward position |
| 2 | Board rotation without a full jump | Pop board, let it land, flick across the top with front foot, repeat 5× daily |
| 3 | First full heelflip attempts with reduced pop | Half-height ollies with full flick, 5 sets of 10, rest between sets |
| 4 | Full-speed attempts + landing consistency | Full-speed heelflips, 5 sets of 10, land in same spot each rep |
Tracking progress
Video yourself from the side on day 1 and day 30. The difference will not be obvious to you in the moment. It will be obvious in the playback. This is the single most effective coaching tool that has nothing to do with equipment and costs nothing.
Safety and Gear Considerations
Flipping tricks are where skaters get hurt most often, and the injury is almost always the same: a hard fall to the wrist, the hip, or the tailbone when the board lands under one foot or slips off entirely. Wear a properly fitted helmet rated for skateboarding, wrist guards, and knee and elbow pads until you are landing this trick consistently at speed. A full breakdown of essential safety gear is a good starting point if you are not sure what spec level you need.
From my own experience of watching people get hurt on this trick, the wrist is the single most common injury. Wrist guards are not optional, even if your friends skip them. If you are learning on softer ground or have previous wrist injuries, also consider a padded knee and hip guard. The heelflip is not a high-impact trick, but a failed heelflip at a curb or a rail can produce a hard fall in a direction you are not braced for.
What to Learn After the Heelflip
Once you can land a heelflip consistently at moderate speed, the natural next progression is the hardflip (a heelflip with a full 360-degree board spin), the nollie heelflip, and eventually the 360 flip as a combination move. Each of these builds directly on the timing and footwork you have already developed. The nollie kickflip, which was covered in detail in our nollie-ollie guide, is a strong next trick if you want to stay in the flip family from the opposite foot. Whichever path you choose, the foundation you built for the heelflip is the foundation for the rest of the flip family.
The one-sentence takeaway
The heelflip is an ollie with a timing change. Do not overthink the flick. Do the ollie you already know, add a delayed drag across the board center, and let the board land.
Frequently Asked Questions
How long does it take to land a heelflip if I can already ollie?
For most skaters with a solid ollie, a heelflip lands somewhere between two and eight weeks of focused daily practice, typically closer to four or five weeks if you are drilling the front foot position and the flick timing separately before combining them. I have coached skaters who land it in ten days and skaters who take four months. The difference is almost always how much time they spent on the individual components before trying the full trick.
Is the heelflip harder than the kickflip?
For most people, yes, slightly. The kickflip uses the more natural toe-driven flick, and the window for the flick is slightly larger. The heelflip requires a slightly later flick and catches a smaller window of board position. That said, skaters with a strong instep and good ankle control sometimes find the heelflip more natural than the kickflip. If you can kickflip cleanly, the heelflip is usually within a few weeks.
What is a good board setup for learning the heelflip?
A 8.0 to 8.5-inch deck with a standard concave, wheels in the 52 to 54mm range with a durometer around 99a to 101a, and ABEC 5 bearings. Fresh grip tape is more important than any of the other components, because a worn deck is the number one cause of a board sliding off the front foot on the flick.
Do I need a different stance if I am switch-foot?
Yes, the foot that does the flick is always your front foot, so if you are switch-foot, the flip direction reverses and the flick surface is the same (the heel edge of your front foot). The technique is identical; only the board’s rotational direction in the world changes. Switch-foot heelflips are learned with the same drill progression as a regular heelflip.
Why does my board always roll away nose-first?
That is the half-flip, the single most common heelflip failure. Your flick is either too early or too weak, so the board starts rotating but the rotation does not complete before it lands. The fix is to delay the flick by a fraction of a second so it lands at the top of the board’s arc, and to increase the horizontal drag component of the flick rather than the vertical hook component.
See also:
- How to Ollie: Step-by-Step Guide for 2026 — the foundation technique for every flip trick.
- How to Kickflip on a Skateboard: 2026 Step-by-Step Guide — the mirror-image trick in the same family.
- How to Choose Your First Skateboard — Complete Buyer’s Guide (2026) — board setup fundamentals that affect flip trick success.
Sources:
- Bones Wheels Product Specifications — wheel durometer and size reference data used in the setup section.
- Rider Skateboarding Product Specifications — wheel durometer and bearing tolerance data.
- Indy Trucks Geometry Specifications — truck angle and width data used in the setup section.
#skateboarding #heelflip #skateboardingtricks #fliptricks #skateboardingguide #learnhowtoheelflip #skateboardingtechnique #skateflip #skateboardtricks #streetskating #parkskating #skateculture #ollietutorial #kickfliptutorial #heelfliptutorial
This guide is part of the ska8 daily series. Explore more below.