
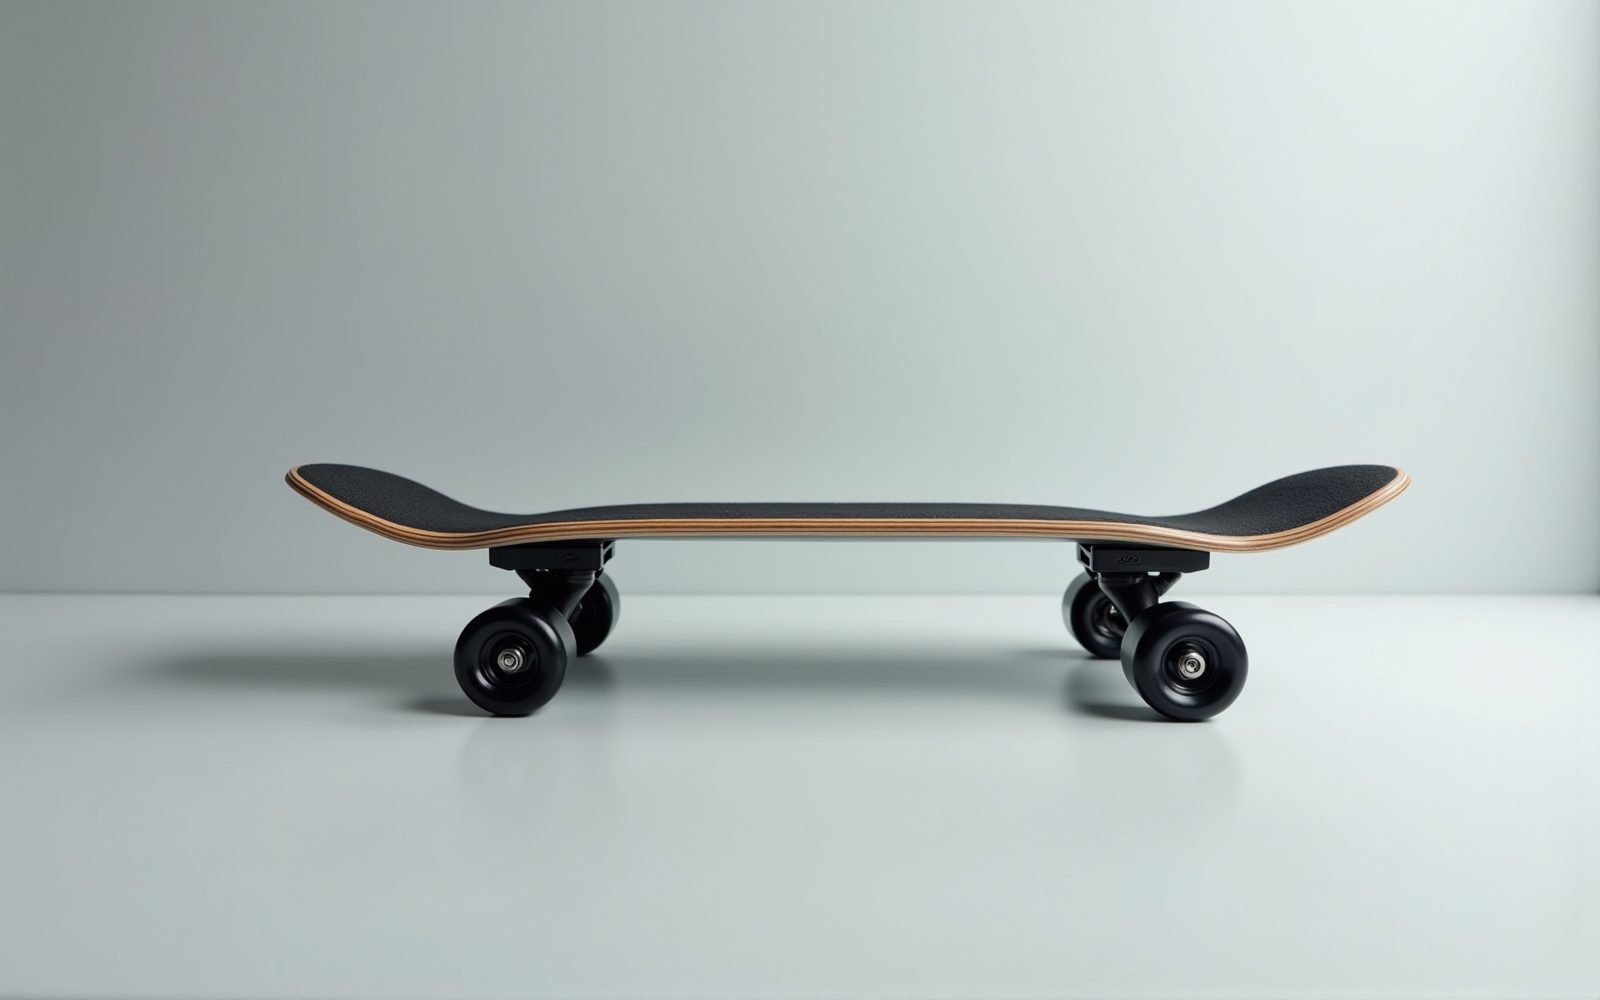
Learning to stop on a skateboard is the first real skill that separates a person wobbling on a board from someone who can actually ride it in public. You can learn an ollie in an afternoon, but you cannot ride anywhere until you can bring the board under control on demand. Every ride to the park, every street session, every casual push through a parking lot ends the same way: you have to stop. If stopping feels like a guess, you will either hit a wall, get clipped by a car, or bail at the worst possible moment. This guide walks through every method that works, how each one actually feels, which one to learn first, and how to practice without wrecking your board or your confidence.
The honest answer to how to stop on a skateboard is that there is no single technique. A beginner on a street deck uses a completely different move than a cruiser rider on a beach or a longboarder dropping a hill. There are four core methods, and each one is built for a specific board, a specific speed, and a specific situation. By the end of this page you will know exactly which one fits the board you are holding, the step-by-step sequence to learn it, and the mistakes that make most beginners look like they are fighting the board instead of controlling it.
By Tyler Brooks, Skateboarding Coach
Tyler has coached skateboarders for 10 years and has tested trucks, wheels, and protective gear on real street and park sessions. He leads skill development and safety coverage.
Published: October 4, 2026
Why Stopping Is the First Real Skill You Should Learn
Most beginner tutorials start with the ollie because it is the trick people want to land. That is backwards for real riding. The ollie is a trick; stopping is a survival skill. You do not need to pop a board into the air to ride safely to a stop at a crosswalk, but you do need to be able to halt on a flat, on a slope, and when something unexpected enters your path. In my years of coaching beginners at the local spot, the riders who progress fastest are almost always the ones who can stop cleanly and stop on purpose, not just stop when the ground runs out.
There is a deeper reason, too. Stopping is where you learn to control speed, which is the foundation of every other skill. If you cannot modulate how fast you are going, you cannot set up a turn, you cannot line up a trick, and you cannot read a line on a street spot. A rider who masters the foot brake and the power slide has quietly learned balance, weight distribution, and how much the board wants to keep rolling. All of that transfers directly to ollies, slides, and tricks later. So treat stopping not as an afterthought but as the very first module of your training, the way a driver takes a test on low-speed control before touching an open road.
From the coaching floor
After a decade of teaching first-timers, the pattern is consistent: riders who can stop on command within their first two weeks have a dramatically lower bail rate for the next month. The stopping skill buys them the confidence to push faster, which is exactly what they need to progress. Skating is a confidence sport, and a reliable stop is the cheapest confidence there is.
The Four Ways to Stop on a Skateboard
Every stopping method on a skateboard comes down to one principle: create friction or redirect the board’s momentum. The difference between the methods is where that friction comes from and what the board is doing while you apply it. Here is the complete set, in the order most people learn them.
1. The Foot Brake (Slip-Braking) — Learn This First
The foot brake is the first stop every beginner learns, and for good reason: it works on any board, at any low speed, and it teaches you to trust your own body as the braking system. You place one foot on the ground behind the board while the other stays on the tail, and the friction of your shoe against the pavement slows the board until it stops. It is the skateboarding equivalent of putting your foot down in a car. It is slow, it is gentle, and it is completely controllable, which is why it is the right first skill.
The catch is that it only works at low to moderate speed. At high speed the drag becomes uncomfortable, your shoe scuffs, and it can feel unstable because your body is now part of the braking system and every wobble transfers through it. But for the flat, the parking lot, and the first hundred meters of any ride, the foot brake is your default. Master it before anything else.
2. The Power Slide — The Street Skater’s Stop
The power slide is the workhorse stop for street and park riding. Instead of dragging a foot, you rotate the board sideways so the wheels are perpendicular to your direction of travel, and you let the wheels dig into the ground and scrabble to a halt. You lean your back foot down and across, kick the tail out, and the board pivots into the slide. It is faster than the foot brake, it works at higher speed, and it is the move you will use constantly once you are riding real spots. It is also the stop that looks good, which is a bonus.
The power slide requires a bit more board control because you are actively steering the pivot, and it wears your tail grip and the ground contact a little. But it is the single most useful stop for a street rider, and learning it early pays off for the rest of your skating life. If the foot brake is the first gear, the power slide is the gear you live in.
3. The Manual Slide / Slide on the Tail — Control at Speed
For higher speed and for dropping small ledges or slopes, skaters use slides that transfer the board’s momentum into the tail or the trucks. A tail slide or a manual slide keeps the board rolling in one direction while you lock the tail or the back truck into a surface and let friction take the speed out. These are more advanced than the power slide because they demand that you hold a balance position while the board is sliding sideways under you. They are the stops of intermediate and advanced riders, and they double as tricks, which is why you will see them everywhere in session footage.
4. The Longboard Stop (Foot Brake + Slide) — For Cruisers and Downhills
If your board is a cruiser, a surfskate, or a longboard, the geometry is different and the stops shift. Longboarders and cruisers use a longer, more deliberate foot brake, and at speed they use a hard slide or a reverse slide where the board pivots sideways and the wheels bite. Because cruisers are ridden faster and often on smooth concrete or asphalt, a controlled slide is far safer than trying to drag a foot at highway-adjacent speed. The principle is the same as the power slide, but the board is more stable, so the slide is held longer and more deliberately.
| Stop | Best For | Speed Range | Difficulty | Board Wear |
|---|---|---|---|---|
| Foot brake | Beginners, low speed, any board | Low to moderate | Easy | Shoe only |
| Power slide | Street and park, mid speed | Moderate | Moderate | Tail grip, some truck |
| Tail / manual slide | Advanced, ledges and slopes | Moderate to high | Hard | Tail and trucks |
| Longboard slide | Cruisers, surfskates, downhills | High | Moderate | Tails, trucks |
Speed ranges are practical, not absolute — they describe where each stop is comfortable and controllable for an average rider. Your own comfort window depends on balance, board setup, and the surface you are riding.
How to Foot Brake: Step-by-Step for Beginners
This is the first stop you should actually practice, and you can learn it on day one in a flat, empty parking lot or a smooth driveway. The goal is to stop on purpose, not to fall over while trying. Work through the sequence slowly the first time, then build up your speed as it feels natural.
- Start rolling at a gentle, comfortable speed. Push a few times so you are moving at about walking pace. Do not start fast; you want to feel the stop before you need it.
- Decide which foot will brake. If you are regular stance (left foot forward), you will use your back foot to brake. If you are goofy, it is your front foot. Most beginners brake with the back foot, which keeps your weight centered.
- Place your braking foot on the ground behind the tail. Put the sole flat on the pavement, just behind the back of the board. Do not drag the toe or the heel; a flat sole gives you the most control and the least chance of slipping.
- Shift your weight slightly forward and bend your knees. This keeps your center of gravity low and stable over the board while your foot drags. A locked, upright posture is the most common reason beginners wobble.
- Drag gently and increase pressure as you slow. Think of it like a brake pedal: a little pressure to slow down, more pressure as you approach your stop. Smooth and progressive is better than a sudden yank, which will throw you off balance.
- Stop rolling your foot when the board is nearly stopped. As the board comes to rest, lift your foot and step off, or keep a light drag until you are fully stopped. Do not keep dragging a stopped board; it just scuffs your shoe and the ground.
Pro tip from coaching
The number one foot-brake mistake is braking with the toe instead of a flat sole. A toe drag gives you almost no friction and sends the board sideways, while a flat sole grips and slows you predictably. From watching beginners for ten years, the flat-sole fix alone eliminates most early bail-outs. Also keep your eyes on where you are going, not on your feet; looking down makes every wobble feel bigger than it is.
How to Power Slide: The Street Stop in Steps
Once the foot brake is comfortable, the power slide is your next priority. It is the stop you will reach for the moment you start riding real streets and ramps, because it is faster and more dramatic than dragging a foot. It takes a few sessions to make it automatic, but the mechanics are simple: pivot the board sideways and let the wheels bite.
- Roll up to moderate speed. You need a little momentum for a power slide to work; it is hard to slide from a standstill.
- Shift your weight to the front foot and the nose. This keeps the front of the board planted while the tail is about to kick out.
- Kick the tail out to the side. With your back foot, rotate the tail outward (away from you) so the board pivots into a sideways position. Think of turning the board perpendicular to your path of travel.
- Lean your back foot down and across the board. As the board pivots, bring your back foot down to the side, letting the wheels scrub against the ground. Your body should follow the board into the slide, leaning into it.
- Control the slide with your weight. More pressure on the back foot and a lower stance give you a longer, more controlled slide. If the board feels like it is going to jump out, bring your weight forward to re-center it.
- Let the wheels scrub to a stop, then roll out. As your speed drops, the board naturally rotates back. Ease out of the slide and resume rolling when you have stopped or slowed enough.
Where the power slide goes wrong
Two failures account for most power-slide bails. First, riders kick the tail out but forget to lean into the slide, so the board snaps back and catches them off balance. Second, they look down at the board instead of ahead, which makes the pivot feel uncontrollable. From session footage and from watching my students, the riders who nail the slide are the ones who commit their weight to it and keep their eyes up. The slide is a full-body move, not a foot move.
Which Stop to Use on Each Board Type
The right stop depends on the board in your hands. A street deck, a cruiser, a surfskate, and a longboard all behave differently, and the technique that works on one can feel wrong on another. Here is how to match the stop to the board.
Street Skateboard (8.0–8.5 inch)
On a standard street deck, the foot brake gets you through the first week, and the power slide becomes your daily stop once you are comfortable. The shorter wheelbase and taller stack make slides quick and snappy, so you do not need a long runway. If you are riding street spots and want to stop at a ledge or a rail, the power slide and a tail slide are your tools. You will not be foot-braking down a hill on a street board; at that point you want a slide or a bail.
Cruiser and Penny Board
Cruisers have a longer, more stable wheelbase and are ridden at higher casual speeds, so the foot brake works a little longer than on a street deck. But the moment you are on a slope or at real speed, switch to a slide. Cruisers are stable enough to hold a long, controlled slide, which is far safer than dragging a foot downhill. The slide on a cruiser feels smoother and more forgiving than on a street board because the longer wheelbase resists snapping sideways.
Surfskate
Surfskates are designed to carve, and they stop best with a carve-to-slide. Because the front truck pivots freely, you can turn the board into a deep carve and let the wheels scrub to a stop. This is the most natural stop on a surfskate and it looks great, because the board is already built to pivot. A surfskate is not a good foot-brake board at high speed; the loose front truck makes a foot drag feel unstable. If you are on a surfskate, learn the carve slide early.
Longboard and Downhill Board
Longboards are ridden fast, often downhill, so the stops are the most important skills on the board. The foot brake works at low speed in a flat. At speed, longboarders use a hard slide, a reverse slide, or a power slide, and downhill skaters use even more deliberate techniques. Because the stakes are higher at speed, longboarders also lean on setup: a stiffer setup, the right wheels, and good brakes are part of the stop. The principle never changes — redirect momentum into friction — but the execution has to be clean and committed, because there is less margin for error.
The speed rule that saves you
Match the stop to your speed, and never try a foot brake above the speed where it feels stable. If you are too fast for a comfortable foot brake, you are already too fast — slow down before you need to stop. Every serious fall I have coached through started with a rider trying to use a low-speed stop at high speed. Slow down on purpose, and your stopping options stay available to you.
How to Practice Stopping Safely
Stopping is a skill that rewards slow, deliberate practice. You do not need to ride fast to learn it, and practicing at low speed is where the real progress happens. Here is the routine I give every new skater, in order.
- Find a flat, empty, smooth surface. A parking lot, a wide driveway, or an empty lot at a skate park is ideal. Avoid gravel, wet pavement, and anything with cracks or pebbles that will grab your wheels.
- Wear protection while you learn. Wrist guards and at least a helmet make practice safer and let you push a little harder without fear. Wrist guards in particular take the edge off every wobble, which is exactly what you need while the stop is still new.
- Practice the foot brake from a standstill first. Push a few meters, then foot-brake to a stop. Repeat until it is smooth and you are not wobbling. The goal is a clean, controlled stop, not speed.
- Add a little speed and repeat. As the foot brake becomes comfortable, push a little faster before each stop. Build your speed in small increments so you are always one notch above your last successful stop.
- Move to the power slide at moderate speed. Once the foot brake is automatic, start practicing the power slide from the same moderate speed. Expect a few bails; that is normal and part of learning. Keep your knees bent and your eyes up.
- Practice on a gentle slope only when you are ready. Slopes change everything, and they are where stopping skills are actually tested. Do not go to a hill until you can stop cleanly at speed on the flat. When you do, start on the gentlest slope you can find.
What we noticed after watching sessions
Riders who practice stopping on a flat and only then move to a slope bail dramatically less than riders who learn both at the same time. The flat builds the muscle memory and the confidence; the slope adds the real-world pressure. Trying to learn both at once, usually on the first hill a new skater finds, is how most people get the idea that stopping is hard. It is not, once you separate the two.
Frequently Asked Questions
What is the easiest way to stop on a skateboard?
The foot brake is the easiest and the first stop you should learn. You place one foot flat on the ground behind the board while the other stays on the tail, and the friction slows you down. It works at low to moderate speed on any board, and it is gentle enough to learn on your very first day in an empty parking lot.
How do you stop a skateboard without falling?
Bend your knees, keep your weight centered over the board, and brake smoothly instead of yanking. For the foot brake, drag a flat sole with progressive pressure rather than a sudden grab. For the power slide, commit your weight into the pivot and keep your eyes up. Most falls come from a locked, upright posture and looking down at the board, so staying low and looking ahead does most of the work.
Can you stop a skateboard with just your feet?
Yes, that is exactly what the foot brake is, and it is a completely valid stop at low to moderate speed. The limit is speed: at high speed a foot brake becomes uncomfortable and unstable, so street and downhill riders move to a slide where the board’s own wheels create the friction instead of your shoe.
How fast is too fast to foot brake?
There is no fixed number, because it depends on your balance, your board, and the surface. The practical rule is this: if you have to lean hard to keep the drag stable, you are already past the comfortable range. Slow down before you need to stop, and use a slide at the speeds where a foot drag no longer feels in control.
Do stopping tricks wear out my board or wheels?
A little, and it is normal. The foot brake only wears your shoe. The power slide and tail slides scuff the tail grip and the ground contact, and repeated slides will round off your tail and wear your trucks a bit. This is why riders replace tail grip tape periodically, and it is not a sign anything is wrong. It is just the cost of using your board the way it is meant to be used.
See Also
Keep building your fundamentals
- How to Fall Safely on a Skateboard — the other half of stopping: what to do when you do go down.
- Essential Safety Gear for Skateboarding — the wrist guards and helmet that make learning to stop feel safer.
- How to Learn Skateboarding: Beginner Roadmap — the full first-month plan that stopping fits into.
Sources
- Skateboarder — the long-running skateboarding publication covering the sport, its culture, and the tricks and techniques riders use.
- Rider — skateboarding gear and safety reference covering boards, trucks, wheels, and protective equipment.
- Skatepark / skate safety references — park etiquette and safety guidance for riding in shared public spaces.
#HowToStopOnASkateboard #Skateboarding #Skateboard #Skating #FootBrake #PowerSlide #SkateTricks #LearnToSkate #SkateSkills #SkateSafety #Skateboarder #StreetSkating #SkateboardTutorial #BeginnerSkater #SkateLife
This guide is part of the ska8 daily series. Explore more below.