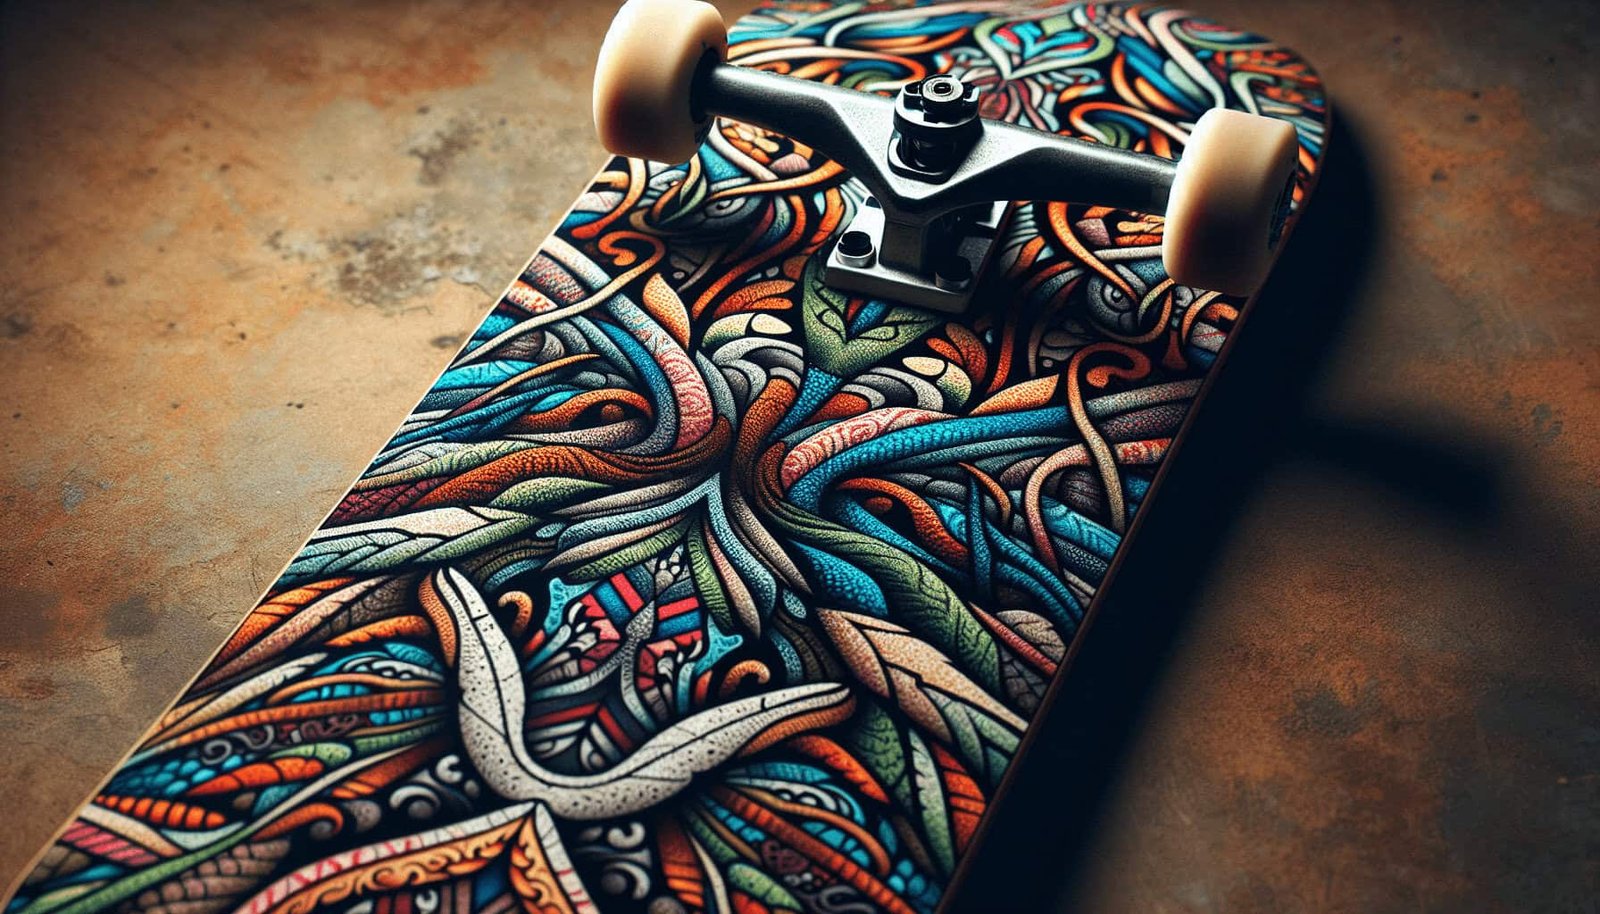
Have you ever wanted to express your personal style on your skateboard? One way to do this is by customizing your skateboard grip tape design! Custom grip tape not only enhances the appearance of your board but also provides a unique touch that sets you apart from other skaters.

Understanding Grip Tape
Grip tape is a gritty, sandpaper-like sheet that adheres to the top of your skateboard deck. The primary function of grip tape is to provide traction for your feet while riding, making it easier to control the board. Customizing this part of your skateboard can be a fun and creative process.
Why Customize Your Grip Tape?
Personalizing your grip tape can elevate the aesthetics of your skateboard. With a custom design, you can:
- Showcase your artistic skills
- Promote your brand or favorite brand
- Represent your favorite colors, patterns, or themes
Planning Your Design
Before you dive into customizations, planning is key. You don’t want to waste materials or end up with a product that doesn’t meet your expectations.
Design Inspiration and Concept
Take some time to think about the design you want. Do you prefer something simple and clean, like a geometric pattern, or something more intricate, like a detailed illustration? Here are some popular design concepts for grip tape:
- Geometric shapes: Using patterns like triangles, squares, or abstract designs.
- Nature themes: Incorporating scenery, animals, or botanical elements.
- Urban art: Graffiti, street art, or cityscapes.
- Branding: Adding logos or names.
Sketch Out Your Design
Sketch out your ideas on paper before working on the grip tape. This helps you visualize the end product and make adjustments before transitioning to the actual material.
Measuring and Sizing
Your design needs to fit the dimensions of your skateboard. Standard skateboard grip tapes generally measure 9” x 33”, but it’s a good idea to measure your deck to ensure accuracy.
| Skateboard Type | Typical Grip Tape Size (inches) |
|---|---|
| Standard Skateboard | 9 x 33 |
| Longboard | Varies (check manufacturer) |
| Cruiser | Varies (usually shorter) |
Materials and Tools Needed
Once you have your design, it’s time to gather materials and tools. Here is what you’ll need:
Materials
- Grip tape sheet: Available in various colors and designs.
- Cutting mat: To protect your working surface.
- Transfer paper: Optional, for more intricate designs.
Tools
- Scissors: For cutting out your design.
- Utility knife: For precision cutting.
- Ruler and measuring tape: To ensure accurate measurements.
- Markers/pens: For drawing your design.
- Masking tape: To hold templates and stencils in place.
- Sandpaper: To smooth edges if needed.
Steps to Customize Your Grip Tape
Now that you have all your materials and tools ready, let’s walk through the steps.
Step 1: Clean Your Deck
Before applying new grip tape, ensure your skateboard deck is clean and free of any dust or debris. Wipe down the surface with a damp cloth and let it dry completely.
Step 2: Remove Old Grip Tape (If Necessary)
If you’re replacing the old grip tape, use a hairdryer to heat the tape, making it easier to peel off. Once the edges are loosened, slowly peel back the tape in sections.
Step 3: Trace Your Design
Use your sketches as a guide to draw your design on the grip tape’s backing paper with a marker. For more complex patterns, consider using transfer paper to help transfer your design onto the grip tape.
Step 4: Cutting the Grip Tape
Carefully cut out your design using scissors or a utility knife. Take your time to ensure clean, precise cuts, especially for intricate patterns. For symmetrical designs, you can fold the grip tape and cut both sides simultaneously.
Step 5: Apply the Grip Tape
Once your design is cut out, start applying the grip tape to your deck. Begin at one end, gradually peeling the backing paper away as you smooth the tape onto the deck with your hands. Use a hard object like the edge of a ruler to press and smooth out any air bubbles.
Step 6: Trim Excess Tape
After the grip tape is applied, use a utility knife to trim any excess around the edges of your deck. Be meticulous to ensure a clean, professional finish.
Step 7: Sand the Edges
To prevent the edges from peeling, gently sand them with a piece of sandpaper. This will also make the edges smoother and less likely to fray.
Step 8: Add Finishing Touches (Optional)
If you wish to add additional details or color, you can use permanent markers or paint pens to draw directly onto the grip tape.

Tips and Tricks for Customization
Customizing skateboard grip tape can be a bit tricky, but these tips can help make the process smoother and more enjoyable.
Use Stencils
For more intricate or repetitive designs, consider using stencils. You can create your own by cutting shapes out of cardboard or heavy paper.
Practice on Scrap Pieces
Before working on your actual grip tape, practice your cuts and application techniques on scrap pieces. This will give you confidence and help you avoid mistakes.
Layering
For multi-colored or layered designs, apply the base layer first. Then proceed with additional layers, allowing each to adhere properly before adding the next.
Protective Sealing
For designs that incorporate paint or markers, consider applying a clear sealant to protect your artwork from wear and tear. Ensure the sealant is appropriate for use with your chosen materials.
After Customization Care
Caring for your custom grip tape is crucial to maintain its appearance and functionality. Here are some tips:
Regular Cleaning
Regularly clean your grip tape to keep it free from dirt and debris. Use a soft brush or an old toothbrush to scrub lightly.
Avoid Excessive Moisture
While grip tape is somewhat water-resistant, prolonged exposure to moisture can weaken adhesion. Avoid riding in the rain or through puddles whenever possible.
Replace When Needed
Grip tape does wear out over time. When you notice significant wear or reduced traction, it’s time to replace your grip tape.
Showcase Your Work
One of the most exciting parts of customizing grip tape is showing off your unique creation. Share pictures of your skateboard on social media, join skateboarding forums, or participate in contests to connect with other skaters and get inspiration for future designs.
Conclusion
Customizing your skateboard grip tape design is a rewarding way to express your individuality and passion for skateboarding. By planning your design, gathering the right materials, and following a step-by-step process, you’ll create a high-quality, personalized grip tape that not only looks great but also performs well. So, get creative, have fun, and enjoy the ride!
