
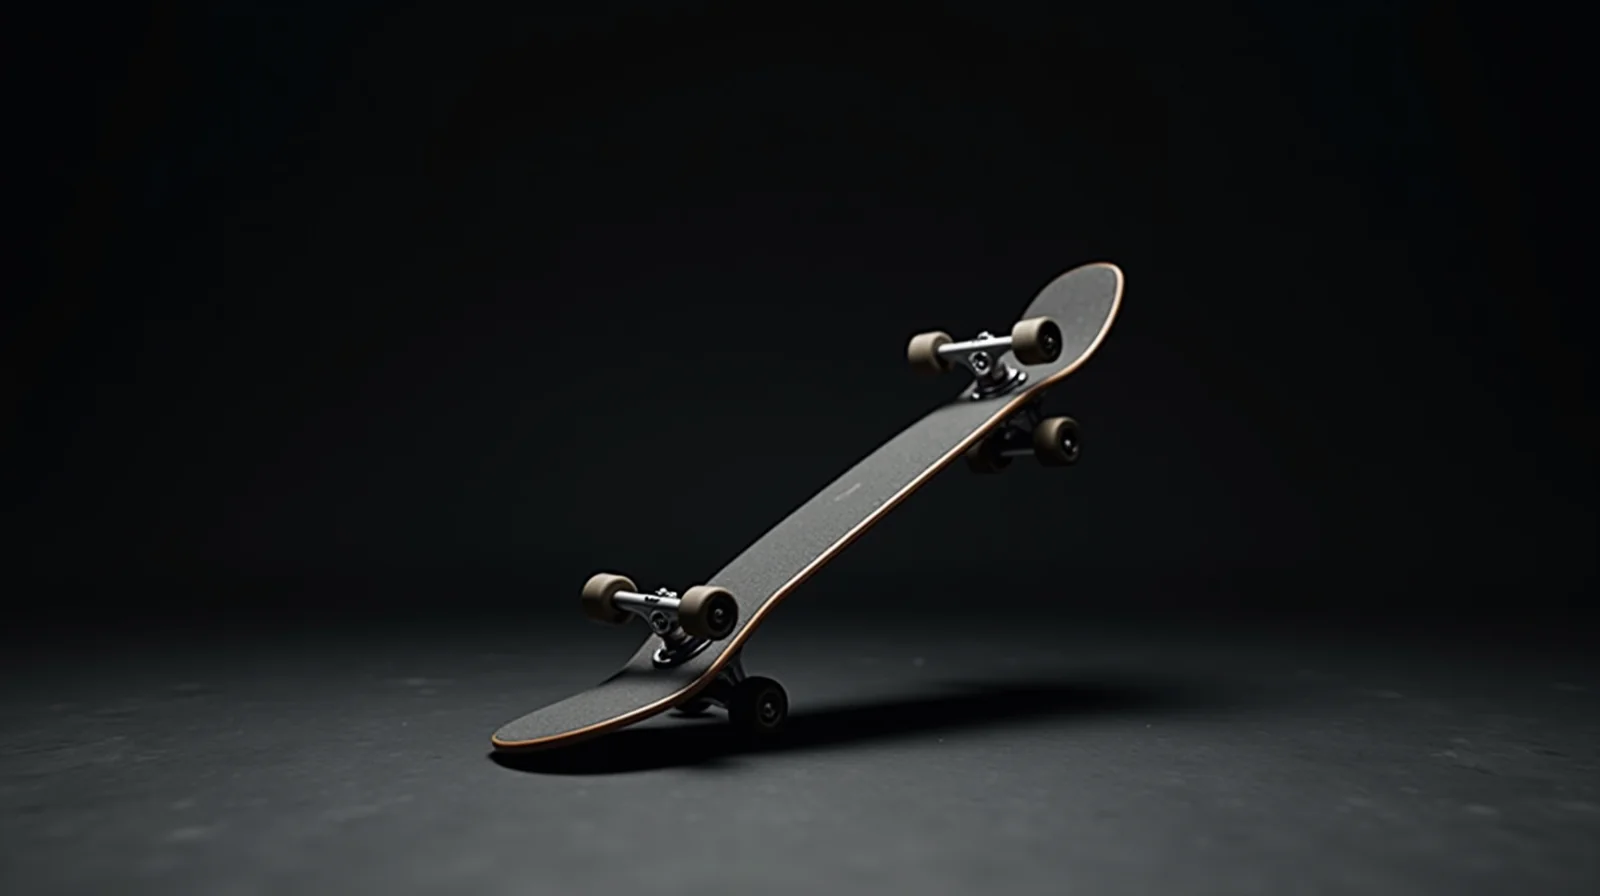
Learning how to do a manual on a skateboard is one of the biggest confidence jumps you will make as a skater. A manual keeps you riding on two wheels while you balance the board on its tail (a regular manual) or its nose (a nollie manual), and it forces you to find the exact 50/50 balance point that separates a smooth, quiet roll from a flailing wobble. In the ten years I have spent coaching riders, the manual is the trick that most quickly exposes whether your pop, your stance, and your board setup are actually working together, and it is the single best bridge from basic flat-ground riding to technical street lines. In this step-by-step guide you will learn how to do a regular manual and a nollie manual, the exact setup changes that make balancing easier, the specific mistakes that cause the wobble, and a realistic timeline for going from your first one-second hold to clean manual 50s and ollie manuals.
Published: October 23, 2026
By Tyler Brooks, Skateboarding Coach
Tyler has coached skateboarders for 10 years and has tested trucks, wheels, and protective gear on real street and park sessions.
What Is a Manual on a Skateboard?
A manual is a balancing trick in which you ride on either the back half (regular manual) or the front half (nollie manual) of your skateboard, with the other end lifted in the air. It is the skateboard version of a wheelie on a bike, except the balance is far less forgiving: a bicycle self-rights through its low wheelbase and you can lean back against the front wheel, but a skateboard has no suspension, no self-balancing wheels, and only two wheels a few inches from the pivot point. That makes the manual one of the purest tests of body control in skateboarding. When the board is balanced at the sweet spot, the lifted truck sits a few millimeters above the ground and the deck is nearly level. The moment your weight drifts even a couple of centimeters, the board either nose-dives or tail-drops and you bail.
The two main variations are the regular manual, in which you ride on your back foot with the tail down and the nose up, and the nollie manual, in which you ride on your front foot with the nose down and the tail up. A regular manual is almost always the first one you learn, because your back foot is your stronger, more natural “push-off” foot and it is easier to lift the nose with a controlled pop. The nollie manual is harder: you are balancing on your front foot while your center of mass sits slightly ahead of the pivot, which feels counterintuitive at first. Both variations are covered in detail below.
Key fact
A well-balanced manual keeps the lifted truck roughly 5 to 10 mm (about the thickness of a credit card) above the ground. If the nose is way up, you are too far back; if it is dragging, you are too far forward.
Why Learning to Manual Makes You a Better Skater
There are three reasons the manual is worth your time well beyond just looking good:
- It builds the balance and body control that every trick needs. The same fine motor control that lets you hold a manual for three seconds is what lets you hold a stable cruising position through a kickflip and stay composed on the landing of an ollie. Riders who can manual consistently almost always have a solid core and a quiet upper body.
- It improves your board feel. Because a manual forces you to sense the exact point where the board tips, you develop an intuitive feel for how weight shifts translate into board movement. That feel transfers directly to landing tricks and reading the board on rough ground.
- It unlocks advanced lines. Manual 50s, nose manual 50s, ollie manuals, and manual-to-manual transitions are core elements of technical street skating, and they are the difference between riding flat ground and carving a full line over a ledge or a stair set.
From the coaching sessions
Riders who practice the manual on flat ground for two focused weeks report noticeably better stability on their ollie landings in the same period. The balance transfer is real and shows up in session-to-session footwork, not just in the manual itself.
Board Setup That Makes Manuals Easier
Before you practice, a small amount of setup tuning can cut your learning time in half. The goal is a stable, predictable board that does not want to twist or tip under your feet. You do not need a custom setup, a standard street board works, but these variables matter the most for manuals:
| Component | Recommended for Manuals | Why It Helps |
|---|---|---|
| Deck width | 8.25 to 8.6 inches (wider = more stable) | A wider deck gives your feet more room and a larger balance platform; narrow decks (7.75 to 8.0 inches) feel twitchier and tip faster. |
| Wheel size | 52 to 54 mm | Medium wheels roll smooth over cracks and speed bumps so small wobbles are not amplified; wheels over 56 mm raise the board and reduce stability. |
| Wheel durometer | 99A (hard) | Hard wheels give a consistent grip and a stable contact patch; soft wheels (88A) squish and feel less predictable under a static balance. |
| Truck width | Match deck width (within 0.25 inch) | Trucks close to the deck width keep the board stable and reduce pendulum wobble; overly wide trucks add pivot you have to fight. |
| Bushings | Medium, slightly tightened | Firm bushings keep the trucks from turning too easily when you shift, which is what causes the wobble; keep them firm but not so hard that you cannot turn. |
| Grip tape | Fresh, full coverage | Consistent grip under both feet means your feet do not slide during the balance; re-grip the deck when the surface wears shiny. |
One practical rule from my setup testing: if your board feels like it wants to twist sideways when you pop up into a manual, your bushings are too soft or your trucks are too wide for your deck. Tightening the kingpin a quarter turn and matching truck width to deck width is the single fastest fix. For a deeper look at how truck width, hanger material, and bushing softness affect overall board stability, read the best skateboard trucks buyer guide.
How to Do a Regular Manual: Step-by-Step
Follow these steps in order. Do not skip the flat-ground basics, they are where the wobble is actually fixed.
- Start in your riding stance on flat, smooth ground. Put your back foot over the tail (your pop foot) and your front foot near the middle of the deck, slightly behind the front truck. Keep your shoulders level and your knees bent. Look ahead, not at your board.
- Roll at a slow, controlled speed. Aim for the pace you would ride in a parking lot. You want enough momentum to keep moving, but not so much that a small wobble turns into a crash. A steady three to five miles per hour is ideal for learning.
- Pop the tail down and lift the nose. From your back foot, press down and gently kick the tail to raise the nose a few inches off the ground, and at the same time shift your weight back onto your back foot. The nose should rise to about five to ten millimeters above the ground, not much higher.
- Find the balance point and hold it. Once the nose is up, stop actively moving and let your body find the 50/50 point. Your back foot does the balancing: small micro-adjustments of ankle and knee keep the nose level. Keep your front foot light and locked in position, it is your anchor, not your rudder.
- Keep your upper body quiet and centered. The biggest beginner mistake is leaning the torso back and pumping the arms. Your hips should sit directly over the back truck. If you lean back, the nose rises and the board will snap down behind you.
- Count your hold, then bail cleanly. Aim for one second on your first attempts, then two, then three. When you feel the balance drift, let the nose come down slowly rather than slamming it. A controlled bail, nose down and keep rolling, is the mark of progress, not failure.
- Repeat in short bursts. Do ten to fifteen manuals per set, rest for about thirty seconds, then go again. Balance is a neuromuscular skill, and volume with rest is what builds it.
Pro tip from the sessions
If your nose keeps popping way up and then snapping down, you are popping too hard. A manual is a soft, controlled lift, think “raise the nose two centimeters,” not “pop like an ollie.” The gentler the pop, the easier the balance.
How to Do a Nollie Manual: Step-by-Step
The nollie manual is the mirror image: you balance on your front foot with the nose down and the tail up. It is harder because your weight sits ahead of the pivot. Here is the progression.
- Roll at the same slow, controlled speed. Use the same pace as the regular manual, this is about balance, not speed.
- Shift your weight forward onto your front foot. Your front foot becomes the balancing foot. Move your hips so they sit roughly over the front truck.
- Lift the tail with your back foot. For a nollie manual you lift the tail, not the nose. Your back foot presses the tail down to raise it, and your front foot, with the nose down, does the balancing. Keep the tail up only about five to ten millimeters.
- Balance on the nose. Your front foot makes the fine adjustments to keep the tail level. This feels backwards at first because your stronger foot is now behind the contact point. Trust the front foot and keep the back foot quiet.
- Keep your center of mass over the front truck. The nollie manual wants to tip you forward, so resist the urge to lean back. Stay stacked over the nose.
- Bail by dropping the tail. When the balance drifts, let the tail come down slowly and keep your momentum rolling.
Warning
Because the nollie manual puts your weight ahead of the pivot, the board tends to nose-dive into your front foot. Keep your front knee slightly bent and your toes engaged so the nose does not flip over your foot on a bail. If you are not comfortable, master the regular manual first.
Balance and Weight Distribution: Finding the 50/50 Sweet Spot
The entire manual comes down to one skill: finding the exact point where the board neither rises nor drops. Here is how to locate it.
- Start from stillness, not speed. Pop up into the manual while nearly stopped and feel where the board tips. The point where it stays level is your sweet spot, usually a few centimeters in front of the back truck for a regular manual, or behind the front truck for a nollie.
- Use micro-adjustments, not big moves. Once you find the spot, the balance is maintained with tiny ankle and knee movements. Big corrections overshoot and cause the wobble. Think “nudge,” not “lean.”
- Keep your front foot locked. Your front foot (on a regular manual) should not move back and forth. If it is sliding, you are using your front foot to steer instead of letting your back foot balance. Lock it in place and let the back foot do the work.
- Look forward, not down. Your eyes set your balance. Watching your board makes you reactive and jerky; looking ahead keeps your core stable and your inputs smooth.
Insight
The wobble every beginner describes is actually a feedback loop: you feel a tiny tip, overcorrect, the board tips the other way, you overcorrect again. Breaking the loop is the whole trick, reduce the size of each correction until the wobble damps out and the board sits still.
Common Manual Mistakes and How to Fix the Wobble
Most manual frustration comes from a small number of repeatable mistakes. Work through this table and match your symptom to the fix.
| Mistake / Symptom | Likely Cause | The Fix |
|---|---|---|
| Nose rises too high, then snaps down | Popping too hard, leaning the torso back | Pop gently (two-centimeter lift), keep hips over the back truck, do not lean back |
| Nose dives into the front foot (nollie) | Weight ahead of the pivot, front knee locked | Bend the front knee, engage the toes, keep your mass over the front truck |
| Board twists sideways | Bushings too soft, trucks too wide for the deck | Tighten the kingpin a quarter turn, match truck width to deck width |
| Front foot keeps sliding | Using the front foot to steer | Lock the front foot in place and let the back foot do the balancing |
| Bail on every attempt after one second | No controlled-bail habit | Practice dropping the nose or tail slowly and keeping your momentum |
| Wobble gets worse as you speed up | Balance is not yet stable at slow speed | Nail the 50/50 at slow speed first, then add speed in small increments |
| Balance collapses late in a session | Core and ankle fatigue | Use short sets with rest; the manual is a skill, not an endurance test |
If you can hold a clean three-second manual at slow speed but it falls apart at speed, you are ahead of yourself. Drop the speed back until the balance is rock-solid, then add momentum in small increments. The manual at speed is a different and harder skill, and it only becomes reliable once the slow version is automatic.
Manual Progression: From the 5-Count to the Ollie Manual
Once you can hold a clean three-second manual at a slow roll, progress in this order. Do not rush a step, each one builds the next.
- The 5-count manual. Hold the manual while counting to five out loud. This forces a sustained, smooth hold rather than a short pop-and-drop. Aim for five clean, even counts.
- The manual roll. Ride a full ten to twenty feet in the manual position. This builds the confidence and the balance memory that a static hold does not.
- The manual 50. Roll into a manual, hold it as you ride up onto a 50/50 (a four-inch ledge), and roll across it. This is the first real manual obstacle and a core street element.
- The ollie manual. Ollie into a manual position, or onto a 50/50, and balance. This adds a dynamic entry to the balance and is a building block for manual-to-manual lines.
- The nollie manual 50 and the manual-to-manual. Combine the nollie manual with a 50, then chain a regular manual into a nollie manual and back again over flat ground or a ledge. This is the advanced end of the progression.
Reference
A 50/50 (also written 50-50) is a four-inch, or ten-centimeter, ledge with a 45-degree angle on both sides. It is the standard first manual obstacle in street skating.
How Long Does It Take to Learn a Manual?
Timelines vary by how often you ride, your natural balance, and whether you practice the flat-ground basics, but here is a realistic range based on consistent, focused practice.
| Milestone | Typical Time (about 3x / week) | What You Are Building |
|---|---|---|
| First clean one-second hold | Day 1 to 3 | Pop plus basic balance on flat ground |
| First three-second hold | Week 1 to 2 | Finding the 50/50 sweet spot and micro-adjustments |
| First manual 50 | Week 3 to 4 | Transferring the balance onto an obstacle |
| Clean five-count manual | Week 4 to 6 | Sustained, smooth holds |
| Ollie manual | Month 2 to 3 | Dynamic entry into the balance |
| Manual-to-manual / nollie 50 | Month 3 and beyond | Advanced combinations and lines |
Two things accelerate this dramatically: practicing on smooth, flat ground (cracked asphalt adds wobble you have to fight) and doing short focused sets instead of one long session. Ten minutes of deliberate manual work every time you ride beats a single hour of random attempts.
Staying Safe When a Manual Fails
You will bail on manuals, that is how you learn, but you can bail cleanly and protect yourself. A few rules from the sessions.
- Learn to fall first. Before you get aggressive with manuals, make sure you know how to drop a shoulder, roll the impact, and protect your wrists. A clean bail is a controlled fall, not a crash. See our guide to preventing skateboard injuries and our wrist guard fit and sizing guide for the gear that makes a fall less punishing.
- Wear wrist guards for the first few weeks. Your wrists take the brunt of a manual bail. Wrist guards with a hard plastic shell let you put your hands down without breaking a bone. For a full protective-gear breakdown, read our essential safety gear guide.
- Bail away from traffic and people. Practice manuals on empty, flat ground away from roads. A wobble that sends you rolling is fine in a parking lot, not on a sidewalk.
- Do not chase speed before balance. Most serious manual injuries come from bailing at speed. Keep it slow until the balance is automatic.
Urgent
If you are learning the manual with kids or in a public area, clear the space first. A wobble at speed turns a minor bail into a real collision risk. Empty, flat, quiet ground is non-negotiable for a safe learning session.
Frequently Asked Questions
How do you do a manual on a skateboard for the first time?
Start on flat ground at a slow roll, pop the tail up a couple of centimeters with your back foot, shift your weight back over the back truck, and let your body find the balance point. Keep your front foot locked and your eyes up. Aim for a one-second hold, then build from there. The flat-ground basics are where the wobble is fixed.
What is the difference between a regular manual and a nollie manual?
A regular manual balances you on the back foot with the tail down and the nose up. A nollie manual balances you on the front foot with the nose down and the tail up. The regular is easier and comes first; the nollie is harder because your weight sits ahead of the pivot. Master the regular before working on the nollie.
Why does my manual wobble and then snap down?
A wobble is a feedback loop: you feel a small tip, overcorrect, the board tips the other way, and you overcorrect again. Fix it by making each correction smaller (micro ankle and knee adjustments), keeping your front foot locked, and not leaning your torso back. Also check that your bushings are firm enough and your trucks match your deck width, a board that wants to twist will wobble no matter how good your balance is.
How high should the nose or tail be in a manual?
Keep the lifted end only about five to ten millimeters off the ground, roughly the thickness of a credit card. Higher than that and the board is unstable and wants to drop; lower and you are dragging the truck. The sweet spot is where the board sits level and quiet.
How long does it take to learn a manual?
With consistent practice, about three times a week on flat ground, most riders land a clean one-second hold in the first few days, a three-second hold in one to two weeks, and a first manual 50 in three to four weeks. An ollie manual typically comes in the second to third month. Deliberate, short, focused sets move you through this faster than long random sessions.
See Also
How to Ollie: Step-by-Step Guide for 2026 — the pop and footwork the manual builds on.
How to Nollie Ollie: Step-by-Step Guide 2026 — the nollie-side balance skills that feed the nollie manual.
Best Skateboard Trucks in 2026 — Complete Buyer’s Guide — how truck width and bushings affect manual stability.
How to Learn Skateboarding: 2026 Beginner Roadmap — where the manual fits in your overall progression.
Sources & Further Reading
- Indy Trucks — truck geometry, width, and bushing specifications.
- Bones Wheels and Bearings — wheel sizes and durometer ratings.
- U.S. Consumer Product Safety Commission — protective-gear and safety guidance.
- Skateboarder — street technique and manual coverage.
#Skateboarding #Manual #NollieManual #SkateTricks #StreetSkating #SkateboardTricks #HowToManual #SkateLife #BalanceTrick #Skateboard #LearnToSkate #SkateboardingTips #Manual50 #OllieManual #SkateCoach
This guide is part of the ska8 daily series. Explore more below.