
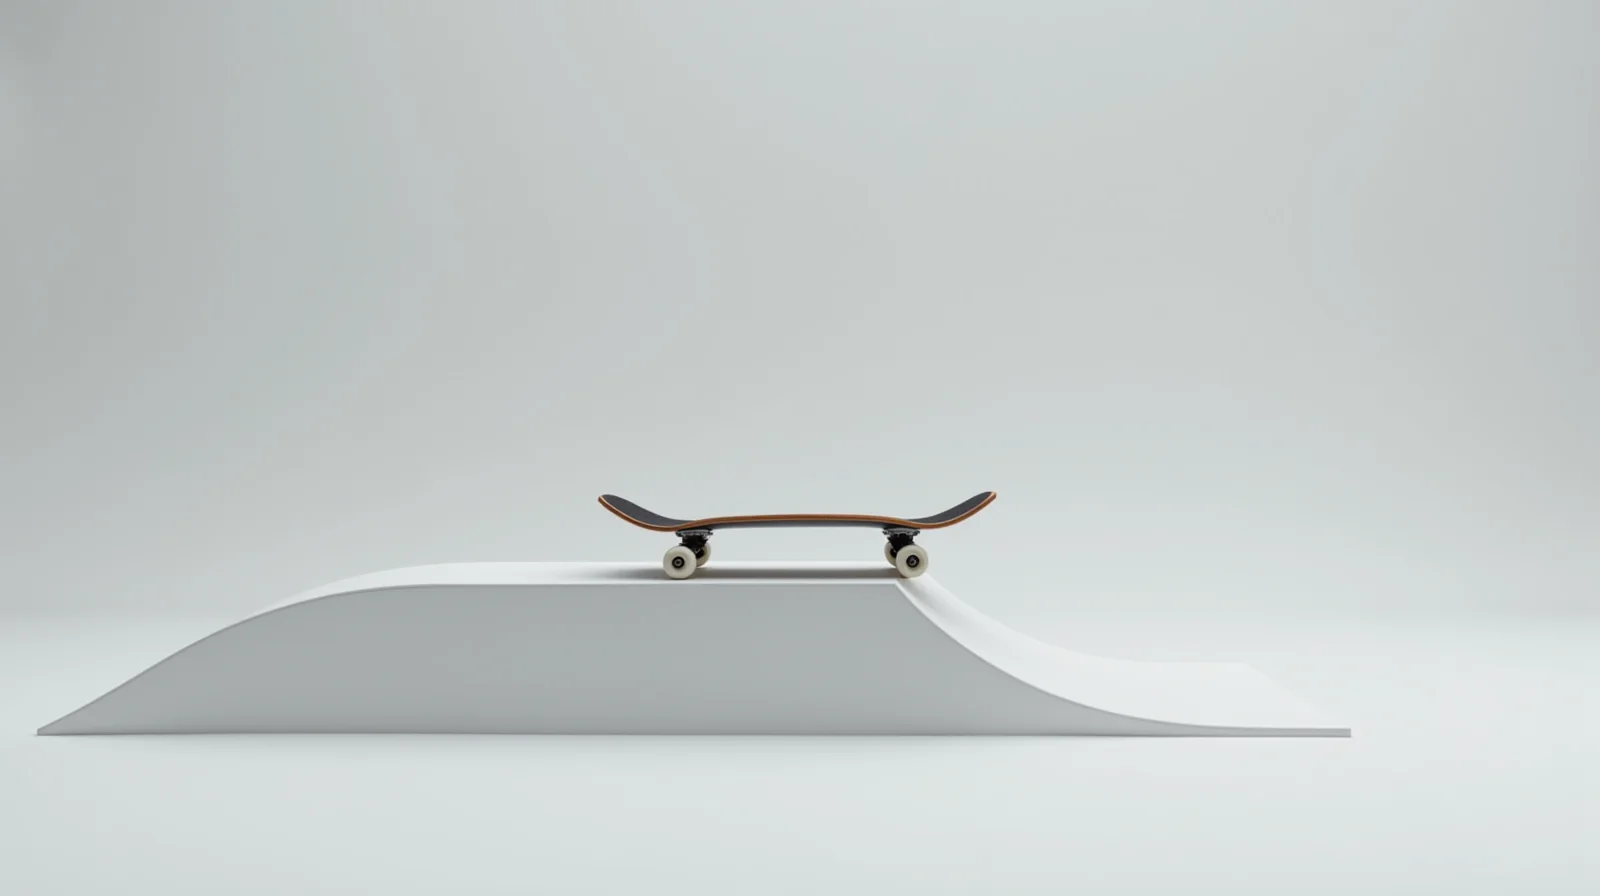
Learning to drop in is the moment skateboarding stops being a flat-ground exercise and becomes a real sport. You push, you line up, and you send it over the edge of a ramp with the board under your feet. For most beginners it is also the moment they get scared, because a drop-in done wrong ends with a hard landing, a broken board, or both. In this guide, I break down exactly how to drop in on a skateboard in 2026: how to know when you are ready, the step-by-step sequence, the speed and body-position rules that decide whether the landing is clean, and a safe progression from a two-inch edge all the way to a full ramp.
By Tyler Brooks, Skateboarding Coach
Tyler has coached skateboarders for 10 years and has tested trucks, wheels, and protective gear on real street and park sessions. He leads skill development and safety coverage.
Published: November 4, 2026
What Is a Drop-In?
A drop-in is the act of rolling onto a ramp, bowl, or any elevated surface from the top edge, using your forward momentum to carry you down the transition instead of stopping at the lip. It is the entry move for everything that happens on a ramp: quarterpipes, mini ramps, bowls, vert. When you drop in, the geometry does the work for you. The ramp converts your horizontal speed into a smooth arc down and across the bottom, and a well-executed drop-in feels less like a landing and more like rolling over a hill that happens to be made of concrete.
From a physics standpoint, a drop-in is simple and unforgiving at the same time. Your mass and speed set how far down the ramp you travel before you start climbing the opposite wall. Too slow and you stall out in the middle of the transition, which is awkward and hard to recover from. Too fast for your level and the landing impact at the bottom doubles the force your legs and board have to absorb. The skill is matching your speed to the size of the ramp and your confidence in your landing, which is exactly what the readiness checklist below is for.
The one-sentence version
Pick a line, build speed, keep your weight centered with bent knees, commit through the lip, and absorb the landing with your legs instead of your board.
When Are You Ready to Drop In?
The most common drop-in injury I see in coaching sessions is not from the ramp. It is from a beginner who is not actually ready for it. A drop-in asks for three things at once: a stable landing, enough balance to absorb the arc, and the ability to keep rolling after impact. If you miss any of those, the ramp does not care. Before you send your first drop-in, be honest about this checklist. In my experience, a beginner who can check all ten boxes is ready for a two-inch to six-inch drop, and the gaps tell you exactly what to practice first.
- I can roll at a comfortable speed in a straight line for 50 feet or more without wiggling.
- I can stop on command with a foot brake or a manual pivot, and I can do it while rolling at speed.
- I have landed my first clean ollies and can repeat them 10 out of 20, as covered in our ollie step-by-step guide.
- I can absorb a small landing with bent knees and keep rolling through, rather than freezing.
- I can do a short manual, at least a few board lengths, without grabbing the board.
- I know my stance cold. I can hop onto the board mid-roll and land balanced. Our regular versus goofy stance guide covers the test if you are still unsure.
- I can push smoothly and control my speed in three gears: slow, medium, and fast.
- I have practiced my foot brake and can do it at the speed I plan to arrive at the ramp.
- I can fall safely on purpose: roll with the fall, protect the head, and get back up quickly, as our fall safely guide details.
- I am wearing at least wrist guards and a helmet for the session.
If you can check eight or more boxes, start at the bottom of the progression in this guide. If you are below eight, spend one to two weeks on the missing items first. The drop-in will still be there, and the ramp is not going anywhere, but your knees and wrists absolutely are, and they are the ones paying for skipped fundamentals.
The 5 Types of Drop-Ins, Ranked by Difficulty
Not all drop-ins are the same. The size, shape, and exit of the surface you drop into change the skill completely. I use this table with students so everyone has a shared vocabulary for what we are working on, and so you can see your progression clearly.
| Drop Type | Typical Height | What It Teaches | When to Try It |
|---|---|---|---|
| 2 to 6 inch edge | 2 to 6 in | Committing through a small lip, absorbing the impact, staying centered. | First. This is where every drop-in starts. |
| 12 inch ledge or low ramp | ~12 in | Speed control into a real transition; the arc starts to matter. | Once you land 10 of 20 at 6 inches. |
| Quarterpipe to 4 feet | 2 to 4 ft | Riding the full arc, pumping through the flat bottom, choosing where to stop. | Once 12 inches is consistent at varied speeds. |
| Mini ramp or pool | 4 ft + | Momentum management; the ramp is now doing most of the work. | When 4-foot quarters feel routine. |
| Vert | 8 ft + | Air control, landing a real vertical, coping awareness. | Last. Our vert beginner guide covers its own prerequisites. |
Progression heights based on standard US skate park construction; see the skate park reference for typical dimensions.
Step-by-Step: How to Drop In on a Skateboard
Here is the exact sequence I teach, in order. Do not skip steps. Each one exists because the failure mode from the previous step is different, and skipping a step is how drop-ins go wrong.
- Set your line. Before you push, stand still at the top and look down the ramp. Pick the exact point where you will hit the lip, and the spot at the bottom where you will be when you finish. Your line should be straight down the center of the ramp, not angled across it. A centered line means a symmetric arc, and symmetric arcs are the ones your balance can handle.
- Set your stance. Stand in your normal riding position with your weight slightly forward. Knees bent, shoulders level with the board, eyes looking down the line and not at your feet. If your eyes are on the board, your body will tense up at the lip, and a tensed body does not absorb landings.
- Build speed in one smooth push. Push to the speed you decided you can land, not the speed that feels impressive. For a first drop-in, that is a relaxed medium speed, around the pace of a fast walk. Too many beginners push as hard as they can because the ramp looks small. It is not small.
- Commit through the lip. As the tail rolls over the edge, do not brake, do not lift, do not look back. Your weight stays centered and your knees stay bent. The board will feel like it is being pulled forward for a moment. That is the ramp taking over. If you hesitate at the lip, you stall in the transition and the recovery is worse than the original drop.
- Stay loose through the arc. As you come down the curve, let your body follow the board. Your torso stays slightly forward over the front wheel, your arms out for balance, your knees doing the absorbing work the whole time. The goal is to feel like you are sitting on a swing, not standing on a platform.
- Absorb the landing and roll through. At the bottom of the arc, impact hits hardest. Bend your knees deeper, keep both feet on the board, and keep rolling forward through the bottom instead of stopping dead. Stopping at the bottom of a ramp is the one thing that makes the board slide out from under you.
- Choose your exit before you need it. Decide in the bottom of the arc whether you are pumping up the other wall or braking out. Braking should happen on the flat or the low part of the transition, never at the bottom of the arc where your board has the least traction.
The Two Variables: Speed and Body Position
Everything in a drop-in reduces to two variables, and both of them are under your control before you ever reach the lip. In coaching sessions, when a student keeps failing the same drop, I ask them to change only one of these variables at a time, because changing both at once makes it impossible to learn from the attempt.
Speed. Speed determines how far down the ramp you go and how hard the landing hits. The rule I use: start slower than feels comfortable, and only add speed once the previous speed is boring. A drop-in at the right speed feels smooth and slightly underpowered. A drop-in at too much speed feels like the board is trying to throw you off it, and that is your signal to back off by one push, not to try harder. Over ten years of watching first drop-ins, I can tell you the board and the rider who survive the first attempt are almost always the ones who pushed the least.
Body position. Your body position determines whether the board stays under you. Three positions matter. First, weight centered or slightly forward: weight back on the tail and the tail drops into the transition and stalls. Second, knees bent the entire time: this is your suspension, and a rigid leg turns a manageable impact into a jarring one that the board slides through. Third, eyes forward: looking down at the board is a reflex, but it moves your head back, which moves your weight back, which is exactly the wrong direction at the lip.
Warning: the stall is the trap
Running out of momentum in the middle of the transition is the most common first-drop failure, and the instinct is to panic-push or grab the board. Neither helps. A controlled stall with bent knees and both feet on the board is recoverable. A panic push mid-arc is not. If you are stalling, add one push of speed, not more urgency.
7 Common Drop-In Mistakes and How to Fix Them
These are the seven failures I see in almost every first drop-in session. Check this table before you blame the ramp.
| Mistake | What It Looks Like | The Fix |
|---|---|---|
| Stalling in the transition | Momentum dies partway down the curve; board creeps to a stop. | Add one push of speed. Slow is fine, stalling is not. |
| Braking at the lip | Foot drag or manual pivot right at the edge; the tail digs in. | Commit fully. Braking happens at the bottom, not at the lip. |
| Weight too far back | Tail drops into the curve; the board rocks back on the rear truck. | Shift weight forward over the front foot and keep the eyes down the line. |
| Rigid legs at impact | Board slides out at the bottom of the arc; rider stumbles sideways. | Bend the knees before impact and absorb downward. Practice landings on flat ground first. |
| Stopping dead at the bottom | Full stop at the flat bottom; the board skids out from under the front foot. | Keep rolling through the bottom. Braking happens on the flat after the arc. |
| Looking at the board | Head down at the lip; body leans back; the arc feels wrong. | Eyes on the exit point, not the wheels. Your balance follows your gaze. |
| Jumping the drop | Ollie or hop over the edge instead of rolling over it. | A drop-in is a rolling move. Jumping it defeats the purpose and adds an air you are not ready for. |
Failure modes from 10+ years of coaching first drop-ins at street ramps and beginner parks.
Drop-In Progression: From 2 Inches to a Full Ramp
Follow this order. Each rung should be 10 out of 20 before you move up, and each one should be practiced at two speeds: slow and medium. Speed variety is what separates a one-speed drop-in from a usable skill.
- Week 1: 2 inch edge. A curb, a raised board, a piece of plywood on blocks. Focus only on committing through the lip and staying centered. Target: 10 of 20.
- Weeks 2 to 3: 6 inches. A low ledge or a short ramp. Now the arc exists, even if it is small. Focus on bent knees through the curve. Target: 10 of 20 at two speeds.
- Weeks 3 to 5: 12 inches. A proper low ramp or ledge. This is the last rung where the landing impact is small enough to forgive a sloppy sequence. Target: 8 of 20.
- Weeks 5 to 8: 2 to 4 foot quarterpipe. The full arc. Focus on choosing your exit: pump up the other wall, or brake out on the flat. Find a beginner park with a small quarter; our skate park types guide explains what to look for, and the full skate park beginner guide covers etiquette and finding your local spot. If you are building at home, our DIY mini ramp guide has the plans and costs.
- Weeks 8 and up: mini ramp and beyond. Once the 4-foot quarter feels routine at multiple speeds, you are ready for bigger transitions, and eventually for vert, which has its own learning curve and its own prerequisites. Our vert beginner guide covers that next step, and if you are deciding between street and transition skating in general, our street versus park guide walks through the trade-offs.
Track it the same way you would any skill: attempts versus clean landings per session, written down. The moment a rung crosses 50 percent, it is done, and the next rung is yours. This is also how you know when a session is productive. Ten minutes at the right rung beats an hour at a rung you have already mastered.
Gear and Injury Prevention for Drop-Ins
Drop-ins are where the sport separates the riders who keep skating from the riders who stop, and the difference is almost always gear plus technique. From a decade of watching first drops, these are the non-negotiables.
- Wrist guards, every single time. Wrist fractures are the most common skateboarding injury in the sport, and they peak exactly where drop-ins end: at the impact. A proper hinged pair lets you roll a fall instead of sticking a landing with your palms. Our wrist guard guide covers fit and sizing.
- A helmet for anything over 12 inches. Mandatory on full ramps, recommended on every practice drop. The same logic and fit checklist apply to the full kit in our essential safety gear guide.
- Fresh grip and tight trucks. A drop-in loads the trucks hard at the lip. Check that your axle nuts are snug and your grip is not worn smooth before the session; a loose truck is the one mechanical failure that turns a clean drop into a wipeout.
- Know how to bail. If something goes wrong mid-arc, the correct move is to get off the board, not to save it. Roll with the fall, protect your head, and leave the board alone. The board is replaceable; the fall safely technique is what makes a bad drop a bruise instead of a break.
Pro tip: film your drop-ins from the side
The drop-in feels like one thing and looks like another. In my sessions, the students who film their drops improve fastest, because the video shows whether the speed was right, the weight was centered, and the knees actually bent. One phone, one session, one honest answer.
How to Drop In: FAQ
How fast should I go when I drop in?
Slower than feels comfortable, at first. Speed should be matched to the ramp size and your landing confidence, not to your nerves. Start at a relaxed medium pace, and only add speed once the current speed is boring. The single best rule: if the drop feels like it is trying to throw you off the board, back off by one push.
Can I drop in with a skateboard that is not set up for ramps?
Yes, any street setup can drop in, and you should not feel pressured to buy ramp-specific gear first. Just make sure the trucks are snug, the wheels are not worn into a cone shape, and the grip is fresh. If you ride very soft wheels (97a or below), expect a bit more drag through the transition, but they are still fine for learning.
What if I run out of speed in the middle of the ramp?
Stay calm, keep both feet on the board, keep your knees bent, and let the board come to a controlled stop. Then walk it back up or push from the bottom if the ramp allows it. A controlled stall is a normal part of learning. A panic push or a grab mid-arc is not. If stalling happens on every attempt, add one push of speed before you go again.
Should I drop in regular or switch?
Regular, always, when you are learning. Drop in your normal direction until the move is automatic at multiple speeds and ramp sizes. Switch drop-ins come later, once your regular line is boring, and they build on the same sequence, not instead of it.
What is the next skill after the drop-in?
The natural next step is riding the full arc: pumping through the bottom, coming up the other wall, and choosing where to brake. That is the core of transition skating, and it is covered in our vert beginner guide as you move up in size. If you are still building your flat-ground foundation, the beginner roadmap shows where the drop-in fits in the bigger progression.
See Also
- How to Ollie on a Skateboard 2026: Step-by-Step Guide — the trick that makes every landing, including drop-ins, possible.
- How to Build a Mini Ramp 2026: DIY Plans, Materials and Cost — your own practice ramp if you want to work on drop-ins at home.
- Vert Skateboarding 2026: How to Learn Vert (Beginner Guide) — where the drop-in progression ends.
Sources
- Wikipedia — Skate park: standard ramp geometry and construction dimensions.
- Rider — rider.com: safety gear and CPSC/ASTM certification references for helmets and wrist guards.
- Indy Trucks — indytrucks.com: manufacturer specs for truck geometry and axle tension.
#DropIn #Skateboarding #HowToDropIn #SkateTricks #LearnToSkate #Skateboarding2026 #SkatePark #RampSkating #TransitionSkating #BeginnerSkater #SkateTips #SkateCoach #SkateboardGuide #SkateSafety #SkateLife
This guide is part of the ska8 daily series. Explore more below.