
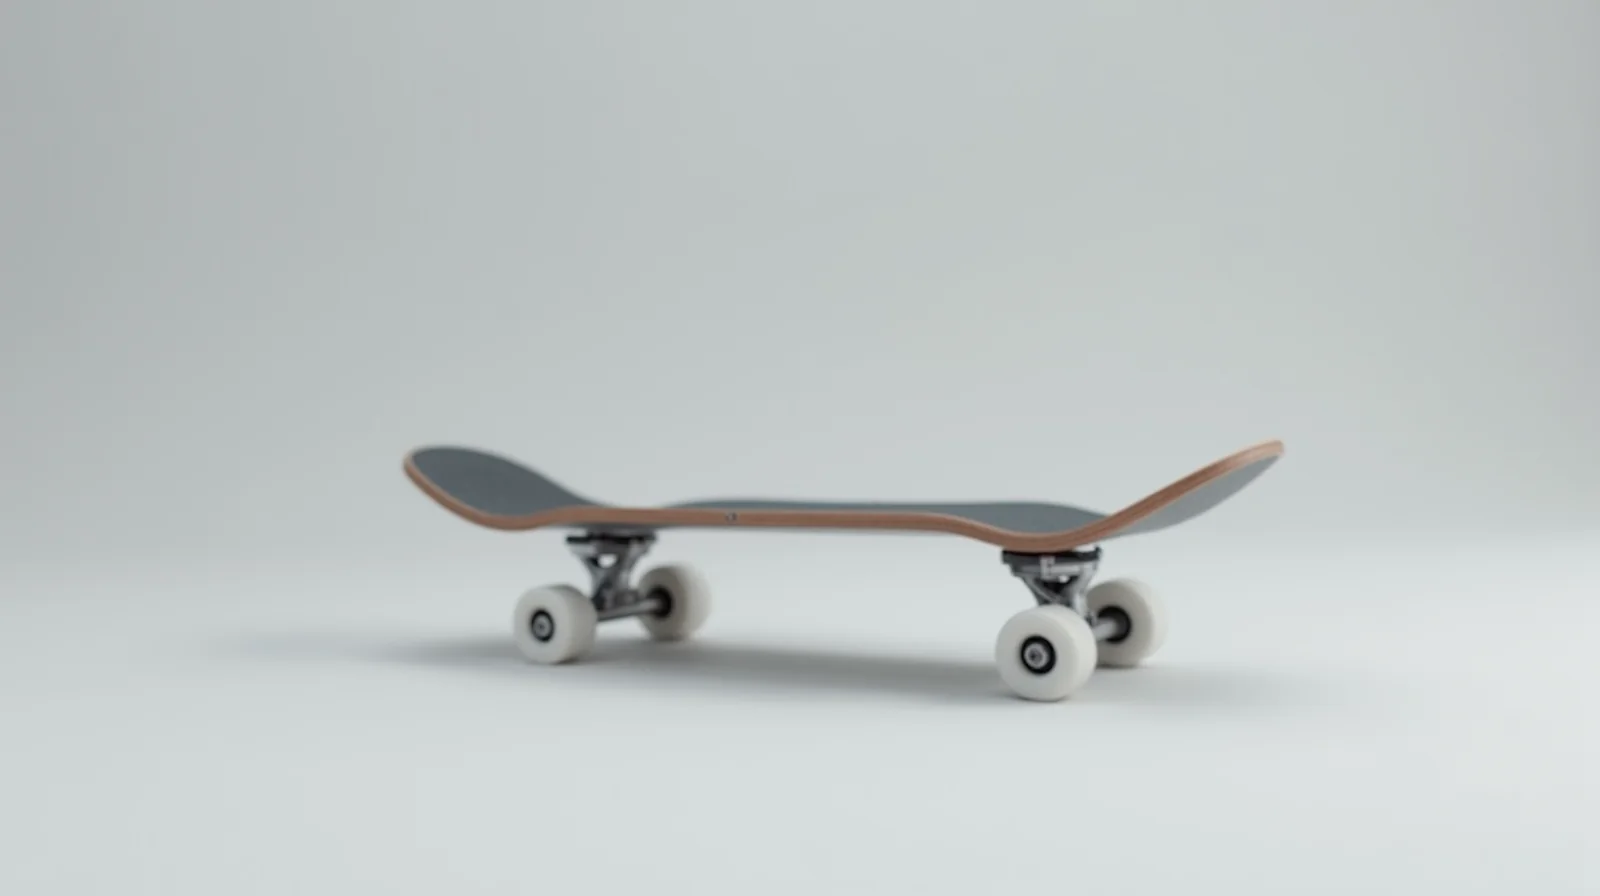
Learning how to skateboard fakie is the progression jump that separates skaters who ride a line from skaters who own it. Riding backward — pushing, turning, and landing tricks with your back to the direction of travel — unlocks an entire second layer of street skating: fakie 180s, fakie manuals, and eventually the fakie version of every trick you already know. In my 10 years of coaching, I have watched hundreds of beginners stall at the same wall: they can ride regular, maybe ollie, and then they freeze the moment a coach says “now do it fakie.” This guide removes that freeze. You will learn the exact order to build fakie balance, the footwork details that make it click, the six most common mistakes (with fixes), and a four-week practice plan you can run on flat ground with no line and no park required.
Quick Answer
Most skaters ride fakie comfortably after 2–4 weeks of focused practice, roughly 6–8 sessions of 30–45 minutes. The order that works: flat-ground pushing, then fakie 180s, then the fakie ollie, then fakie manuals. Skip the order and you will stall; follow it and fakie starts feeling like the easy part.
By Tyler Brooks, Skateboarding Coach
Tyler has coached skateboarders for 10 years and has tested trucks, wheels, and protective gear on real street and park sessions. He leads skill development and safety coverage.
Published: September 05, 2026
What Is Fakie? The Basics of Riding Backward
Riding fakie means traveling with the tail end of the board leading and your back facing the direction you are going. Your feet stay in the same regular stance you already ride in — if you are goofy, your left foot is still on the tail and your right on the front — but the whole board is now moving in the opposite direction relative to your body. That distinction is the entire reason fakie is learnable: your muscle memory for foot placement, pop, and body balance does not have to be rebuilt. You are borrowing regular-stance mechanics and running them in reverse.
This is where the most common confusion lives, so let us separate the two terms coaches use loosely. Fakie is your normal stance, backward direction. Switch is your opposite stance, same forward direction. If you ride regular and push with your right foot, fakie keeps that exact setup while you roll tail-first; switch would put your left foot behind and your right foot in front, pushing with your left. You can even combine them — “switch fakie” is the mirror of regular fakie — but for your first weeks, learn one thing at a time: regular stance, backward direction. Our skateboard switch stance guide covers that side of the equation once fakie feels natural.
Why do pros ride so much in fakie? Two reasons, both about lines. First, most street features — curbs, ledges, stairs — are built for travel in one direction, and the “landing direction” of a trick is often the less obvious one. A 50-50 or a boardslide landed fakie can connect a line that a regular landing would break. Second, flow. When a pro skates a rail, they choose the direction that keeps momentum, not the direction that is easiest. Learning to skateboard fakie is what gives you that choice instead of being forced onto one rail per line.
Why Learning to Skate Fakie Matters for Your Progression
Here is the pattern I see in every group I coach: skaters who build fakie in their first two months progress noticeably faster over the following year than skaters who treat it as an optional extra. The reason is compounding. Almost every street trick exists in two directions. Ollie, manual, shuv-it, flip tricks, grinds — once fakie balance is solid, each trick you learn is effectively a two-for-one: regular and fakie versions, each with its own line possibilities.
From my sessions, the skaters who delay fakie hit a ceiling around the manual or the first flip trick. Not because the trick is hard, but because their line vocabulary stops growing. A beginner who knows only regular-stance tricks can ride maybe a third of a typical street spot. Add fakie and the same spot roughly triples in usable features. That is not a small deal — it is the difference between a session with five tricks and a session with fifteen.
There is also a technical payoff. Riding fakie trains your eyes to see the board from the opposite side, which sharpens your regular riding too. Skaters who practice fakie consistently tend to catch their board more cleanly in regular, because they stop relying on a single visual angle. In short: fakie is not a separate skill tree. It is the other half of the same tree, and the trunk gets stronger when both halves grow.
Before You Start: Gear and Setup Check
You do not need new gear to learn fakie — your current setup will take you through the entire progression. But before your first session, check the four items below, because a setup that is slightly wrong in regular will feel wrong twice as bad in fakie, where your feedback comes from an angle you are not used to. After testing hundreds of setups over a decade, these are the specs I put on every beginner board.
| Component | Fakie-Friendly Spec | Why It Matters |
|---|---|---|
| Deck | 8.0–8.5 in, 9-ply Canadian maple | A mid width gives both feet room to rotate without spilling the board during fakie turns |
| Trucks | Width matched to deck (8.0 in deck, 8.0 in trucks) | Mismatched widths cause lean, which is a stability killer when you cannot see where you are going |
| Wheels | 52–54 mm, 99A durometer | Smooth push on rough street concrete; 99A rolls clean without slipping on turns |
| Grip tape | Standard 80-grit, cut flush to the nose | You will feel the nose position by feel alone in fakie; clean edges keep your front foot from sliding |
| Bushings | Stock medium (usually 90–95A cone/barrel mix) | Predictable turn-in for the fakie 180; soft bushings make the board wander while you are learning |
Specs based on 10 years of beginner-board fitting; see our skateboard deck width and ply guide for the full sizing breakdown.
Step-by-Step: Learning to Push and Cruise Fakie
Start on flat, even ground — a parking lot or a flat patch of plaza. No slopes, no crowds, no music with a beat you want to ride to. Your first goal is boring: ten clean pushes in a row without stopping. Here is the exact sequence I put beginners through.
- Set the stance, then stop thinking about feet. Stand in your normal stance, back foot on the tail, front foot on the front bolt. In fakie the front foot now sits toward where the direction of travel is coming from. Keep your knees soft and your eyes up. The first time you face the wrong way your body will want to cross the feet — correct it once, then commit.
- First push: short and low. Push with the outside edge of your back foot, same as regular. The only difference is that the board is now traveling toward the direction your back is facing. Keep the first three pushes under a meter each. You are building the reflex of “push, recover, glide,” not distance.
- Glide between pushes. After each push, let the board roll for two seconds before the next one. This is where fakie balance actually forms. Beginners push-push-push without gliding and never develop the calm feel. Count to two in your head between pushes.
- Build to 10–20 meter runs. Once ten clean pushes are easy, extend to short runs: five pushes, glide for 10 meters, stop. Stop by dragging your front foot (the one closest to the ground in front of you) or by stepping off — either is fine while learning.
- Add a slow stop-and-turn. At the end of each run, come to a stop and rotate 90 degrees on the spot in your stance, then push again in a new direction. This preps the fakie 180 from the next section and gets you used to moving your body, not just your feet.
- Track sessions, not tricks. After each session, note how many clean pushes you got and how long your longest glide was. In my experience, skaters who can report these numbers hit full fakie comfort about a week faster than skaters who just “try fakie” vaguely.
Pro Tip
Your first-session target is ten consecutive clean pushes, not distance, not speed, not a single turn. Distance and speed come free once the push-recover-glide loop is automatic. Chasing distance on day one is the most common way beginners burn out on fakie by session three.
How to Do a Fakie Turn: The Move Everything Else Builds On
A fakie turn is a carved 180-degree change of direction while riding backward, and it is the foundation of fakie street skating. Once you can push, turn, and re-engage in a new direction, you can ride anywhere in fakie — every other skill in this guide layers on top of it.
The mechanics: with momentum on the board, shift your weight slightly forward over the front truck and let the back truck pivot. In regular riding you carve by pushing the tail toward the direction you want to go; in fakie the geometry inverts, and the front truck does the work while your back foot acts as the rudder. Keep your shoulders over the trucks, your head up, and your arms out slightly for counterbalance — the same posture a tightrope walker uses. The turn should feel like a smooth arc, not a brake.
- Pick up a small roll — three or four pushes — so the board is moving at a walk pace.
- As the board rolls, lean your upper body a few inches toward the front truck and let the back truck rotate the board.
- Watch the nose. Your eyes should follow where the board is going, not where your feet are. This single habit eliminates half of all fakie wobbles.
- Finish the arc with both trucks flat and your weight centered, then push again in the new direction.
Warning
Practice fakie turns on flat ground only for the first two weeks. On a slope, backward speed builds faster than your vision can track it, and a curb or gutter on your left side (your blind side) will catch you before your brain does. Flat ground, then mellow banks, then real street — in that order.
Six Common Fakie Mistakes (and How to Fix Them)
After a decade of coaching, the same six errors show up in almost every beginner. If you recognize yourself in the second column, the fix in the third column is the one I prescribe in the next session.
| Mistake | What It Looks Like | The Fix |
|---|---|---|
| Whipping the head around | Head snaps to watch the board, neck gets sore, wobble gets worse | Eyes on the path ahead, not the board. Glance at the deck only when you stop |
| Copying regular foot angles | Push feels weak, board noses around unpredictably | Rotate the back foot to its natural push angle; let the board, not your memory, set the line |
| Hinging at the hips | Upper body tips back, tail kicks up, speed dies | Shoulders directly over the trucks; do all balance work in the ankles |
| Pushing too hard too early | Board wobbles at speed, nose dives on every turn | Short pushes on flat ground for two sessions; speed is a byproduct of smoothness |
| Crossed, stiff arms | No counterbalance; the board decides, not you | Elbows slightly out and relaxed at all times; arms are your emergency stabilizers |
| Starting turns on a slope | Speed outruns vision, first turn ends in a fall | Flat ground for the first two weeks, then a mellow bank, then real street features |
The pattern behind all six: fakie frustration is almost always a vision or posture problem, not a foot problem. Your feet already know what to do — they have been doing it in regular for months. Fix the eyes and the hips and the feet follow on their own.
Fakie Trick Progression: What to Learn First
Insight
The biggest progression error I see is jumping straight to the fakie version of a flip trick before the fakie version of the manual exists. Flip tricks in fakie demand air awareness you cannot build without manual balance first. The order below is the order my students actually succeed in — not the order that looks coolest on video.
Once pushing, gliding, and fakie 180s are clean, work down this list in order. Each entry lists the difficulty on a 1–5 scale, the prerequisite, and why it is the next logical step.
| Trick | Difficulty | Prerequisite | Why It Is Next |
|---|---|---|---|
| Fakie push + cruise | 1 / 5 | Regular balance | Foundation; everything below assumes it |
| Fakie 180 | 2 / 5 | Fakie cruise | First directional change; teaches turning under load |
| Fakie ollie | 3 / 5 | Regular ollie | Air control backward; the gate to all fakie tricks |
| Fakie manual | 3 / 5 | Regular manual | Balance and line control backward; required before fakie flips |
| Fakie pop shuv-it | 4 / 5 | Regular pop shuv-it | Deck rotation while moving backward; trains the foot that leads the spin |
| Fakie boardslide | 4 / 5 | Regular slides | First fakie feature trick; caps the street-skating progression |
Difficulty ratings from 10 years of beginner-to-intermediate coaching; individual pace varies with age, balance background, and session frequency.
Two rules for this list. First, spend at least one full session on each entry before moving on — the fakie ollie in particular rewards patience, and rushing it is the number-one cause of the “I can ollie regular but not fakie” plateau. Second, the fakie ollie is not a harder ollie; it is the same ollie with your eyes on a different horizon. If your regular ollie is solid, the fakie version usually clicks within a session or two of focused work.
Footwork Detail: Where Your Feet Actually Go
Zoom in and the footwork is where fakie either clicks or stalls. Three details matter, in order of importance.
1. The back foot sets the line. In fakie your back foot is the pivot foot — it controls direction on every turn and every stop. Keep it on the tail, roughly over the tail-side truck, with the ball of the foot on the grip and the heel free. When you want to turn, the back foot rotates a few degrees and the board follows. Beginners who keep the back foot frozen in its regular-ride angle will find the board fighting them on every turn.
2. The front foot is a sensor, not a steering wheel. The front foot stays near the front bolt with a slight outward angle, heel slightly up. Its job is to feel the board: nose height, speed, and any gap ahead. In fakie you cannot see the nose, so the front foot is your camera. If your front foot is flat and locked, you will land fakie tricks with the nose on the ground and stall.
3. Ankles do the fine-tuning. Every correction under one inch of movement should happen in the ankles, not the knees or hips. Soft ankles absorb the bumps that a stiff-legged rider would turn into a wobble. A useful drill: ride fakie at a walk pace and deliberately make small corrections with the ankles only for a full two minutes. It feels ridiculous for the first thirty seconds and transforms your stability for the rest of the session.
One more thing I tell every student: in fakie, the board is slightly narrower than it feels, because your visual reference is the tail and the nose is hidden. If you ride your lines a few inches tighter in fakie than in regular, you will end up on the edge of the feature. Add a little margin and the tricks land cleaner.
Safety: Falling Fakie Is Not the Same as Falling Regular
Here is a counterintuitive fact from my injury log: most fakie falls are less severe than regular falls, because you fall backward onto your hands and back rather than forward onto your shins. But the wrist is the most common fakie injury by a wide margin, and it happens in the first two weeks, not later. Your body instinctively reaches forward to catch a backward fall, which loads the wrist in extension — the exact mechanism that sprains or fractures it.
Two rules make a huge difference. First, wear wrist guards while learning fakie, even if you would never wear them regular. Our essential safety gear guide covers what to look for in a guard that actually blocks extension instead of just cushioning impact. Second, pick your landing: when you feel a fall coming in fakie, drop your hands in front of you and roll your shoulders through rather than bracing flat. The same falling mechanics from our how to fall safely guide apply, just mirrored.
On helmets: if you are learning fakie on real street features, keep a helmet on for the first month. The relevant standard for skate-style protective headwear is ANSI/CPSC 14.1, and any helmet marked to it will handle the low-impact backward falls that dominate a fakie learning phase. For a first board itself, our first skateboard buyer’s guide covers the full setup question.
A Four-Week Fakie Practice Plan
This is the plan I assign to adult beginners with regular-stance boards and one ollie under their belt. Each week is three to four sessions of 30–45 minutes. Do not skip weeks — each one loads the next.
- Week 1 — Push and glide. Three sessions. Target: ten clean pushes, then 15-meter glides, all on flat ground. Add the 90-degree stop-and-turn drill for the last ten minutes of each session. If you cannot hit the push target, stay in Week 1 — it is the week that prevents every later frustration.
- Week 2 — Fakie 180s. Three sessions. First two: slow carved turns, no speed, focus on watching the nose. Third: roll in, turn 180, roll out, repeat for twenty reps. By the end of Week 2 you should be able to ride a loose figure-eight in fakie without stopping.
- Week 3 — The fakie ollie. Four sessions. Start with fakie ollies in place (no rolling), then small hops on a roll, then 12-inch pops at walk pace. Keep the board level over a low curb if you have one; landing fakie on a level surface first, then adding a feature.
- Week 4 — Fakie manuals and line control. Four sessions. Ten-second fakie manuals at a walk pace, then a fakie manual over a small gap or onto a low ledge. End the week by riding one full street line in fakie — any line, even a flat one — without dropping the board.
If you finish Week 4 riding a full line backward, you are no longer a fakie beginner — you are an intermediate skater with a second direction, and the rest of your trick list is just the same tricks you already know, twice.
FAQ: Skateboarding Fakie
How long does it take to learn to skateboard fakie?
Most skaters ride fakie comfortably in 2–4 weeks of focused practice — roughly six to eight sessions of 30–45 minutes following the plan above. Riders with a solid regular ollie and weekly sessions usually hit it in about two weeks. The variable that matters most is session consistency, not session length.
Is fakie harder than switch?
For most regular skaters, fakie is easier than switch, because your foot placement stays the same and only the direction changes. Switch requires rebuilding stance, push, and vision all at once. That said, fakie demands more from your eyes, because the nose is hidden; riders who are visually oriented sometimes find the two feel equally hard. Learn fakie first either way — it pays off sooner.
Can a true beginner learn fakie right away?
No — and you should not. Learn to ride, push, and stop in regular for at least two to three weeks, then add a basic ollie, then start fakie. A skater with no regular foundation trying fakie is learning four skills at once. Fakie assumes regular is automatic; make it so first.
What is the difference between fakie and nollie?
The direction is the same (both are backward), the stance differs. In fakie your tail leads and your front foot is the one closer to the direction of travel. In nollie (nollie = no-ollie, from the original trick name) your nose leads, which means you are essentially riding switch stance backward. Nollie tricks like the nollie ollie use the nose foot to flick the board, which is the mirror of the regular ollie mechanics. Most skaters learn fakie first, then nollie, because fakie reuses your regular stance.
Do I need to learn fakie to get better at skateboarding?
Not to enjoy it — but yes to progress past beginner. Fakie roughly triples the usable features in any street spot and is a prerequisite for most intermediate-to-advanced trick lines. If your goal is to ride spots and connect lines rather than land single tricks, fakie is not optional; it is the baseline. Treat it like your first ollie: one focused block of two weeks, then never look back.
Sources
The Berrics — skateboarding technique library and video archive used for trick-mechanics cross-checks.
ASTM International — standards body behind ANSI/CPSC 14.1 protective headwear specifications for skate sports.
Rider — skate equipment reference for current truck, wheel, and deck specifications.
See Also
How to Ollie: Step-by-Step Guide for 2026 — the trick every fakie trick builds on.
Skateboard Switch Stance 2026: Step-by-Step Guide — the other half of directional riding.
Essential Safety Gear for Skateboarding — wrist guards and helmets for the learning phase.
#Skateboarding #Skateboard #Fakie #LearnToSkate #SkateTricks #StreetSkating #SkateCoach #BeginnerSkater #SkateFootwork #SkateProgression #FakieOllie #SkateboardLife #SkateSkills #Fakie180 #SkateDaily
This guide is part of the ska8 daily series. Explore more below.