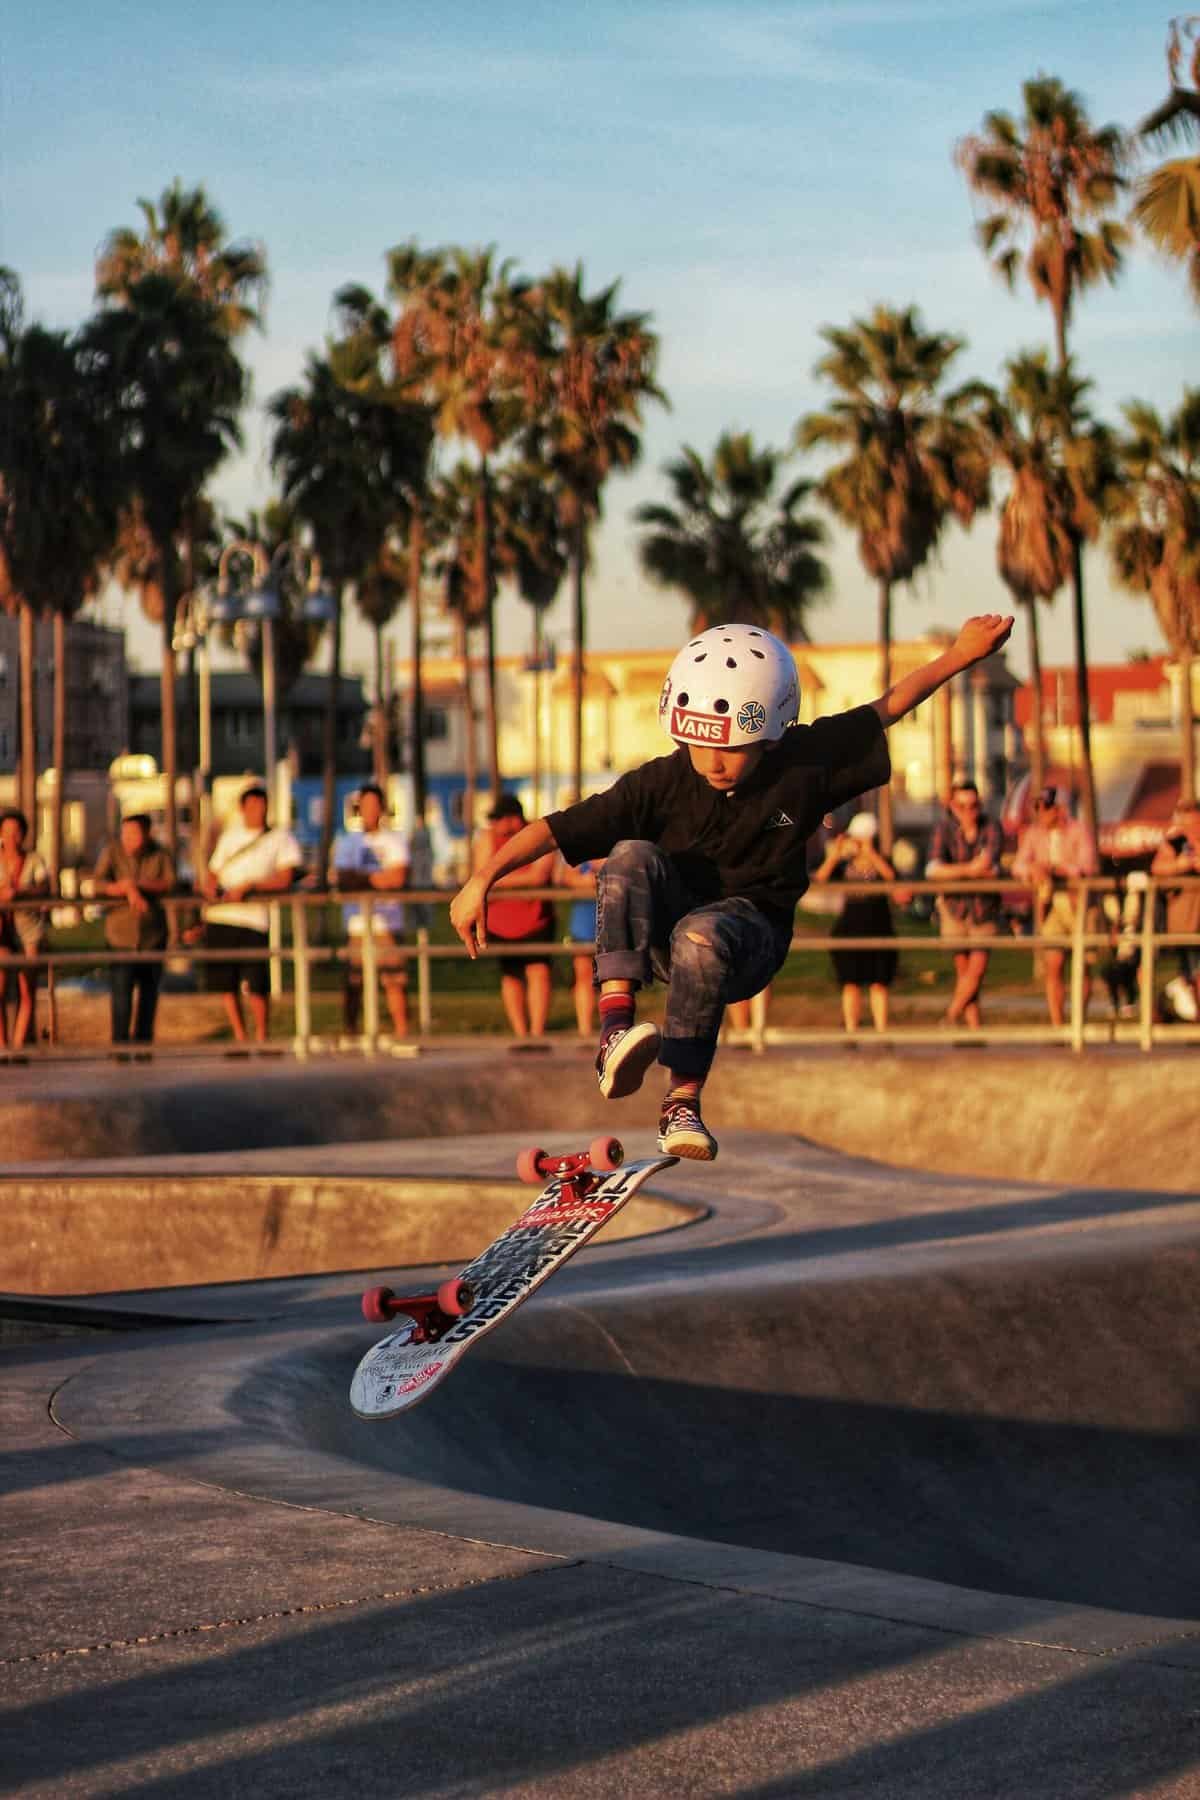
Have you ever wanted to build your own skateboard ramp but didn’t know where to start? Building a DIY skateboard ramp can be an incredibly rewarding project, offering countless hours of fun and practice right in your backyard. The process may seem daunting at first, but with the right guidance and tools, you’ll find it’s easier than you think. Let’s roll into the detailed steps and essential tips for building an awesome DIY skateboard ramp.

Understand Your Ramp’s Purpose
Before jumping into the actual building process, it’s crucial to understand what type of ramp you want to create. Are you looking for a simple, portable kicker ramp, a mid-sized quarter pipe, or perhaps a more complex half-pipe? Each type requires different materials and levels of effort. Defining the purpose of your ramp will help streamline the planning and construction phases.
Consider Your Skill Level
Think about your skating skills and what you want to accomplish with the ramp. Beginners might find more value in a simple box or kicker ramp, whereas seasoned skaters might look for more challenging structures like a quarter or half-pipe.
Determine the Ramp’s Location
The location of your ramp will heavily influence its size and design. Ensure you have enough space and a level surface to build on. Safety is paramount, so keep the ramp away from any obstacles, including trees and fences.
Essential Materials and Tools
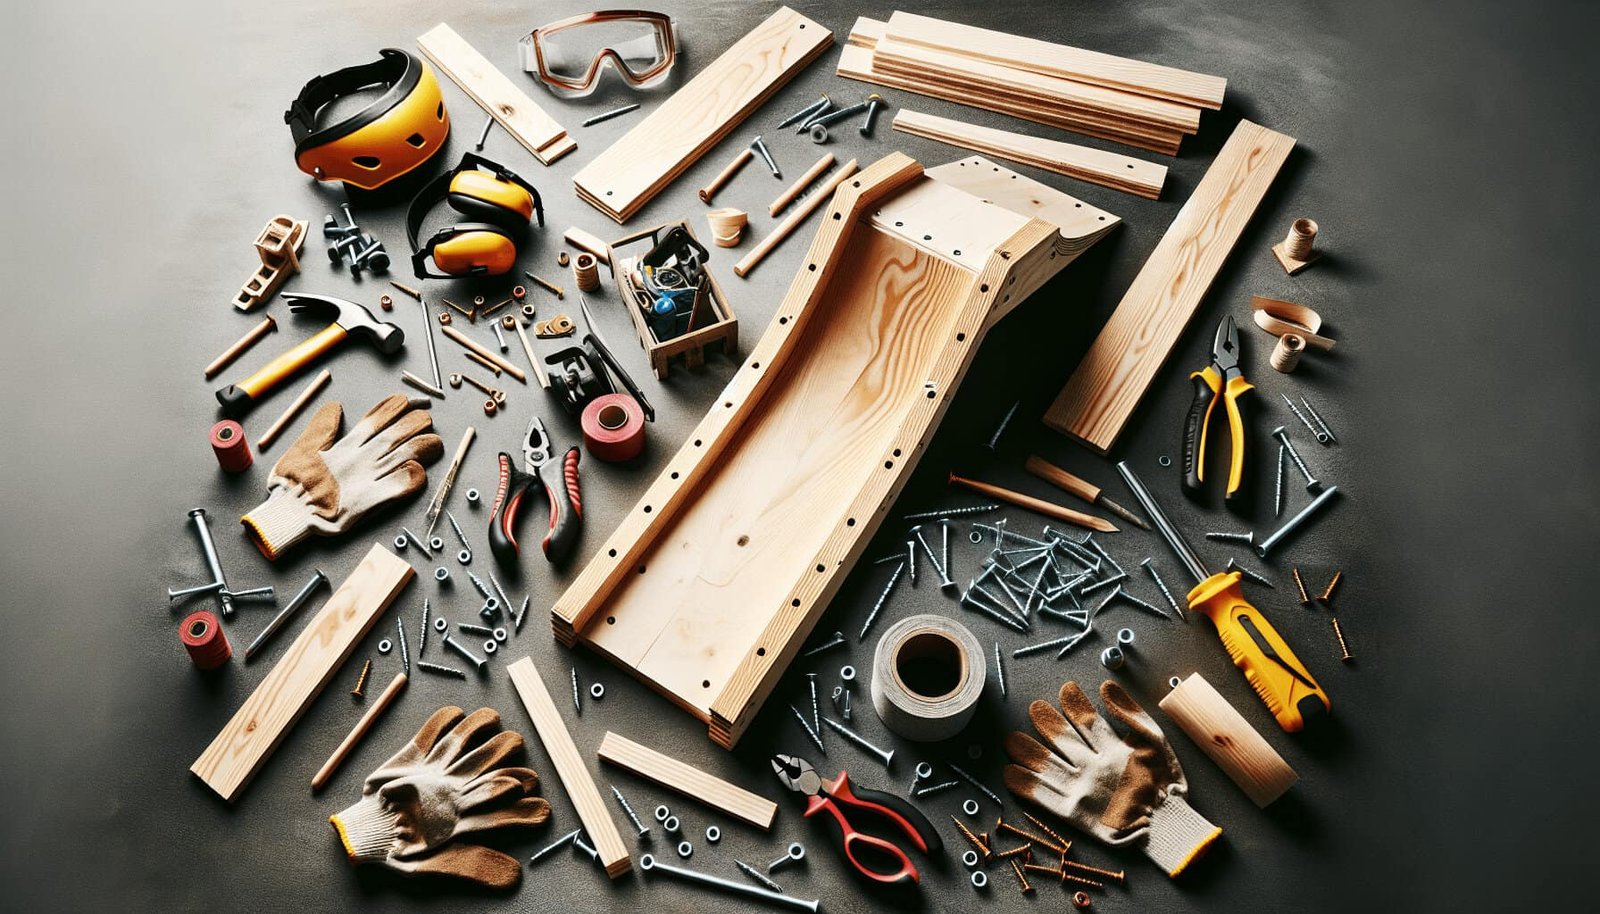
Gathering the right materials and tools is the next vital step. Here’s a list to get you started:
Materials
- Plywood – Usually 3/4″ thick for a strong surface.
- 2×4 Lumber – For the ramp’s framing.
- Skate Lite or Masonite – For the ramp’s smooth surface.
- Screws and Nails – For assembling your ramp.
- Concrete Blocks or Deck Blocks – For stability, if you’re building a semi-permanent structure.
- Metal Coping – For grind edges.
Tools
- Circular Saw or Jigsaw – For cutting wood.
- Drill and Drill Bits – For screwing the wood.
- Tape Measure – For accurate measurements.
- Level – To ensure a flat surface.
- Pencil and Ruler – For marking.
- Protective Gear – Like gloves and safety goggles.
Having these items ready before starting can significantly speed up the building process.
Planning and Design
Designing your ramp is a critical phase that ensures it will achieve your desired outcome while being safe and durable.
Create a Blueprint
Drawing a blueprint of your ramp will allow you to visualize the project and catch any potential issues before you start cutting wood. Note the dimensions, angles, and specific measurements.
Choose the Right Measurements
Each type of ramp has different ideal dimensions:
- Kicker Ramp: Typically 2 feet high, 2 feet wide, and 4 to 5 feet long.
- Quarter Pipe: Usually ranges from 3 to 6 feet high, 4 feet wide, and about 8 feet long.
- Half Pipe: Generally 8 feet high, 8 feet wide, and 16 to 24 feet long.
Safety Considerations
While designing your ramp, always keep safety in mind. Ensure there’s enough space for skaters to approach, ride, and land. Adding a safety railing or guard at the top of the ramp can also prevent accidents.
Building the Ramp
Now that you have a clear plan and all necessary materials, it’s time to start building.
Building a Kicker Ramp
A kicker ramp is a great project for beginners. Follow these steps:
- Cut the Plywood: Using your jigsaw, cut two identical side pieces from the plywood. These will form the ramp’s sides.
- Build the Frame: Use 2×4 lumber to create the frame, ensuring it fits within the side pieces.
- Attach the Plywood: Screw the plywood sides to the frame.
- Add the Surface: Attach either Skate Lite or Masonite to the top of the frame, ensuring a smooth surface.
- Secure the Ramp: Use screws and nails to secure everything firmly. Test its stability before use.
Building a Quarter Pipe
For those looking for more of a challenge, a quarter pipe offers more possibilities.
- Cut the Transition Templates: You will need two identically curved side pieces. Use a large sheet of plywood and a pencil tied to a string to draw a perfect curve.
- Construct the Frame: Attach 2×4 pieces between the two side templates, ensuring they are evenly spaced.
- Secure the Transition Templates: Screw the templates to the frame.
- Lay the Surface: Attach layers of plywood to the curved frame, ensuring each layer is secured tightly.
- Add Coping and Surface: Install the metal coping at the top edge and cover the surface with Skate Lite or Masonite.
- Stabilize: Use concrete blocks or deck blocks to stabilize the structure.
Building a Half Pipe
If you’re ambitious, constructing a half pipe can provide endless fun. Here’s how to do it:
- Create the Templates: Similar to a quarter pipe, but double the length and height needed.
- Build the Frame: Construct two quarter-pipe structures, then connect them with additional 2×4 pieces.
- Secure the Structure: Make sure the frame is perfectly secure and level.
- Lay the Surface: Attach plywood to the entire frame. Make sure the layers are well-secured.
- Add the Coping: Install a metal bar across the top edge for grinding.
- Finish the Surface: Cover the plywood with Skate Lite or Masonite for a smooth, skatable surface.

Tips for Successful Execution
Building a ramp can be complex, but these tips can simplify the process and ensure success:
Measure Twice, Cut Once
Always double-check your measurements before making any cuts. This will save you time and resources in the long run.
Use Quality Materials
Don’t cut corners on materials. Using high-quality wood and screws ensures your ramp is durable and safe.
Follow the Instructions
Stick closely to your blueprint and the guidelines provided here. Deviating might result in an unsafe structure.
Maintenance and Care
Once your ramp is built, maintaining it ensures long-term usability.
Regular Inspections
Inspect your ramp regularly for any loose screws, cracks, or wear and tear on the surface. Address any issues immediately to prevent hazards.
Cleaning
Keep the ramp clean from debris, leaves, and dirt. This ensures a smooth ride and prolongs the life of the ramp.
Weather Protection
If your ramp is outdoors, consider weatherproofing it to guard against rain and sun damage. Use exterior paint or sealant to protect the wood.

Skateboard Ramp Safety
Building the ramp is just the beginning. Skating safely on it is just as important.
Wear Protective Gear
Always wear helmets, knee pads, and elbow pads when skating. This can prevent serious injuries.
Supervision
For younger skaters, adult supervision is crucial, especially when trying new tricks.
Warm-Up
Just like any sport, warming up prevents injuries. Stretch and start with basic tricks before advancing to more complex moves.
Benefits of Building a DIY Skateboard Ramp
Beyond the sheer fun, building your ramp offers various benefits.
Skill Development
Both the building process and skating help develop problem-solving skills, creativity, and physical fitness.
Customization
A DIY ramp allows you to customize it to your preferences and needs, unlike store-bought options.
Cost-Effective
Building your ramp can be far more cost-effective than purchasing a pre-made one, especially if you already own some of the tools.

Concluding Thoughts
Constructing a DIY skateboard ramp might seem like a massive undertaking, but with proper planning, the right tools, and some elbow grease, it’s completely achievable. Whether you’re a beginner or an experienced skater, having your ramp provides endless opportunities for practice and fun. Always remember to prioritize safety, both in the building process and while skating. Good luck, and happy skating!
We hope this article has provided a comprehensive guide on the best ways to build a DIY skateboard ramp, making the process easier and more enjoyable.
