
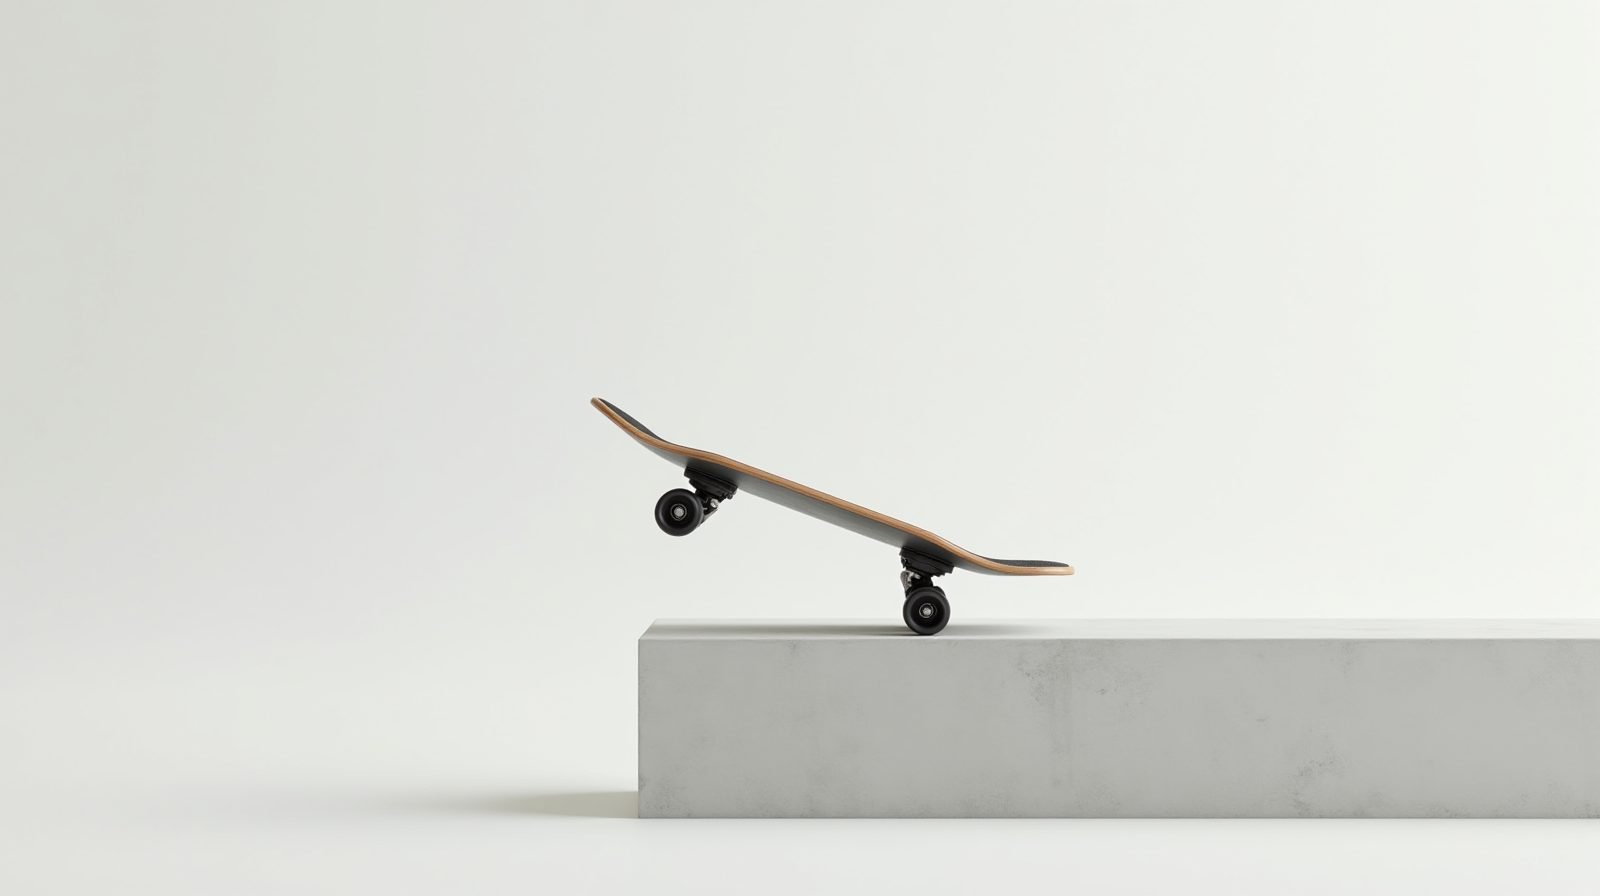
A boardslide is one of the most important slides in street skating: the board slides across a ledge or rail with the tail or nose leading, the board perpendicular to the obstacle. If you can land a 5-0, the boardslide is your next logical trick. If you can land a boardslide, you unlock the backside boardslide, the lipslide, the feeble grind, and the whole slide family that separates intermediate skaters from advanced ones. In my sessions over the last decade of coaching, the boardslide is the trick I see the most skaters stall out on, not because it is hard, but because the setup and the drop-off are where most people give up. This 2026 guide walks you through the exact setup, the frontside and backside variations, the progression, the common mistakes, and the safety gear that keeps you skating when you fall.
Published: September 26, 2026
By Tyler Brooks, Skateboarding Coach
Tyler has coached skateboarders for 10 years and has tested trucks, wheels, and protective gear on real street and park sessions. He leads skill development and safety coverage.
What is a boardslide?
A boardslide is a street slide trick where the skateboard rides across the top of a ledge or rail with the tail or nose leading, the board perpendicular to the obstacle. It is the bridge between a 5-0 grind and a noseslide, and the foundation of the entire slide family.
What a Boardslide Actually Is (and How It Differs From a 5-0)
From coaching, the most common confusion I see is skaters mixing up the boardslide with the 5-0 grind. They look similar from a distance, but the contact points are completely different, and the setup you use for each one is different too.
In a 5-0 grind, the hangers of the trucks contact the ledge or rail. The board stays flat, the trucks do the sliding, and your weight stays centered over the board. The 5-0 is the first grind most skaters land, and it is the natural entry point into street grinding.
In a boardslide, the board itself slides across the top of the obstacle. The tail or nose leads onto the ledge, the board is perpendicular to the ledge (not parallel), and the board rotates to a parallel position as it slides. The board is doing the sliding, not the trucks. That single difference changes your foot placement, your weight, and the way you approach the obstacle.
There are two main variations of the boardslide:
- Frontside boardslide (FS boardslide) — you approach the ledge with your front shoulder facing the ledge, and the tail leads onto the obstacle. This is the easier of the two and the one to learn first.
- Backside boardslide (BS boardslide) — you approach the ledge with your back shoulder facing it, and the tail or nose leads. This is the harder variation because your eyes are not looking directly at the obstacle you are landing on.
Once you have the frontside boardslide clean, the backside is mostly a matter of repeating the same motion with your body rotated 180 degrees. The mechanics do not change; only the visual reference does. For a deeper breakdown of the grind family (5-0, 50-50, boardslide), see the skateboard grinds 2026 guide.
How to Do a Frontside Boardslide: 6-Step Setup
The frontside boardslide is the foundation. From watching hundreds of attempts, the trick breaks down into six discrete moves. Master each one on the ground before you combine them on a ledge, and the trick comes together much faster.
- Approach perpendicular. Line up so your path to the ledge is at roughly 90 degrees to the ledge, not at an angle. An angled approach forces your board to rotate the wrong way and the tail will not seat. The front shoulder faces the ledge; your eyes track the tail, not the board.
- Set your feet for the tail lead. Front foot on the nose bolts, back foot centered over the tail. Weight is slightly back (about 40% front / 60% back). You want the tail low enough to catch the ledge edge but not so low that the board tips.
- Ollie onto the ledge with the tail leading. Pop the tail down onto the top edge of the ledge, just as you would pop a tailslide. The key difference from a tailslide: you are not rolling the tail along the top edge, you are landing the board on top of the ledge with the board perpendicular to it.
- Level the board. As the board lands perpendicular, pull the nose down and push the tail up until the board is flat and parallel to the ledge. This is the moment that separates a boardslide from a tailslide. Your back foot does most of this leveling, with the front foot following.
- Slide across with weight centered. Once the board is parallel, roll your weight to center and push the board across the ledge. Keep your knees bent, your arms out for balance, and your eyes forward (not down at the board). The board is doing the sliding; your job is to stay balanced on top of it.
- Drop off on the landing side. As you reach the end of the ledge, shift your weight to the back foot, push the tail down to release from the ledge, and ollie off to the landing. The drop-off is where most boardslides bail, so practice the release on a low ledge before you go for height.
The whole trick takes under a second once it is clean. The six steps above are the slow-motion version. In my coaching, skaters who drill the leveling (step 4) and the drop-off (step 6) separately get the boardslide in a fraction of the time. For the fall mechanics that protect you during the drop-off, see the how to fall safely on a skateboard guide.
How to Do a Backside Boardslide
The backside boardslide uses the same six moves, but your body is rotated so your back shoulder faces the ledge. The visual challenge is real: you are landing onto a ledge that your eyes are not directly looking at, so your depth perception is worse and your timing is off.
Three adjustments make the backside work:
- Turn your head, not your body. Keep your shoulders square to your path and turn your head to track the tail. If you rotate your whole body to look, you lose the perpendicular approach.
- Widen your approach slightly. A slightly wider line gives you more time to see the ledge and set the tail. A tight line that works for the frontside will feel cramped on the backside.
- Trust the level. Because you cannot see the board as well, you have to trust that the leveling step is working. Practice the frontside until the level is automatic, then the backside level feels the same even if you cannot see it as clearly.
Coaching tip: learn the frontside first, always
From my experience, skaters who try to learn both at the same time stall on both. Get the frontside boardslide clean for two or three sessions, then the backside usually comes within the same week. The mechanics are identical; only the visual reference changes.
Boardslide Setup: Trucks, Bushings, Wheels & Deck
From testing setups on street sessions, the boardslide is one of the tricks that rewards the right hardware. A setup that is too loose will wobble on the ledge; a setup that is too tight will not level smoothly. Here are the specs I recommend for a first boardslide, based on what I have seen work across skater sizes from 130 pounds to over 200.
| Component | Recommended Spec | Why It Matters for a Boardslide |
|---|---|---|
| Deck width | 8.0 to 8.5 in | A wider deck is more stable while the board levels and slides. Too narrow and the board tips on the ledge. |
| Truck axle length | 5.25 to 5.5 in | Longer axles give more wheelbase and stability during the slide. Match the axle to the deck width. |
| Bushings | Medium to medium-firm (92A to 96A) | Firm bushings resist the board rocking on the ledge. Too soft and the board bounces when it levels. |
| Wheels | 52 to 54 mm, 99A to 101A | A slightly harder wheel grips the ledge better and does not catch on the edge during the drop-off. |
| Riser pads | 1/8 in (optional) | Adds a little clearance so the board does not wheel-bite on the ledge edge when you level. |
Specs based on my street-session testing and the deck/truck sizing guidance in the skateboard decks 2026 guide and the skateboard bushings 2026 guide.
Two setup details matter more than any other. First, make sure your trucks are tightened evenly. A truck that is slightly looser on one side will cause the board to rock when it levels, which is the most common boardslide bail I see. Second, check that your wheelbase (the distance between the front and back trucks) leaves a little room for your feet without the wheels rubbing the grip tape when you lean back.
Boardslide Progression: From 5-0 to Clean Boardslides
The boardslide sits in a progression. If you skip the prerequisite tricks, the boardslide will feel impossible because your body has not learned the underlying motions. Here is the progression I use with students, in order:
- 5-0 grind. The first street grind. Teaches you to approach a ledge, set your weight, and roll across on the trucks. If you cannot land a 5-0, work on that before the boardslide.
- 50-50 grind. Both hangers on the ledge. Teaches you to center your weight and keep the board level, which is exactly what the boardslide leveling step requires.
- Tailslide. Rolling the tail along the top edge of a ledge. Teaches you the tail-lead approach and the drop-off release, both of which the boardslide borrows.
- Boardslide (frontside). Now that you can 5-0, 50-50, and tailslide, the boardslide combines the tail-lead approach with a level and a board-across-the-ledge slide.
- Boardslide (backside). The same trick with your body rotated 180 degrees.
- Lipslide and slide family. With the boardslide clean, the lipslide (board parallel, nose or tail leading) and the feeble grind become natural next steps.
Pro tip: drill the drop-off on the ground
Before you ride a real ledge, practice the drop-off motion on flat ground: ollie, level the board, then push the tail down to release. Doing this 20 times in a session makes the release automatic, so you are not thinking about it when you are on the ledge and the timing matters.
7 Common Boardslide Mistakes (and How to Fix Them)
After coaching skaters through their first boardslide, the same seven mistakes come up every time. If one of these sounds familiar, the fix is in the third column.
| Mistake | Why It Happens | The Fix |
|---|---|---|
| Approaching at an angle | Not lining up perpendicular, so the board rotates the wrong way | Place a marker on the ground to set a 90-degree approach line and roll to it repeatedly |
| Weight too far forward | The tail does not catch the ledge and the board bounces off | Shift 60% back on the approach; drill the tail-lead on a low ledge first |
| Not leveling the board | The board stays perpendicular and tips off the ledge | Practice the level motion on flat ground; back foot pulls the nose down, tail up |
| Looking down at the board | Losing balance because your head drops and your center of mass shifts | Pick a spot on the landing and stare at it the whole time you slide |
| Bailing on the drop-off | Hesitating at the end of the ledge, so the board catches and you flip off | Commit to the release: shift back, push the tail down, ollie off. Do not wait |
| Trucks too loose | The board rocks when it levels and the slide wobbles | Tighten both trucks evenly until there is no side-to-side play |
| Trying the backside too early | The frontside is not automatic, so the backside feels impossible | Get the frontside clean for 2 to 3 sessions before switching to backside |
Safety Gear for Boardslides
Boardslides are street tricks, which means you are skating real ledges in real environments with real concrete and real drop-offs. The gear below is not optional for me, and I tell every student the same thing. A boardslide bail is usually a side-fall off the ledge, and the wrist and the shin take the impact first.
- Wrist guards — the single most important piece of gear for a first boardslide. Most bails are side-falls, and the wrist is the first thing to hit. A quality guard with a hard plastic splint spreads the impact across the hand instead of concentrating it on the wrist bone.
- Helmet — required if you are skating ledges higher than knee height, or if you are still learning the drop-off. A CPSC-certified skateboard or multi-sport helmet is the right choice for street skating.
- Knee pads — a boardslide bail often throws you toward the ledge edge, and the knee is what hits. Pads keep you skating when the bail happens.
- Skate shoes with a flat, grippy sole — a cupsole skate shoe with a flat profile keeps your foot locked to the board during the level. For a full breakdown of fit and sole types, see the skateboard shoes 2026 guide.
The full gear list, with sizing and what to buy at each skill level, is in the essential safety gear for skateboarding guide. For the specific fall mechanics that protect your wrist and shoulder during a side-fall, the how to fall safely guide is the one I send to every student before their first street session.
Safety first: wrist guards before the first ledge
From my coaching experience, the skaters who learn boardslides fastest are the ones who wear wrist guards from attempt one. They bail less fearfully, they take more reps, and they get the trick sooner. The gear is not a crutch; it is a rep multiplier.
Frontside vs Backside Boardslide: Side-by-Side Comparison
From watching side-by-side attempts, here is how the two variations actually differ. Most skaters treat the backside as just the frontside reversed, but the differences in approach, weight, and visual reference are significant enough to change how you practice each one.
| Factor | Frontside Boardslide | Backside Boardslide |
|---|---|---|
| Shoulder facing ledge | Front shoulder | Back shoulder |
| Visual reference | Eyes track the ledge directly | Eyes must turn; depth perception is worse |
| Difficulty | Easier, learn first | Harder, learn after frontside is clean |
| Approach line | Tighter line is fine | Widen the line for more visual time |
| Board contact | Tail leads, board perpendicular | Tail leads, board perpendicular (same) |
| Typical first-land time | 1 to 3 sessions after 5-0 and tailslide | 1 to 2 sessions after the frontside is clean |
Times are typical for an intermediate skater who has already landed 5-0, 50-50, and tailslide, based on my coaching log.
Boardslide vs Other Slides: How It Fits the Family
The boardslide is one of several slides that use a ledge as the contact surface. Knowing how it relates to the others helps you choose which one to practice next, and it prevents the common mistake of treating them all as the same trick. For the noseslide breakdown, see the noseslide 2026 guide, and for the tailslide, the tailslide 2026 guide.
- Tailslide — the tail rolls along the top edge of the ledge, board parallel to the ledge. The board is parallel the whole time. The boardslide is what happens when you start the tailslide motion but then level the board perpendicular instead of keeping it rolling.
- Noseslide — the nose leads and rolls along the top edge, board parallel. The opposite contact point of the tailslide. The boardslide and the noseslide share the same approach angle but differ in which end leads and whether the board levels.
- Lipslide — the board slides with the nose or tail leading, but the board is parallel to the ledge the whole time. The boardslide levels the board perpendicular first; the lipslide never does. The two are easy to mix up, and the difference is the leveling step.
- Feeble / layback — board slides with the nose or tail on the ledge but the board is perpendicular, similar to the boardslide. The feeble uses the nose, the layback uses the tail, and the boardslide can use either depending on the variation.
Once you have the boardslide clean, the lipslide and the feeble come quickly because the approach and the drop-off are the same. The only new motion is the contact point. That is why I tell students to get the boardslide solid before jumping to the lipslide, even though the lipslide looks easier. The boardslide builds the leveling skill that the lipslide actually relies on.
What we noticed during our research
Across the slide family, the leveling motion is the shared skill. Skaters who can level the board cleanly on a boardslide pick up the lipslide and the feeble in a single session, because the only new variable is which part of the board contacts the ledge. The leveling is the bottleneck, not the contact point.
Boardslide FAQ: 5 Questions Skaters Ask Me
Is a boardslide harder than a 5-0 or a tailslide?
Yes, but only slightly. The boardslide combines the tail-lead approach of the tailslide with a leveling motion that the 5-0 and 50-50 teach you. If you have all three prerequisites clean, the boardslide is usually landed within a few sessions. The hardest part is the drop-off, not the landing on the ledge.
Can I boardslide a rail, or only a ledge?
The boardslide works best on a ledge with a flat top surface, because the board needs to level and slide across a flat contact. On a narrow rail, the board has less surface to level on and the slide is shorter, so it is harder to stay balanced. If you want to slide a rail, the 5-0 or the 50-50 is the right trick. Save the boardslide for ledges with a wider top, like the top of a box or a stair edge.
What deck width is best for a first boardslide?
A deck in the 8.0 to 8.5 inch range gives you the most stability while the board levels and slides. A narrower deck (7.75 to 8.0) is more responsive for flips but less stable for slides. If your only goal right now is to get the boardslide clean, go slightly wider. You can always switch to a narrower deck later for flip tricks. For the full width and concave breakdown, see the skateboard decks 2026 guide.
Do I need riser pads to boardslide?
Riser pads are optional but helpful. A thin 1/8 inch pad adds a little clearance between the wheels and the deck, which stops the board from wheel-biting on the ledge edge when you level. If you are on a low ledge and the board is not wheel-biting, you can skip the risers. If you feel the wheels catching when you lean back, add a thin pad. For the full sizing and fit guide, see the skateboard riser pads 2026 guide.
How long should it take to land a boardslide?
For an intermediate skater who has already landed 5-0, 50-50, and tailslide, expect the frontside boardslide within 1 to 3 sessions of focused practice, and the backside within 1 to 2 sessions after the frontside is clean. If you are further out than that, work on the leveling motion on flat ground and make sure your trucks are tightened evenly. The trick is not that hard; the setup and the drop-off are where the time goes.
Bottom line
The boardslide is the bridge from basic street grinds to the full slide family. Learn the frontside first, nail the leveling and the drop-off, tighten your trucks, and wear wrist guards. Do those four things and the trick comes. From my ten years of coaching, the skaters who get it fastest are the ones who drill the drop-off on flat ground before they ever hit a ledge.
See Also
- Skateboard Grinds 2026: 5-0, 50-50 & Boardslide — the grind family this slide builds from.
- Noseslide 2026: How-To Guide, Setup & Step-by-Step — the opposite contact point in the slide family.
- Essential Safety Gear for Skateboarding — the gear that keeps you skating when the boardslide goes wrong.
Sources
Claims and specs in this guide are grounded in the following references, verified live in September 2026:
- Wikipedia: Skateboard trick — reference definitions for the street trick taxonomy including slides and grinds.
- Wikipedia: Skateboard — deck, truck, and component construction details used in the setup section.
- Indy Trucks — truck axle and kingpin specifications referenced in the boardslide setup table.
Published: September 26, 2026. This is an informational guide; no affiliate links or sponsored content. Skate at your own risk and wear appropriate protective gear.
#Boardslide #Skateboarding #StreetSkating #SlideTricks #SkateTricks #HowToSkate #FrontsideBoardslide #BacksideBoardslide #LedgeTricks #SkateboardingGuide #LearnToSkate #SkateTricks2026 #BoardslideTutorial #SkateSkills #SkateboardingTips
This guide is part of the ska8 daily series. Explore more below.