
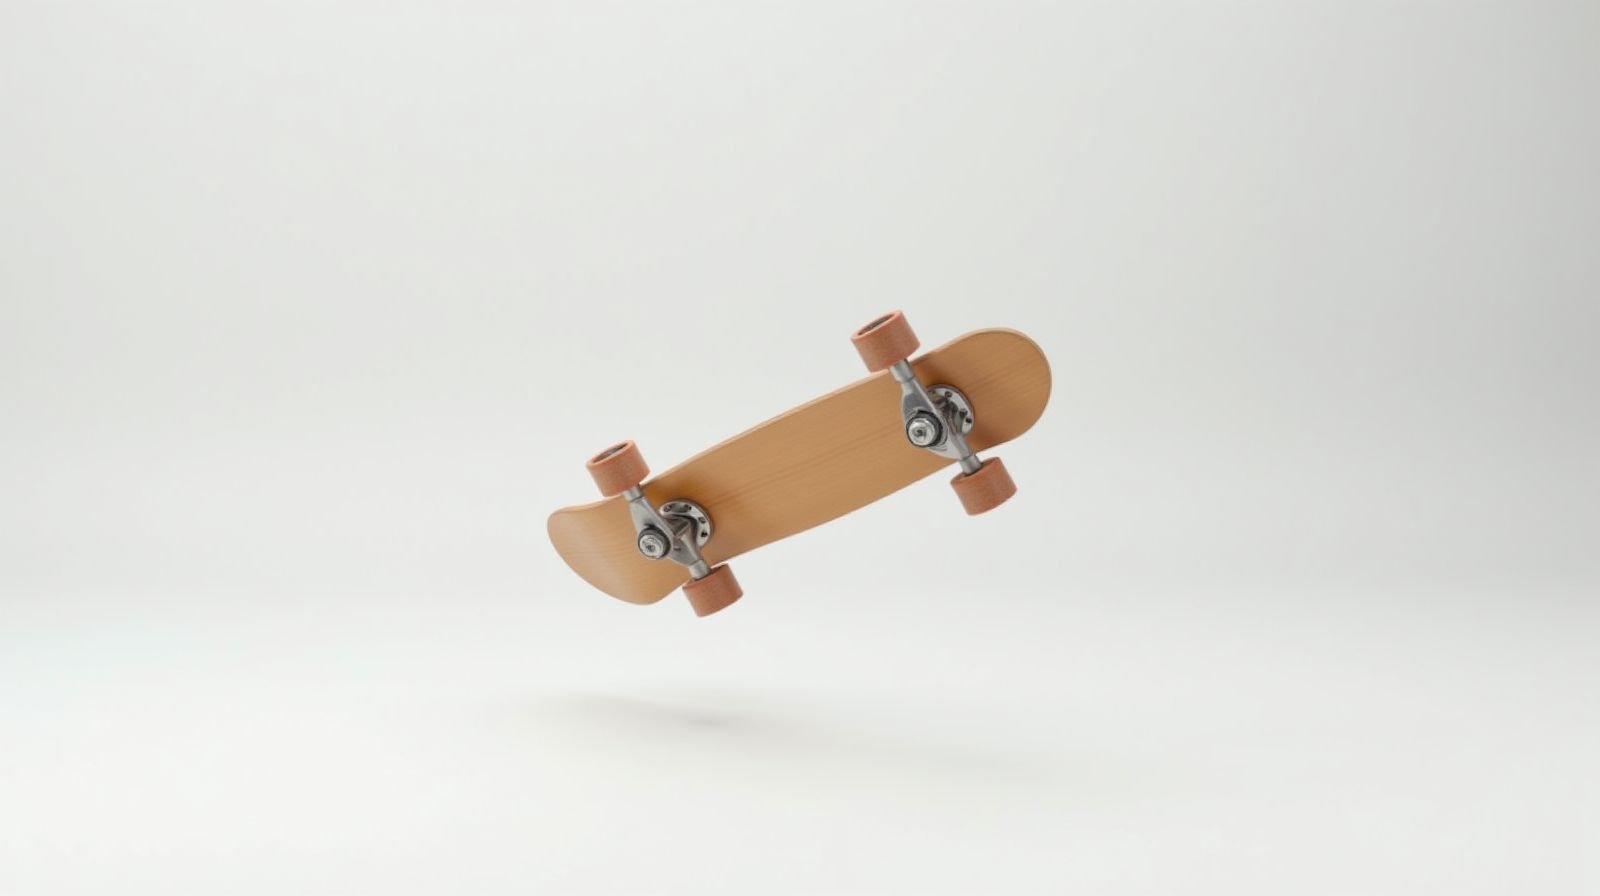
The shove-it is the first true spin trick in skateboarding, and for most skaters it is the bridge between flatground basics and the flip-trick world. Pop the tail, rotate the board 180 degrees under your feet, and land it clean, and you have just unlocked a whole family of tricks: the nollie shove-it, the switch variations, and the foundation for every pop-spin that follows. If you can ollie but have never landed a shove-it, you are closer than you think. In this guide we break the pop, the front-foot push, the rotation, and the landing into a sequence you can practice this week. We also compare the shove-it to the 360 spin and the 180 so you understand exactly what is rotating, walk through the most common mistakes with specific fixes, and hand you a 30-minute flatground routine that gets you to a solid pop shove-it faster than random attempts in the park.
By Mia Torres, Skate Gear Reviewer
Mia has spent 7 years testing skateboards and protective gear, covering everything from beginner setups to advanced street rigs.
Published: October 31, 2026 · Skill Development
What Is a Shove-It?
A shove-it — also called a popsi, pop shove-it, or shoofly — is a trick where the board rotates a full 180 degrees around its vertical axis while your feet stay in roughly the same position on the deck. Unlike a flip trick, the board does not flip end over end. It spins sideways, the way a record slides around on a turntable, and you land back on the same board facing the same direction. The board is the only thing moving; your body stays put.
There are two versions of the trick. The pop shove-it (what almost everyone means when they say “shove-it”) pops the board off the ground and spins it in the air. The non-popped shove-it, sometimes called a rolling shove-it or a shoofly, rotates the board while it is still rolling on the ground using your front foot to push the tail over. The pop version is the standard trick to learn first, and it is what the rest of this guide covers. After 7 years of riding street and watching hundreds of flatground sessions, I can tell you the pop shove-it is the single highest-leverage trick a beginner can add after the ollie.
Why the shove-it matters
It is the first trick that teaches you to separate your body from your board. In an ollie, everything moves together. In a shove-it, your body stays still while the board travels underneath you. That one skill — independent board control — is the prerequisite for 360 spins, hardflips, and every trick that requires the board to move on its own.
Shove-It vs. 360 Spin vs. 180: What Actually Rotates
A lot of the confusion around the shove-it comes from mixing it up with the 360 spin or the 180. The difference is exactly what rotates, and once you internalize it, the trick becomes much easier to diagnose when you mess up.
| Trick | Board rotation | Rider rotation | Landing direction |
|---|---|---|---|
| Pop shove-it | 180° | ~0° (body stays still) | Same (regular or goofy) |
| 360 spin | 360° | 360° (with the board) | Same direction |
| 180 | 180° | 180° (with the board) | Fakie (facing back) |
| Ollie | 0° | 0° | Same direction |
Comparison based on standard street-skateboarding terminology; see Skateboarder magazine trick references.
Pro tip: the shoulder test
The fastest way to tell if you landed a shove-it or accidentally did a 180 is to watch your shoulders. If your shoulders turn to face backward when you come down, you did a 180. If your shoulders never move and only the board spun, that is a clean shove-it. Film yourself from the side — it is the clearest feedback you will get.
Gear Setup Before You Start
You do not need expensive gear to land a shove-it, but a few setup choices make the trick dramatically easier to learn. From testing dozens of complete boards over the years, these are the variables that actually matter for flatground spin tricks:
- Deck pop. A standard 7.75″ to 8.0″ popsicle deck in 7-ply Canadian maple responds best to the pop. If your deck is a soft, wide cruiser or a low-pop longboard, the shove-it will feel dead and the rotation will stall out half-way.
- Trucks. Mid-size trucks (140–150mm baseplate, 8.125″–9.0″ hanger) with a fresh, properly torqued kingpin keep the board tracking straight through the rotation. If your trucks are loose or binding, the board wobbles and the spin drifts off axis. Our full guide to skateboard trucks in 2026 covers baseplate width and axle length in detail.
- Wheels. For flatground practice, 50–54mm wheels at 99a–101a durometer give you enough grip to hold the landing and enough slide to recover a sloppy rotation. Softer cruiser wheels will catch on the push and kill the spin.
- Bearings. Clean, freshly lubed bearings matter more than any ABEC number. A dry, gritty bearing makes the board feel unpredictable the moment it leaves the ground. A full walkthrough is in our bearing cleaning guide.
Warning: check your kingpin torque first
Before a shove-it session, spin each truck by hand. The hanger should rotate freely with a light drag at the end of the turn. Too tight and the pop feels dead; too loose and the board shimmies while the board is airborne. One quarter-turn of the kingpin nut is usually all the adjustment a session needs.
How to Do a Shove-It, Step by Step
Here is the full sequence, broken into the six moments that actually decide whether the trick lands. Practice each step in isolation before chaining them together — this is the same progression I use with first-year riders, and it works.
- Set your stance. Stand in your normal regular or goofy stance, same as an ollie: back foot across the bolts on the tail, front foot centered slightly ahead of the front trucks, knees bent, weight even. Do not shift your weight forward or back — balanced is the whole game.
- Pop the tail. Snap the tail down with your back foot exactly like the first phase of an ollie. You want a small pop — just enough to lift the board 6–12 inches and release the trucks from the ground. This is not an ollie-height jump; a huge pop makes the landing a moving target.
- Push the nose sideways. As the board leaves the ground, your front foot (the foot over the nose area) pushes the board sideways, toward your front shoulder. Think of sliding your front foot forward and out in a smooth arc, not kicking the tail. This sideways push is what starts the 180-degree rotation.
- Let the board spin under you. Your feet and body stay nearly still. Do not chase the board with your legs and do not turn your torso. The board rotates 180 degrees beneath you; your job is to stay balanced and watch the nose come around.
- Drop both feet together. As the nose finishes its rotation and the board levels out, drop both feet down onto the board at the same time, back foot on the tail, front foot center. Land soft — bent knees absorb the impact and keep you balanced.
- Roll away. Push off smoothly. If the board lands flat and your feet are set, you should be able to keep rolling in the same direction without stopping. That rolling-away is the real test of a clean landing.
The 80/20 of the trick
Roughly 80% of a successful shove-it is the front-foot push and 20% is the pop. Most beginners over-focus on the tail pop and under-do the sideways push, which is why their boards stall at 90 degrees. If your rotation is short, the push is almost always the fix — not a bigger pop.
The Front-Foot Push: Shove-It Pop Mechanics
The front-foot push is the part of the trick that feels weird for the first week, so it deserves its own section. The motion is best described as a scoop: your front foot, which was resting flat over the nose area, rolls onto its outside edge and sweeps forward and sideways in a short arc, dragging the nose of the board around with it. The push starts the instant the tail pops and finishes as the board passes 90 degrees.
Three details separate a clean push from a sloppy one. First, the push is sideways, not forward — if you push straight forward you will just launch the board away from you. Second, keep the push short — a 6-inch arc of front-foot travel is plenty; a long sweeping kick adds power but destroys control. Third, your front heel stays engaged through the push; if your front foot goes flat and drags, the grip tape catches and the spin stalls. In my sessions I coach riders to think “scoop the nose toward your front shoulder” rather than “push the board,” because the shoulder reference keeps the rotation on axis.
One common confusion: the shove-it push is not the same motion as the kickflip flick. A kickflip flick is a quick inward roll of the front ankle at the very top of the ollie. The shove-it push is a longer, smoother sideways sweep that begins as the board leaves the ground. If you are an already learning kickflips, you may find the shove-it easier, because you already know how to control the front foot in the air — just trade the quick flick for the smooth sweep.
Common Shove-It Mistakes and Fixes
After watching thousands of attempts, the same five mistakes show up in almost everyone. If your shove-it is not landing, one of these rows is your problem:
| Mistake | What it looks like | The fix |
|---|---|---|
| Short rotation | Board stalls at 90–135°; you land on the side of the deck | Longer, smoother front-foot push; start it the instant the tail pops |
| Body turns with the board | You land facing fakie; it is actually a 180 | Keep shoulders square to the ground; think “body is a statue” |
| Feet chase the board | Legs spin with the board; wobbly, unbalanced landing | Drop both feet at once as the board levels; land with bent knees |
| Over-popping | Board is high and far; landing is a jump, not a catch | Smaller tail pop (6–12 inches); the push does the work |
| Looking down | Head drops to the board; balance collapses on landing | Eyes on a fixed point ahead; the board returns to where you expect |
Diagnosis patterns observed across flatground coaching sessions; film from the side to identify which row applies.
How to Land a Shove-It Cleanly
The landing is where most near-misses happen. As the board finishes its 180-degree rotation and levels out, drop both feet down onto the deck at the same time — back foot over the tail, front foot centered over the front trucks. The two most common landing errors are landing too late (the board has already started rolling away from you) and landing too early (the board is still rotating and you catch it sideways).
To time it, pick a fixed point about ten feet ahead and keep your eyes on it for the entire trick. The moment that point is still in your view and the nose is sweeping back around, that is your cue to drop your feet. Land with bent knees and your weight centered over the middle of the deck, and you should be able to keep rolling without a stop. If you find yourself dead-stopping on every attempt, it is almost always because your weight is sitting too far back on the tail as you come down — shift a touch forward and the roll-away comes back.
Insight: the roll-away is the real test
A shove-it you have to stop to land is not a landed shove-it. The trick is only “got” when you can pop it at cruising speed and keep rolling in the same direction without braking. That roll-away forces a flat board, even feet, and centered balance — everything a clean landing requires.
Shove-It Variations: Where to Go Next
Once the regular pop shove-it is solid, the family opens up fast. Each variation reuses the same core push and just changes your starting stance or landing direction. Work them in this order — each one is a small, learnable step from the last.
| Variation | Setup | Difficulty |
|---|---|---|
| Regular pop shove-it | Standard ollie stance; push nose sideways | Beginner |
| Shove-it to fakie | Land the spin, then roll away facing back | Beginner |
| Nollie shove-it | Front foot near nose; pop from the front of the board | Intermediate |
| Switch shove-it | Ride and push from your switch stance | Intermediate |
| Fakie shove-it | Roll in fakie, then pop the spin | Intermediate |
| Shove-it onto a ledge | Pop the rotation over a small gap or onto a surface | Advanced |
Progression order reflects typical flatground-to-street skill development.
How Long Does It Take to Learn a Shove-It?
If your ollie is solid, most riders land their first pop shove-it within two to five focused flatground sessions — roughly one to three weeks if you practice a few sessions per week. If your ollie is still shaky, expect a little longer, because the shove-it borrows the same tail pop. The trick is more about consistent movement than raw strength, so short, focused sessions beat one long, tired one every time.
What I typically see goes like this: the first session is mostly “oh, it spins, but it does not come back.” By the second or third session, riders start landing them while rolling slowly. Within a handful of sessions, the trick shows up at normal cruising speed. If you have been at it for more than a month and still cannot land it, the problem is almost always one of the five mistakes in the table above, not ability. Film yourself from the side, compare it to the diagnosis rows, and fix one thing at a time.
A 30-Minute Shove-It Practice Routine
Use this routine for each flatground session. It is structured to build the push in isolation first, then chain it into the full trick, then test it at speed — the same order the skill actually develops in.
- Minutes 0–5 — Warm-up. Basic rolling, a few easy ollies to find your pop, and a light stretch. Never jump into spin tricks on cold legs.
- Minutes 5–15 — Stationary pop and push. From a standstill, practice the tail pop and the sideways front-foot push without rolling. Focus only on getting the board to a clean 180 and back. Do sets of ten with short rests between them.
- Minutes 15–25 — Slow-rolling shove-its. Roll at a walking pace and land shove-its one at a time. Speed is the enemy here; a clean slow landing teaches you more than ten sloppy fast ones.
- Minutes 25–30 — Cruising-speed attempts. Pop shove-its at normal speed and focus on the roll-away. End the session when your form starts to break down, not when the timer does.
Safety first
Wear a helmet, wrist guards, and knee pads for every learning session, and practice on smooth, dry, debris-free flat ground away from traffic. Spin tricks are low-consequence when you are falling on a clean surface — and that is exactly when you will fall the most. Our guide to essential safety gear covers what to buy and how to fit it.
Frequently Asked Questions
What is a shove-it in skateboarding?
A shove-it is a trick where the board rotates 180 degrees around its vertical axis while your feet stay in roughly the same position. In the pop version (a popsi) the board is popped off the ground and spun in the air; your body stays still while the board travels underneath you.
Is a shove-it hard to learn?
No. It is one of the most beginner-friendly spin tricks and usually lands within a handful of flatground sessions if your ollie is solid. The main challenge is the sideways front-foot push, which feels unusual for the first week or so.
What is the difference between a shove-it and a 360 spin?
In a shove-it only the board rotates (180 degrees) and your body stays still. In a 360 spin you and the board both rotate a full 360 degrees together. The shoulder test is the easiest way to tell them apart after landing.
Do I need to ollie before learning a shove-it?
Yes, a reliable ollie is the prerequisite. The shove-it uses the same tail pop as the ollie, so a shaky ollie will make the shove-it much harder. If your ollie is inconsistent, spend a couple of sessions tightening it up first — see our ollie step-by-step guide.
What does “popsi” mean?
“Popsi” is short for pop shove-it — the standard airborne version of the trick, where the board is popped off the ground before it spins. It is the version this guide teaches and the one most people mean when they say “shove-it.”
See Also
- How to Ollie on a Skateboard 2026: Step-by-Step Guide — the prerequisite trick every pop-spin is built on.
- Kickflip 2026: Step-by-Step Guide, Foot Placement & Timing — the natural next trick once the shove-it is clean.
- How to Do a Manual on a Skateboard 2026 — the balance trick that sharpens the weight control a clean landing needs.
Sources
- Skateboarder Magazine — trick references and street-skateboarding terminology: skateboarder.com
- U.S. Consumer Product Safety Commission — helmet and protective-gear safety guidance: cpsc.gov
- Baker Skateboards — deck construction and pop specifications: bakerskateboards.com
- Indy Trucks — truck geometry and baseplate sizing: indytrucks.com
#ShoveIt #PopShoveIt #Popsi #Skateboarding #SkateTricks #LearnToSkate #Skateboard #Flatground #SkateLife #SkateboardTricks #StreetSkating #Skateboarders #SkateTricks2026 #HowToSkate #SkateboardingTips
This guide is part of the ska8 daily series. Explore more below.