
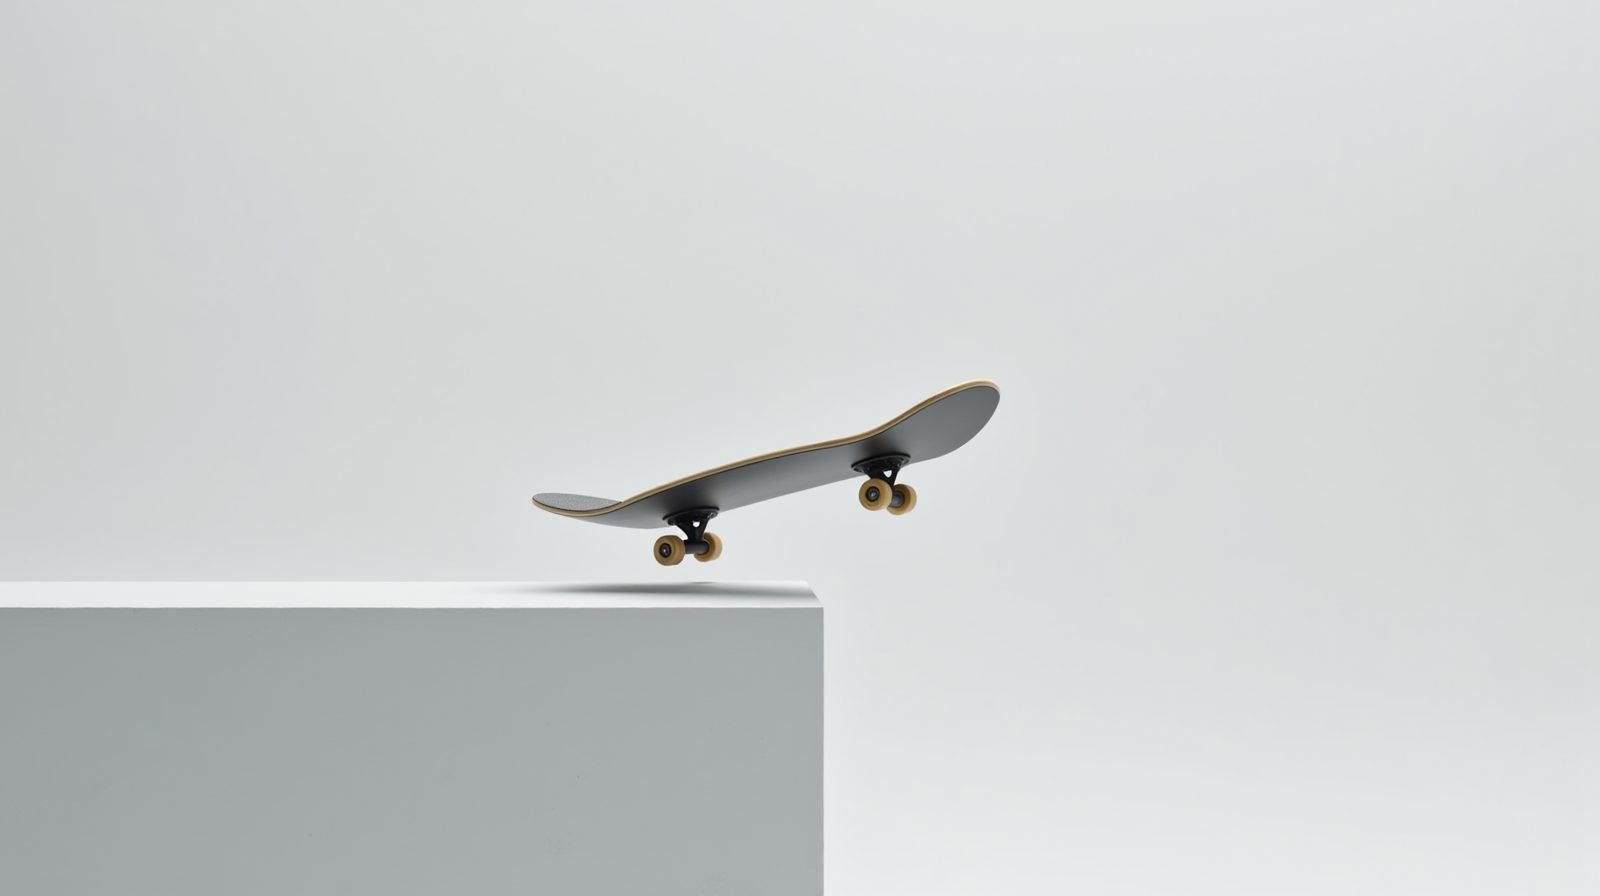
Ollieing a gap is one of the most satisfying moments in street skateboarding: your board leaves the ledge, hangs over the void for a split second, and you stick the landing on the far side with your feet planted. But gap skating is also the spot where a huge number of skaters stall out. The trick itself is just an ollie. What changes is the commitment, the timing, and the fact that there is nothing soft to land on if you come up short or late. In this guide, we break down exactly how to ollie a gap in 2026, from reading the gap and dialing in your board to timing your pop, controlling your flight, and sticking the landing, plus the specific drills that build the confidence to actually commit.
By Tyler Brooks, Skateboarding Coach
Tyler has coached skateboarders for 10 years and has tested trucks, wheels, and protective gear on real street and park sessions.
Published: November 17, 2026
What Is Gap Skating, and Why Learn It?
Gap skating is the discipline of jumping between two raised or separated surfaces, a ledge to a ledge, a step down to flat ground, a rail gap, or a broken sidewalk where the concrete has cracked and sunk. It is one of the oldest and most fundamental forms of street skating, and it sits at the heart of how skaters move through real city terrain rather than a purpose-built park. If you can ollie a gap cleanly, you can ride almost any street surface with confidence, because a gap is simply the most basic version of every feature you will ever hit.
From coaching, the reason gap skating matters more than most skaters realize is that it trains three skills at once. First, it teaches you to judge distance under pressure, because you have to decide the exact moment to pop. Second, it sharpens your pop and air control, because a gap demands a clean, vertical ollie with no wasted horizontal motion. Third, it builds your landing mechanics, because you are committing to a target you can see. Skaters who can gap well tend to land every other trick more consistently, because they have already internalized the commitment that every aerial requires. That is why we treat gap skating as a core skill rather than a party trick.
Can You Ollie a Gap? Sizing Gaps You Can Clear
Before you ever attempt a gap, learn to size it. A useful rule of thumb that we drill with every student is that a comfortable gap for your current skill level should be no wider than roughly the length of your board plus a small margin. If the gap is noticeably wider than your deck, you need more speed, a later pop, or both. The table below maps typical gap widths to the skill level and technique they demand, based on what we have seen land consistently on an average 8.0 to 8.25 inch street deck.
| Gap Width | Skill Level | Technique Cues | Typical Spot |
|---|---|---|---|
| Up to 4 in / 10 cm | Beginner | Basic clean ollie, steady approach | Tile gap, small curb gap |
| 4 to 6 in / 10 to 15 cm | Intermediate | Full pop with forward drive | Sidewalk expansion joint, drainage gap |
| 6 to 8 in / 15 to 20 cm | Advanced | Max vertical pop, late timing | Ledge to ledge, rail gap |
| 8 in+ / 20 cm+ | Expert | Speed plus late pop, full air control | Park gaps, large ledges, broken pavement |
Two factors change what you can clear more than raw gap width. The first is height difference. A gap where the far side is lower is easier than one where it is level or higher, because you have more airtime and a bigger target. The second is the edge quality of the takeoff. A clean, vertical lip gives you a consistent pop point, while a rounded or chipped lip makes timing your ollie much harder. Always scout both before you commit, and remember that a gap you can land at a slow walk is a different animal from one you have to hit at speed.
Gap Skating Setup: Board, Trucks and Grip
Your setup should favor a responsive, predictable board. For most gap skating we recommend a standard street deck between 8.0 and 8.25 inches wide, which gives you enough platform to stick landings while staying light enough to pop quickly. Wider decks are more stable for larger, slower gaps, while narrower boards are faster for technical, tight gaps. Wheels are a judgment call. Slightly smaller wheels around 50 to 52 millimeters roll faster over the flat approach and snap the board up quicker, which helps with tight gaps, while 54 to 56 millimeter wheels smooth out rougher concrete. If you are unsure, our full skateboard wheels guide walks through size and durometer for every riding style.
Truck tension matters more for gap skating than for most tricks. You want your kingpins set so the board pops quickly and snaps back to flat under you, but not so tight that the ollie feels dead. A slightly looser setup gives you more pop and more airtime over the gap. If your trucks feel sluggish when you pop, check the kingpin tension in our truck adjustment guide. And make sure your grip tape is in good shape. Worn or peeling tape is a real liability when you are committing to a gap, because you need your feet locked to the board through the whole trick. Fresh, high-grain grip tape is one of the cheapest reliability upgrades you can make, and our grip tape guide covers grain, size and fit.
Setup quick-check
Responsive trucks set for fast pop, 8.0 to 8.25 inch deck, wheels matched to your surface, fresh grip tape, and bearings that spin clean. Nothing exotic. A well-maintained board gaps better than an over-built one.
How to Ollie a Gap: Step-by-Step
Treat the ollie over a gap exactly like any other ollie, then add the gap-specific timing. Here is the full sequence we teach, in order.
Step 1: Approach with a steady line.
Roll toward the gap in a straight line at a comfortable, controlled speed. Do not start fast. You want a speed where you can still stop or bail cleanly if you misjudge. A slow, smooth approach beats a fast, panicked one every time.
Step 2: Set your stance.
Stand in your normal regular or goofy stance, knees soft, weight centered over the board. Your back foot sits on the tail, your front foot flat across the middle of the deck, ready to slide up. Keep your shoulders square to the board, not turned.
Step 3: Find the pop point.
The single most important moment is knowing exactly where to pop. For a gap, you want to pop slightly before the edge, not on the edge. If you pop too early, you roll into the gap. If you pop too late, you clip the lip and lose height. A good reference is to pop when the edge of the gap is roughly under your back foot.
Step 4: Pop and slide together.
Snap the tail to the ground and, in the same motion, drag your front foot up the deck to level the board. Keep both actions tight and simultaneous. The cleaner and more vertical your ollie, the more airtime you have over the gap.
Step 5: Control your flight.
Once you are over the gap, bring your feet back under you and keep the board flat. Do not chase it with your hands. Look at the landing, not the gap. Your eyes should be on the far surface the whole time, because your body naturally follows your gaze.
Step 6: Land with bent knees.
As the board meets the far surface, absorb the impact with soft knees and a slightly crouched position. Land with your feet in the same stance, weight centered, and roll away smoothly. Hitting it with locked legs is the fastest way to wobble out or slip off.
Approach, Pop and Air Control
The difference between a skater who gaps confidently and one who bails is almost always in the approach and the pop, not the landing. A smooth, committed approach at a consistent speed gives your brain a predictable rhythm to time the pop against. Hesitation is the enemy. If you slow down as you reach the gap, your timing collapses and you will almost always come up short. Commit to a steady speed and your pop point becomes repeatable.
On the pop itself, focus on making the ollie as vertical as possible. Every bit of height you gain is airtime over the gap, and airtime is margin for error. A skater who pops high and straight can land a gap they barely have the speed for, because the board hangs in the air long enough to clear it. Conversely, a skater who pops with too much forward motion or too little height will roll into the gap even at speed. If your gaps keep feeling too big, the fix is usually a more vertical pop, not a faster approach. This is the same principle behind a clean basic ollie, just applied over a void.
Air control is where gap skating separates from a regular ollie. Over a gap you have a visible target, so use it. Keep your front eye on the landing surface and let your body rotate naturally to follow it. Resist the urge to look down at the gap or at your board. Looking down drops your center of mass and shortens your flight, which is exactly what you do not want. Skaters who learn to look at the landing report that gaps suddenly feel smaller and more forgiving, because their body is already oriented for the spot they are trying to hit.
Sticking the Landing
Landing a gap is about absorption and balance, not force. You want to meet the far surface with soft knees and a low center of gravity, so the board and your body compress together and the impact is absorbed rather than jarred up through your legs. Think of it as catching your own weight. The more your knees bend on contact, the more stable you will be rolling away.
Two landing errors cause most gap bails. The first is landing too far back on the board, which pops your tail up and can send you over the back. The second is landing with your feet too close together or too narrow, which makes the board twitch under you. Aim to land with your feet in a solid, shoulder-width stance and your weight centered, and the board will roll away straight. If you are coming down from a higher or longer gap, add a little more knee bend and stay low for a couple of seconds before you stand up and ride. For the follow-through, a smooth roll away or a clean stop both work, as long as your balance is solid on impact.
Common Mistakes When Ollieing Gaps
Most gap bails come from a handful of repeatable errors. Fix these and your success rate will jump quickly.
Popping too early. You roll into the gap instead of over it. Fix: move your pop point later, so the edge is under your back foot when you snap the tail.
Popping too late. You clip the lip and lose height and direction. Fix: move your pop point a touch earlier and commit to the speed.
Looking at the gap. Your gaze drops, your center of mass drops, and your flight shortens. Fix: keep your eyes on the landing surface the whole time.
Landing with locked legs. The impact jars your body and you wobble or slip off. Fix: absorb with soft knees and stay low on contact.
Approaching too fast. You run out of airtime before the board clears the gap. Fix: slow your approach and make a more vertical pop for more height.
Chasing the board with your hands. It breaks your balance and teaches bad habits. Fix: trust the trick and keep your arms out for balance, not for grabbing.
Progression: Drills and Practice Spots
Gap skating is a skill you build in stages, not a trick you learn in one session. Start on the smallest gap you can find, a tile gap or a narrow crack, and land it fifty times in a row before you move up. Repetition at a size you can land easily is what makes the timing automatic. Once a gap feels easy, move to the next size up, and repeat. This ladder approach is the same progression logic behind every trick on the board, and it is the difference between building real skill and just getting lucky.
For practice, look for low, clean gaps before you attempt anything high or wide. A sidewalk expansion joint, a drainage gap, or the small gap between a curb and the road are ideal first targets because they are low to the ground and easy to bail from. As you get comfortable, progress to ledge-to-ledge gaps and rail gaps, which are higher and demand more air control. The key is always to stay one size below your limit while you are practicing, so that you are landing with confidence rather than scraping by. Our flip tricks learning order guide uses the same staged approach, and it transfers directly to how you should scale up your gap skating.
A simple gap ladder
Level 1: tile and crack gaps, land 50 clean. Level 2: sidewalk joints, land 30. Level 3: low ledge to ledge. Level 4: rail and drainage gaps. Level 5: larger park gaps. Only move up when the current level feels boring, not just possible.
Staying Safe While Gap Skating
Gap skating is low-impact compared to vert or downhill, but the commitment means you will bail, and how you bail is what decides whether it is a stumble or a real injury. The single best piece of safety advice is to wear protection that matches the risk. Wrist guards are non-negotiable for beginners, because the first instinct when you bail a gap is to throw a hand out, and a broken wrist ends your skating for weeks. Good wrist guards are cheap insurance, and our sizing guide covers fit in detail.
Add knee and elbow pads when you are practicing new gaps, especially higher ones, because you are more likely to slide on your way down. A full set of skate pads keeps scrapes from becoming lacerations and lets you keep practicing the same day. And build the habit of knowing how to fall. Tucking, rolling with the impact, and protecting your head are skills that save you from serious injury every time, and our how to fall safely guide breaks down each one. If you are gap skating near a road or a busy area, the same street-safety rules apply, and our street safety guide covers visibility and traffic awareness.
FAQ: Ollieing Gaps
How wide a gap can a beginner ollie?
Start with gaps up to about 4 inches, roughly the width of your board or a little less. A beginner who can land a clean ollie at a slow walk should be able to clear a small tile or curb gap. Build up slowly and only move to wider gaps once the current size feels easy.
Do I need to be going fast to ollie a gap?
No, speed is not the main factor. A clean, vertical pop gives you more airtime than a fast approach gives you speed. In fact, approaching too fast is one of the most common causes of gap bails, because you run out of height before the board clears. A steady, controlled speed with a strong pop is the winning combination.
What if I keep clipping the edge of the gap?
That is almost always a pop-point problem. If you are clipping the lip, you are popping too late. Move your pop point a touch earlier so the tail snaps before your back foot reaches the edge. If you are rolling into the gap, you are popping too early. Small adjustments to where you pop fix both.
Can I ollie a gap higher than me?
Yes, but it takes real air control and usually a fast approach. Gaps that are significantly wider or higher than your comfort zone should be a later stage of your progression, not a starting point. The goal is to land clean, not to impress, and jumping well beyond your level is how most gap injuries happen.
Do gap-skating tricks count as a different trick from an ollie?
Technically an ollie over a gap is still an ollie, but skaters often name the combo based on the feature, such as a gap ollie or a ledge ollie. In film and session culture the context matters, but mechanically you are doing the same ollie with gap-specific timing and commitment.
See Also
Sources
The technique and safety guidance in this guide draws on our own coaching sessions and on the following references:
- U.S. Consumer Product Safety Commission (CPSC) — protective equipment and injury-prevention guidance for action sports.
- Skateboarder — technique, safety and street-skating coverage from the trade publication.
- Wikipedia: Ollie (skateboarding) — history and mechanics of the ollie, the base trick behind every gap jump.
#Skateboarding #GapSkating #HowToOllie #StreetSkating #SkateTricks #OllieTips #SkateboardGuide #Skateboarding2026 #LearnSkateboarding #SkateSafety #SkateboardingLife #SkateTrick #OllieTheGap #Skateboarder #Ska8
This guide is part of the ska8 daily series. Explore more below.