
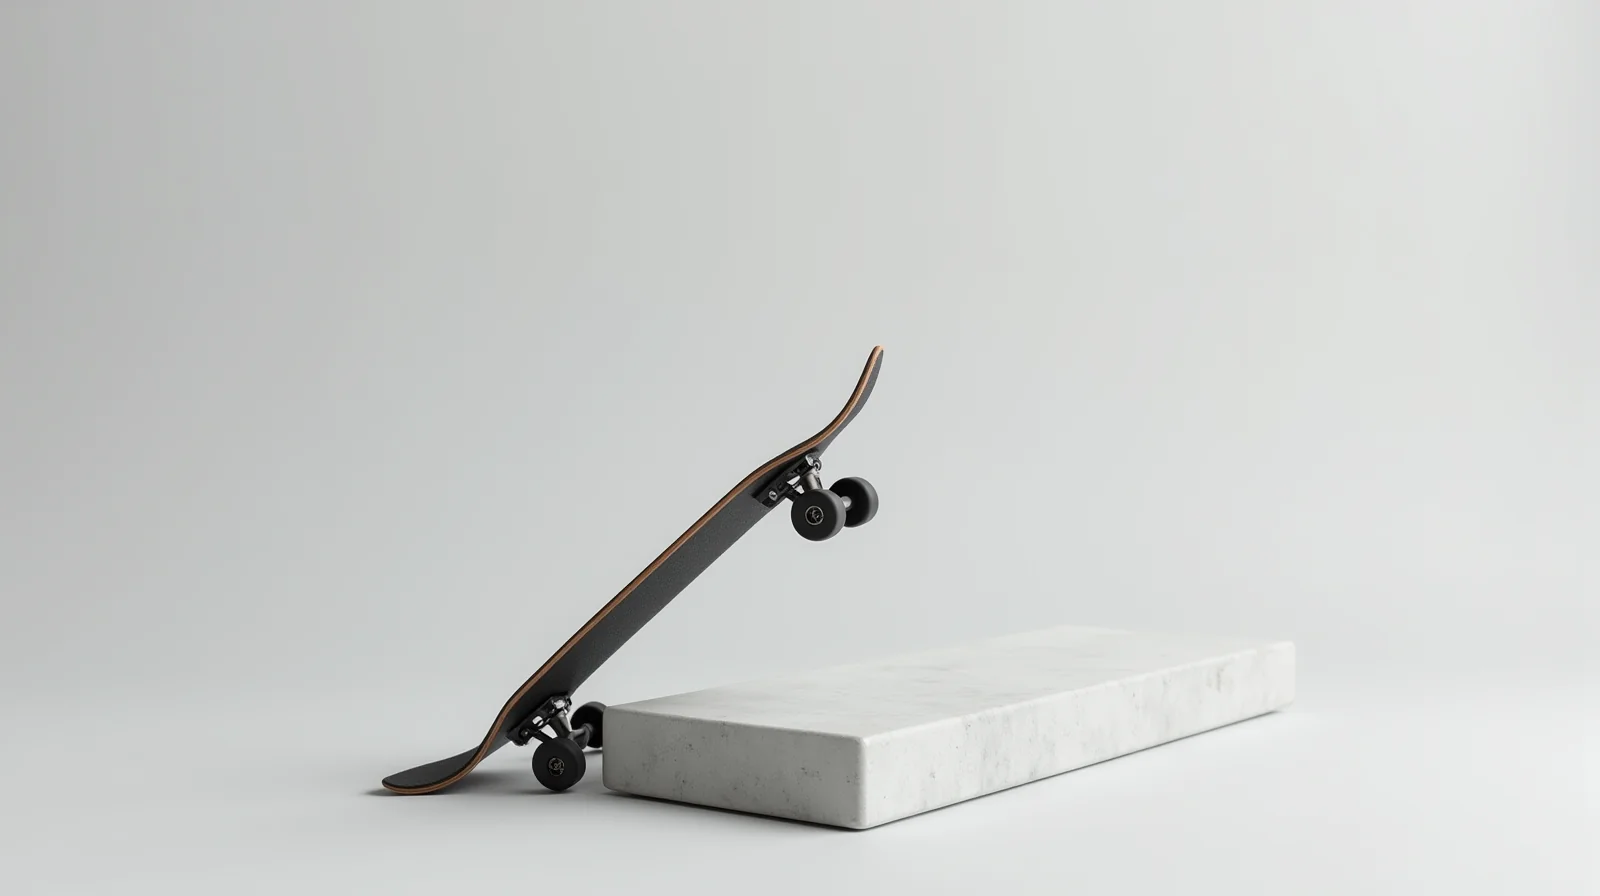
Stalling is one of the most useful control tricks you will ever learn on a skateboard, and one of the most misunderstood. If you have ever balanced on the nose of your board at the top of a ramp, or teetered on the tail edge of a curb, then you have already stalled. Mastering how to stall on a skateboard gives you the ability to pause, reposition, and control your speed at ramps, curbs, and ledges, which makes nearly every other trick easier and safer to land.
In this 2026 guide we break down the three core stalls, nose, tail, and curb, step by step. We cover the exact foot placement, the truck and wheel specs that make stalling easier, the mistakes we see most often in coaching sessions, and how to stay safe while you practice. Whether you are a first-year beginner or a skater who keeps stalling out in the transition, this is the complete reference.
Published: November 05, 2026
By Tyler Brooks, Skateboarding Coach
Tyler has coached skateboarders for 10 years and has tested trucks, wheels, and protective gear on real street and park sessions. He leads skill development and safety coverage.
What Is a Stall on a Skateboard?
A stall is a balance position in which you hold your skateboard on one edge, either the nose or the tail, while the board is on an elevated surface or at the lip of a ramp. Only one of the two truck axles stays on the ground (or the lip); the other side of the board is raised in the air. You stay balanced by shifting your body weight over the contact point and keeping your knees bent.
The word “stall” in skating is different from how the word is used in other contexts. It does not mean the engine of a machine losing power. On a skateboard, a stall is a deliberate, controlled pause. You stall to hold a position, to line up a trick, to bleed off speed, or simply to rest your board at the top of a ramp before you drop in.
Why stalling matters
From coaching hundreds of beginners, the pattern is consistent: skaters who can stall confidently drop in more calmly, set up curbs cleaner, and panic-push far less often. A stall is a recoverable, low-risk pause. A panic push mid-arc is not. If you stall, you add speed or reposition. If you flail, you usually hit the ground. Learning to stall is learning to stay in control instead of reacting to the board.
Stalls also sit in the same family as manuals and other balance tricks. A nose stall and a nose manual share a lot of the same weight shift; the difference is where the board is and how long you hold it. If you can hold a stall, you are one step away from a manual, and if you can manual, you are on the road to nearly every other balance trick on the board.
The Three Main Types of Stalls: Nose, Tail, and Curb
There are three stalls you will actually use in real sessions. Each one balances on a different part of the board and serves a different job. The table below summarizes them so you can see which one to learn first.
| Stall Type | What Balances | Where You Use It | Difficulty |
|---|---|---|---|
| Tail stall | Rear truck axle | Ramp lips, drop-ins, curbs | Beginner (learn first) |
| Nose stall | Front truck axle | Flat ground, ledges, ramps | Beginner to intermediate |
| Curb stall | Tail or nose on the curb edge | Street curbs, stairs, ledges | Intermediate |
Difficulty ratings reflect what we observe in our beginner progressions; a curb stall assumes you already hold a basic tail or nose stall on flat ground.
The tail stall is the one you should learn first, because it is the most stable and it is the position you already reach when you drop in. The nose stall is a little harder because your weight sits farther forward and the board wants to tip under you, but it is the foundation of a nose manual. The curb stall combines a stall with an approach, so it is the most useful on real streets and the one that separates casual pushers from skaters who actually use curbs.
How to Do a Tail Stall, Step by Step
A tail stall is the most forgiving stall because the tail is the wider, more stable end of the board and your back foot is your drive foot. Here is the progression we use with beginners, in order.
- Start in a low, balanced stance. Knees bent, shoulders over the board, eyes up ahead of the lip, not down at your feet. Tuck both hands in front of your chest so they are ready to absorb a small wobble.
- Roll up to the lip slowly. For a ramp, ride up the transition with just enough speed to reach the coping. For a curb or flat ground, approach at a walk-to-jog pace. Too much speed is the number one cause of a blown stall.
- Place the back foot over the tail axle. Your back foot should sit directly above the rear truck, with the ball of your foot on the grip tape. Your front foot goes flat near the front trucks, just like a regular riding stance.
- Shift your weight back. As you reach the lip, lean your hips over your back foot until only the rear truck stays on the coping or edge. The nose swings up. Do not kick the nose up; it rises on its own when your weight moves back.
- Bend deeper and hold. The moment you are balanced on the tail, sink your knees down and hold the position. Keep your core tight. The stall is not a freeze; it is a small, continuous balance adjustment.
- Recover when ready. To drop in, shift your weight forward and let the nose meet the transition. To bail safely, step off to the side away from the board rather than forward over the nose.
Pro tip from the session
Most beginners stall with their eyes glued to the tail. That is what makes them wobble. Look at the lip or the landing, and the balance follows your gaze. In our coaching, the single biggest improvement we see in a first session is skaters lifting their head up at the lip.
How to Do a Nose Stall, Step by Step
A nose stall balances on the front truck with the tail raised. It is the direct foundation of a nose manual, and it feels less natural at first because your weight is forward and the board can tip under your back foot. Work through these steps in order, on flat ground or a low ledge before you try it on a ramp.
- Roll forward at a slow, controlled pace. On flat ground, a light push is enough. You want momentum, not speed.
- Place the front foot over the nose axle. Put the ball of your front foot directly above the front truck, near the front of the grip tape. Your back foot goes in a normal middle-back position.
- Shift your weight forward and down. As you pass the edge or ledge, lean your hips over your front foot so only the front truck stays on the ground. The tail lifts on its own.
- Bend both knees hard. The deeper you bend, the lower your center of gravity and the more stable the stall. A stiff-legged nose stall will not hold.
- Hold, then drop the tail. When you are ready, shift your weight back slightly and let the tail come down to roll away, or keep the weight forward to set up a nose manual.
Because the nose is the narrower, more twitchy end, expect the nose stall to feel wobbly for a while. That is normal. After teaching this progression, we usually see a first successful nose stall within a session or two of practice once a skater has a solid tail stall under them.
How to Stall on a Curb: Approach and Angle
A curb stall is where the trick meets the street. You balance the tail or nose of the board on the edge of a curb so you can roll back and forth, set up a trick, or cross the curb cleanly. The two things that decide whether a curb stall works are your approach angle and your speed.
Approach angle
Hit the curb at a shallow angle, around 20 to 30 degrees, rather than straight on. A shallow angle lets the contact truck slide along the curb edge into a stable balance instead of catching and flipping the board. If you hit the curb at 90 degrees, the truck stops dead and the board tips forward onto you, which is the most common way a curb attempt ends on the pavement.
Speed
Approach a curb stall slower than you think you need. The extra speed you save is the speed that lets you correct a wobble instead of committing to the fall. If you arrive too fast, the stall becomes a hop off the curb. If you arrive too slow, you stall out and never get over the edge. A light jog pace is the sweet spot for most curbs.
Connecting the tricks
Once your curb stall is solid, the natural next step is to ollie over the curb instead of stalling on it. Our step-by-step guide on how to ollie up a curb picks up exactly where this skill leaves off, and the two tricks reinforce each other.
Common Stall Mistakes (and How to Fix Them)
After watching thousands of stall attempts across street and park sessions, these are the five mistakes that show up most, with the fix for each one.
| Mistake | What It Looks Like | The Fix |
|---|---|---|
| Too much speed | Board flies over the lip, no balance | Approach slower; a stall is a pause, not a jump |
| Staring at the board | Constant wobbling, late corrections | Lift your eyes to the lip or landing |
| Stiff legs | Small wobble becomes a tip | Bend knees deep; use them as suspension |
| Weight in the middle | Board never tips, both trucks stay down | Move hips fully over the contact foot |
| Hitting the curb square-on | Truck catches, board flips forward | Angle the approach 20 to 30 degrees |
Fix list drawn from our session coaching notes; speed and eye-line errors account for the large majority of blown stalls we observe.
Setup That Makes Stalling Easier: Trucks, Deck, and Wheels
Your board setup has a real effect on how a stall feels. You do not need expensive gear to stall, but a few spec choices make the trick noticeably easier and more stable. Here is what we look at when we set up a beginner for their first stalls.
Truck width
Match your truck width to your deck width as closely as possible. For a typical 8.0 inch street deck, 8.0 to 8.125 inch trucks are the standard fit. Trucks that are too wide or too narrow change how the hanger contacts the lip, which makes the stall twitchier. If your trucks and deck widths are off by more than about a quarter inch, the stall will feel wrong before you ever try it.
Hanger length and pivot
The hanger length and the pivot design determine how the truck rotates when you load it. Longer hangers and a pivot that lets the hanger turn freely give a smoother, more stable stall, because the contact truck can settle onto the edge instead of catching. This is why a quality hanger matters more for stalls than for most other tricks. We often point beginners to the hanger geometry details on Indy Trucks when we talk about how a pivot changes the way a board turns and stalls.
Deck width
For street and curb stalling, a deck in the 7.75 to 8.0 inch range is the most versatile. Wider decks (8.25 inch and up) are more stable and easier for beginners to balance on, which makes them a good choice if stalling and learning are your main goals. Narrower decks are faster and flip easier but demand more precise balance, which is the opposite of what you want while you are learning to hold a stall.
Wheels and contact pads
A mid durometer wheel, around 99a to 101a, gives enough grip to hold on a curb edge without being so hard that it skids. Just as important for curb stalls are your contact pads, the small rubber or metal washers between the axle nut and the hanger. If your contact pads are worn or missing, the axle can grind into the curb and the truck will bind, which ends the stall instantly. Check your pads before a curb session.
The one spec that surprises people
Contact pads, not wheels, are the most common reason a curb stall suddenly stops working. A worn pad lets the axle nut dig into the curb face and lock the hanger. Swap the pads and the same curb that was impossible a week earlier becomes easy. It is a two dollar part that fixes a problem most skaters blame on their technique.
Stalling in Real Sessions: Ramps, Curbs, and Street Lines
Stalls are not an isolated trick you do on a flat lot; they are a tool you use constantly in a real session. At a ramp, a tail stall at the lip lets you pause before you drop in, which is exactly the position you reach in our guide to how to drop in. On the street, a curb stall lets you cross a curb, set up for a grind, or just rest your board at the top of a short ledge.
Stalling also works hand in hand with the other control skills on your board. If you can stall, you can bleed speed on a transition or a set of stairs instead of committing to a full stop. Our guide to how to stop on a skateboard covers the four main stop methods, and stalling is the bridge between riding at speed and coming to a controlled halt. The more comfortable you are holding a stall, the more of the park and the street opens up, because you can pause anywhere instead of only where you can stop cleanly.
When you are choosing where to practice, start at a spot with low consequences. A small ramp or a smooth, low curb is ideal. Our breakdown of skate park types can help you pick a beginner friendly spot with a small transition to work on your lip stalls before you move to bigger ramps.
Stalling Safely: Injuries to Avoid and the Right Gear
Stalls are low risk when you do them right, but they have a signature injury pattern: the wrist. When a stall blows, the board usually tips forward and the instinct is to put your hand down, which is how most wrist sprains and fractures in our sessions happen. The fix is to practice stepping away from the board when you lose balance, and to wear a wrist guard until your hands stop being your first reaction.
Wear the gear that matches the surface. On flat ground or a small ramp, a wrist guard and closed toe shoes are enough. On curbs, ledges, or anything with a hard edge, add knee and elbow pads and a helmet, because the fall is a side or forward fall onto a hard surface. Our step-by-step guide to how to fall safely covers the exact technique for protecting your wrist, head, and spine, and it pairs directly with stalling practice.
Safety note
Never stall on a busy street or at a curb next to traffic. A stalled board is a board you are balancing on, and you cannot watch for cars while you hold the position. If a curb is at an intersection or on a moving road, do not stall there. Choose a quiet, flat, low consequence spot and leave the busy curbs for tricks you have already committed to.
Frequently Asked Questions
Is a stall the same as a manual?
Not quite. A manual balances on the back trucks on flat ground and is usually rolled out. A stall holds a position on one truck on a lip, curb, or ledge, usually as a pause. They share the same forward and backward weight shift, so a solid stall is the direct stepping stone to a manual and vice versa.
Should I learn a tail stall or a nose stall first?
Learn the tail stall first. It is the wider, more stable end of the board and it is the position you already reach when you drop in. Once your tail stall is clean, the nose stall comes together much faster because you already trust the weight shift.
How long should I hold a stall?
There is no fixed time. In a real session a stall is a short pause of one to three seconds, long enough to reposition or set up the next move. For practice, hold it as long as you can stay balanced, then add a second at a time. The goal is control, not duration.
What board setup makes stalling easiest?
Match your truck width to your deck width, pick a slightly wider deck around 8.0 to 8.25 inches for stability, run a mid durometer wheel near 99a to 101a, and keep your contact pads in good shape. A stable, slightly wider setup is the easiest combination for a beginner to hold a stall on.
Why does my board tip forward when I try a stall?
Two causes cover most of it: your weight is not far enough over the contact foot, or you arrived with too much speed. Move your hips fully over the foot that is on the edge and slow your approach by a step. If the board still tips, check that your contact pads are not worn, because a binding axle will pull the board forward under you.
See Also
Keep learning on Ska8
Sources
- Rider deck and complete skateboard specifications
- Indy Trucks hanger geometry and pivot design details
- Skateboarding.com skate technique and session coverage
#Skateboarding #HowToStall #TailStall #NoseStall #CurbStall #SkateTricks #StreetSkating #SkatePark #SkateboardSetup #TruckGeometry #BeginnerSkater #SkateSafety #Skateboard2026 #SkateSkills #SkateLife
This guide is part of the ska8 daily series. Explore more below.